
6、用磁性套索选择人物后,羽化1-2个像素,给图层"合成2"填加蒙版,将人物的背景隐藏(细节部分需要用画笔工具,选择黑色,进一步在图层蒙版选中状态下调整)并调整图层的混合模式为柔光,完成后如图7:
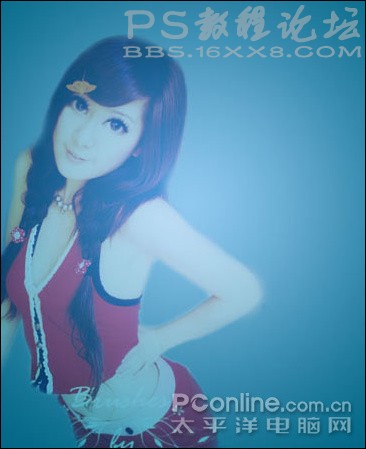
图7

图07-1 7、 复制一层(增强人物效果),如图8:

图8
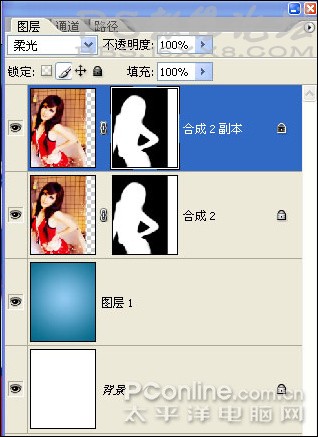
图08-1
8、 再复制一层,水平翻转,将人物放置在右边,并调整蒙版内容,除去手部的重叠区域,如图09。
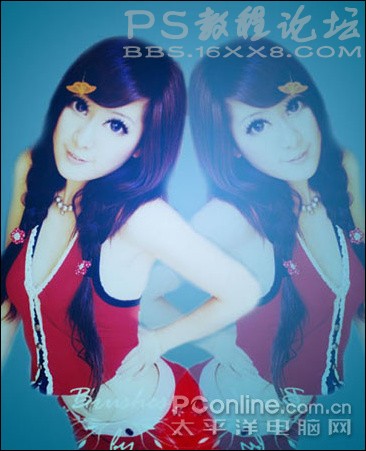
图9
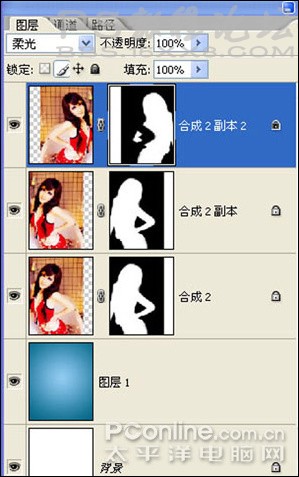
图9-1
图7
图07-1 7、 复制一层(增强人物效果),如图8:
图8
图08-1
8、 再复制一层,水平翻转,将人物放置在右边,并调整蒙版内容,除去手部的重叠区域,如图09。
图9
图9-1


