
Photoshop简单绘制精致透明小房子图标这个教程教给大家如何制作一个精致的透明小房子图标,可以用到我们的站点上面,具有一定实用性。

1、首先我们制作一个400 x 300 px,然后使用白色到浅蓝色进行渐变填充背景:

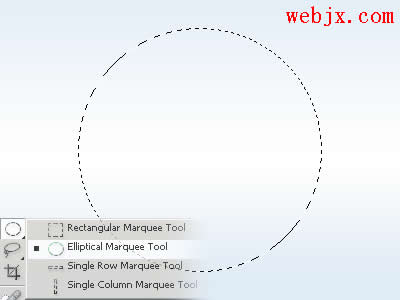
2、新建立一个图层,然后使用椭圆工具绘制一个正圆:
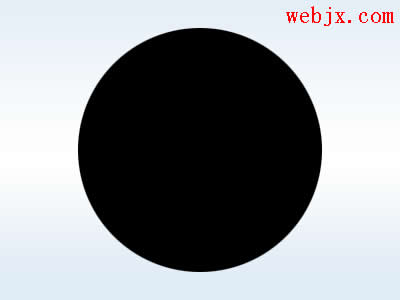
填充为黑色:
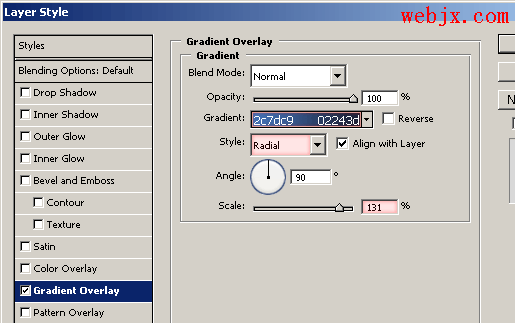
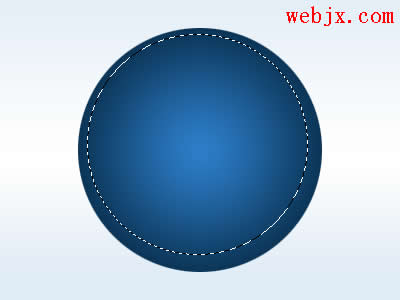
然后设置图层样式:
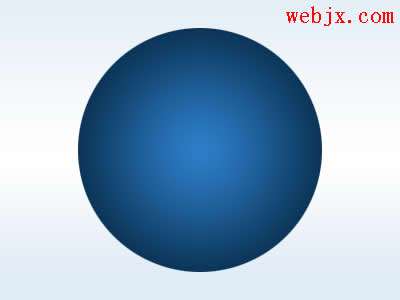
效果如下:
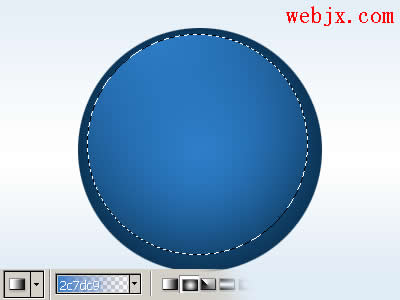
3、然后再使用椭圆工具选择一个较小的区域:
创建一个图层,设置所选区域进行渐变填充:
然后在左上方绘制一个正圆:
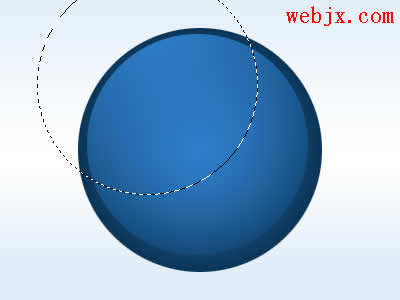
对所选区域进行反相,然后按Del删除:

设置模式为滤色:

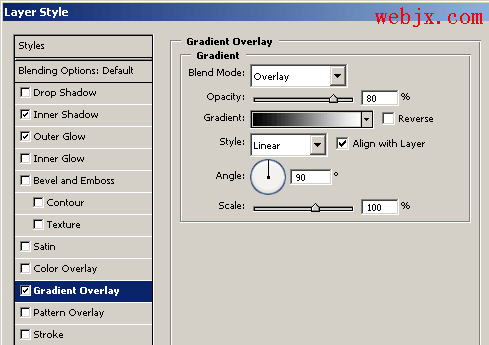
最后在右下方添加一些渐变叠加效果:

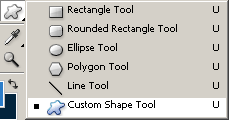
4、下面绘制小房子形状,选择自定义形状工具:
确认下面的选项:
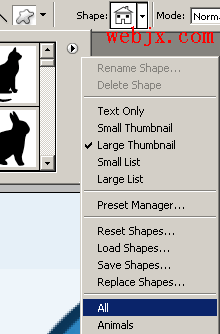
然后选择小房子图形:
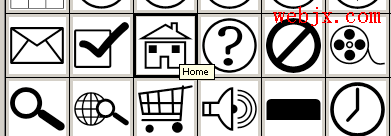
设置如下:

然后进行绘制:

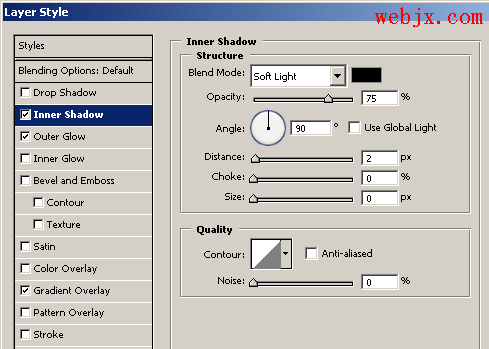
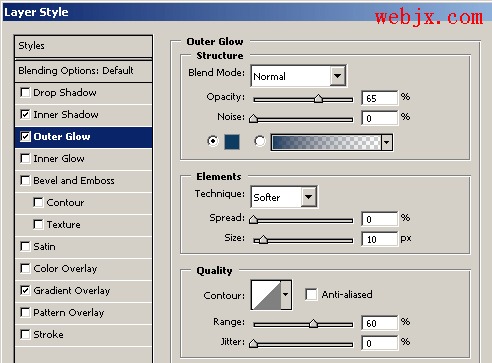
用#9bcae5 颜色填充小房子图标,然后使用下面图层样式:
最终效果如下:

![]()
1、首先我们制作一个400 x 300 px,然后使用白色到浅蓝色进行渐变填充背景:
2、新建立一个图层,然后使用椭圆工具绘制一个正圆:
填充为黑色:
然后设置图层样式:
效果如下:
3、然后再使用椭圆工具选择一个较小的区域:
创建一个图层,设置所选区域进行渐变填充:
然后在左上方绘制一个正圆:
对所选区域进行反相,然后按Del删除:
设置模式为滤色:
最后在右下方添加一些渐变叠加效果:
4、下面绘制小房子形状,选择自定义形状工具:
确认下面的选项:
然后选择小房子图形:
设置如下:
然后进行绘制:
用#9bcae5 颜色填充小房子图标,然后使用下面图层样式:
最终效果如下:


