
作者生命不言败 出处:数码影像馆
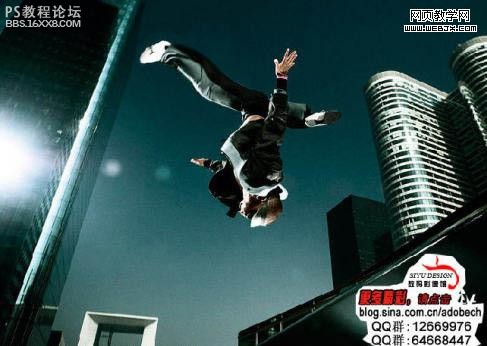
本教程有点类似卡波蓝效果。这种色系以蓝色及橙黄色为主,可以说是强对比色。因此调出的效果层次感极强,视觉效果也突出,是摄影及照片后期处理常用的色系。 原图
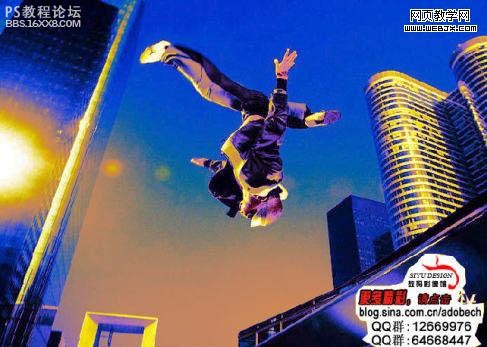
最终效果
1、打开原图photoshop素材。
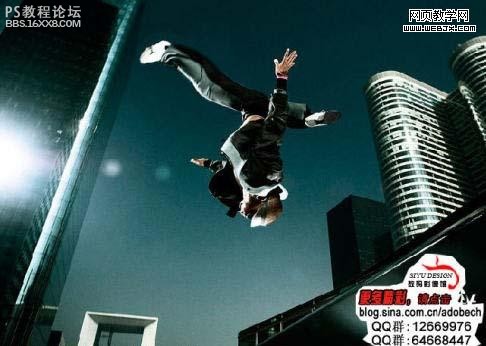
2、把背景图层复制一层,得到图层1,按Ctrl + I 反相,然后把图层混合模式改为“叠加”,效果如下图。

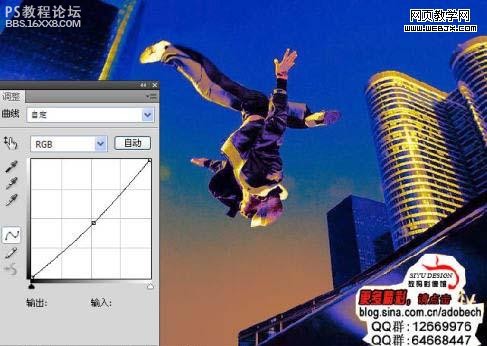
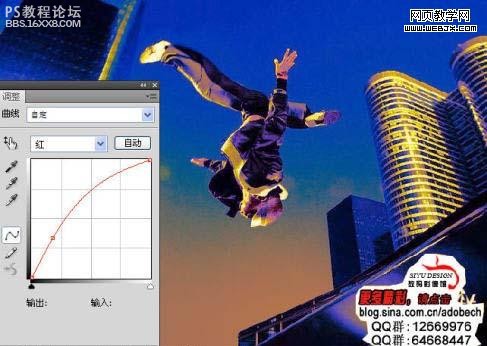
, 3、选择菜单:图层 新建调整图层 曲线,参数设置如下图。
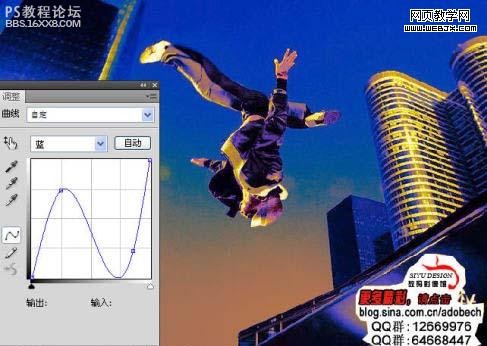
4、再创建曲线调整图层,参数设置如下图,确定后完成最终效果。
本教程有点类似卡波蓝效果。这种色系以蓝色及橙黄色为主,可以说是强对比色。因此调出的效果层次感极强,视觉效果也突出,是摄影及照片后期处理常用的色系。 原图
最终效果
1、打开原图photoshop素材。
2、把背景图层复制一层,得到图层1,按Ctrl + I 反相,然后把图层混合模式改为“叠加”,效果如下图。
, 3、选择菜单:图层 新建调整图层 曲线,参数设置如下图。
4、再创建曲线调整图层,参数设置如下图,确定后完成最终效果。
