
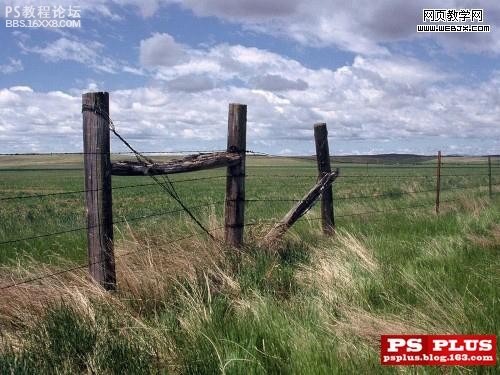
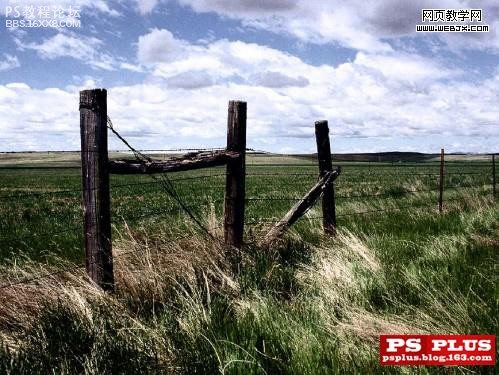
首先。我们看一下图片处理前后的对比。这个是原图。
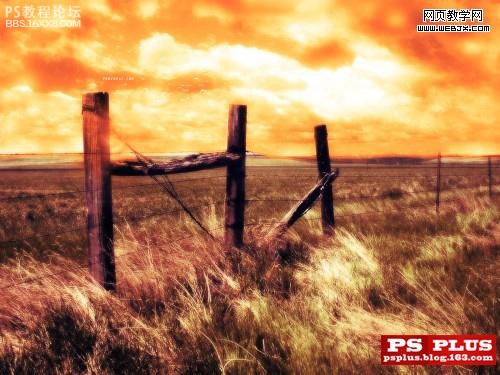
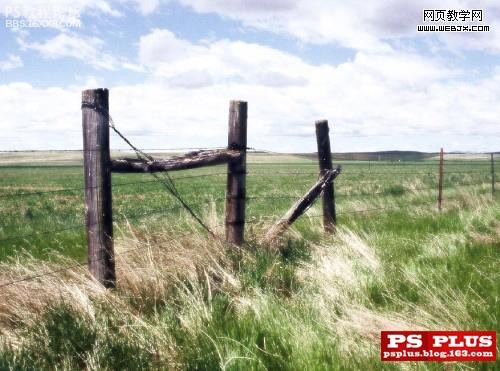
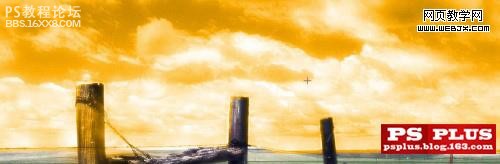
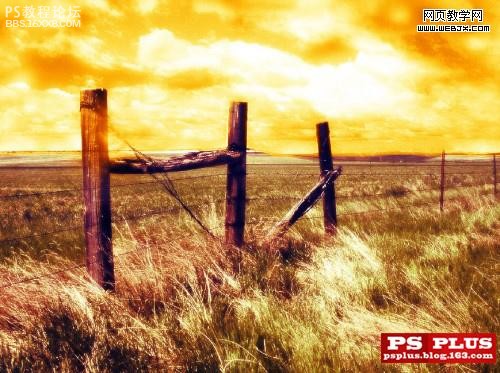
处理后。
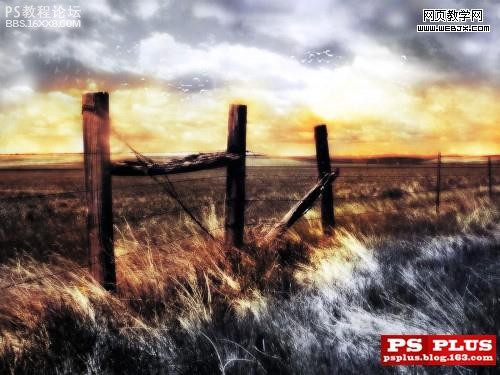
可选版本。
,
开始吧。
1
在PS中打开原图。将图层复制3份。
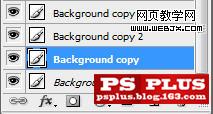
将3份副本的图层混合模式由上至下设置为:
叠加。
强光。
颜色。
结果如下。
2
再次复制背景层。并将复制层移动到所有图层顶端。设置表面模糊如下。半径8像素。阈值97色阶。
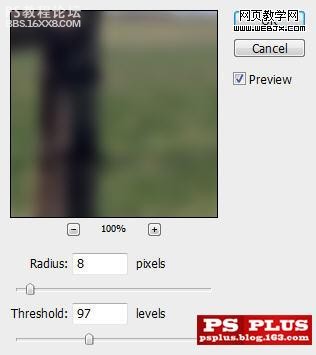
改变图层混合模式为滤色。这一层是给图像添加发光的效果。
3
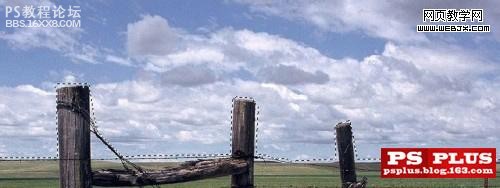
现在我们需要把天空从图像中分离出来。这样我们对天空的编辑就不会影响到图像其他部分。
我们现在隐藏所有的复制层。回到原始背景层。用钢笔工具将填空部分画出路径。

将路径转为选区。羽化值为0.
[如果你钢笔工具不熟练。这一步也可以用魔术棒或者抽出滤镜。总之要把天空的选区拿到手。]
将天空部分复制到新图层。命名为“天空”。将其移动到所有图层顶端。[也可以用仿制图章工具修改天空的边缘。使其更好的与地面融合。]
对天空图层使用通道混合器。选中单色。红通道加60%。绿加10%。蓝加85%。
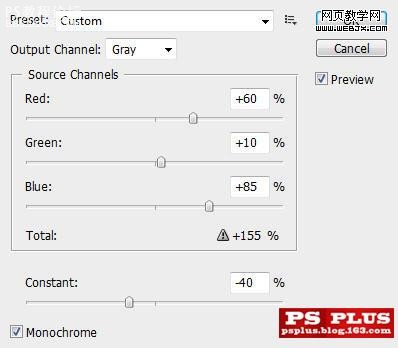
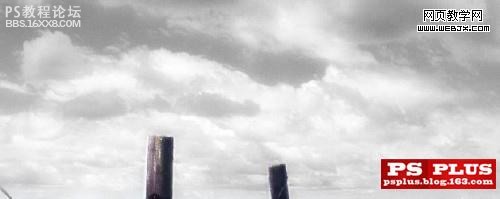
结果如下。

,4
复制天空层。执行9.5像素的高斯模糊。
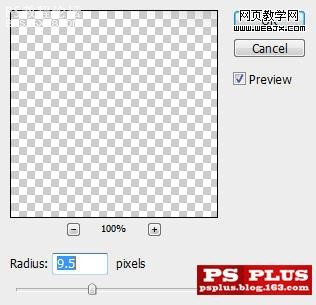
改变混合模式为叠加。这会使云层增加额外的软化效果。
再复制天空层。并移动到所有图层顶端。按住CTRL。左键点击图层缩略图。载入天空层选区。用油漆桶工具填充纯色#ffa800
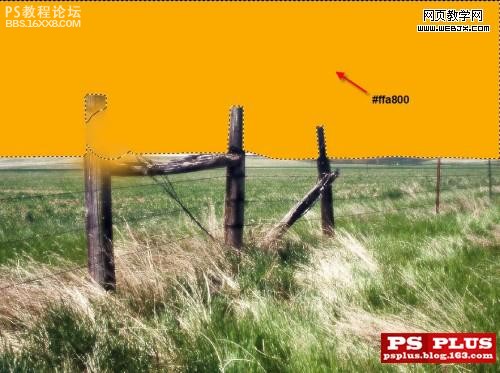
改变这一层混合模式为颜色。
,5
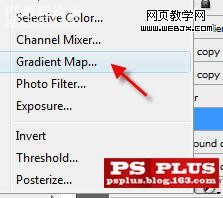
下面我们给陆地上也添加一些颜色。在所有图层顶端新建一个图像调整层。渐变映射。使用蓝到红到黄的渐变。
改变该层混合模式为柔光。不透明度80%。

6
如果你想要增加一些光线或者减少天空的光线效果。那你可以回到原始天空层。用大而软的橡皮擦稍作修饰。
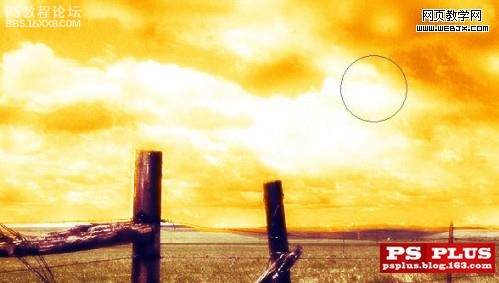
下面就是目前为止的效果了。
当然你也可以发挥你的创造性。为画面添加额外的效果。就像教程开始所示的那种。
结束
作者:佚名 出处:PSplus
处理后。
可选版本。
,
开始吧。
1
在PS中打开原图。将图层复制3份。
将3份副本的图层混合模式由上至下设置为:
叠加。
强光。
颜色。
结果如下。
2
再次复制背景层。并将复制层移动到所有图层顶端。设置表面模糊如下。半径8像素。阈值97色阶。
改变图层混合模式为滤色。这一层是给图像添加发光的效果。
3
现在我们需要把天空从图像中分离出来。这样我们对天空的编辑就不会影响到图像其他部分。
我们现在隐藏所有的复制层。回到原始背景层。用钢笔工具将填空部分画出路径。
将路径转为选区。羽化值为0.
[如果你钢笔工具不熟练。这一步也可以用魔术棒或者抽出滤镜。总之要把天空的选区拿到手。]
将天空部分复制到新图层。命名为“天空”。将其移动到所有图层顶端。[也可以用仿制图章工具修改天空的边缘。使其更好的与地面融合。]
对天空图层使用通道混合器。选中单色。红通道加60%。绿加10%。蓝加85%。
结果如下。
,4
复制天空层。执行9.5像素的高斯模糊。
改变混合模式为叠加。这会使云层增加额外的软化效果。
再复制天空层。并移动到所有图层顶端。按住CTRL。左键点击图层缩略图。载入天空层选区。用油漆桶工具填充纯色#ffa800
改变这一层混合模式为颜色。
,5
下面我们给陆地上也添加一些颜色。在所有图层顶端新建一个图像调整层。渐变映射。使用蓝到红到黄的渐变。
改变该层混合模式为柔光。不透明度80%。
6
如果你想要增加一些光线或者减少天空的光线效果。那你可以回到原始天空层。用大而软的橡皮擦稍作修饰。
下面就是目前为止的效果了。
当然你也可以发挥你的创造性。为画面添加额外的效果。就像教程开始所示的那种。
结束
作者:佚名 出处:PSplus


