照片调色教程 PS打造墨色江南效果作者:鸿雁南飞 来源:中国教程网
我们平时用数码相机照出来的照片可称写真,除了POSE几乎没有什么修饰,如果是浪漫的写真,那我们就更应该美化它,让它更具艺术感。本教程主要是使用photoshop通过调色处理,来达到我们想要的艺术效果,一起来看看吧~
先看原图和效果图:
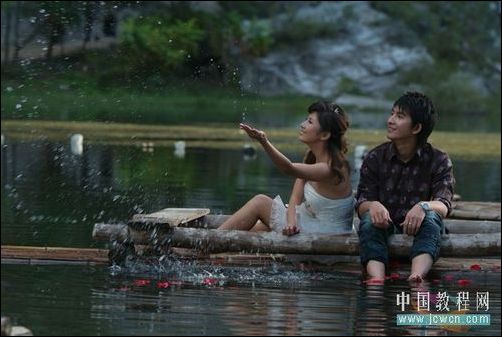
原图
分别用吸管取黑场和白场
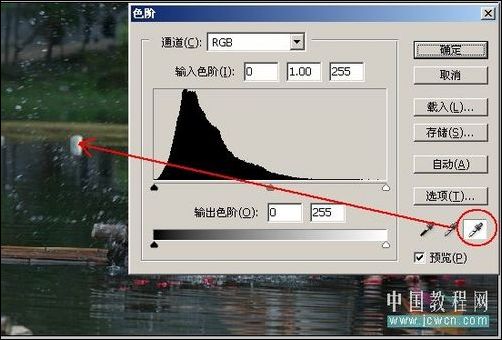
图3
再分开调下RGB和各个通道的色彩
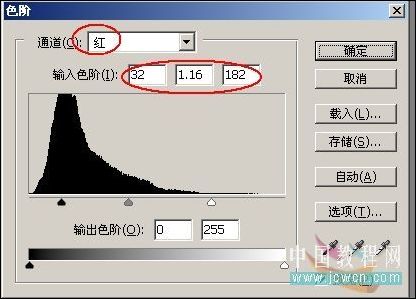
图5

图6
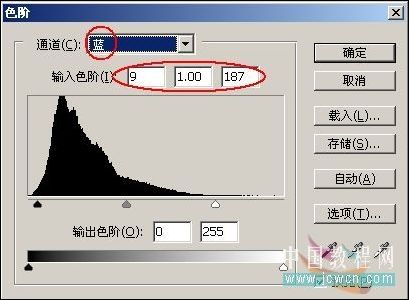
图7
再次创建新的调整层:可选颜色
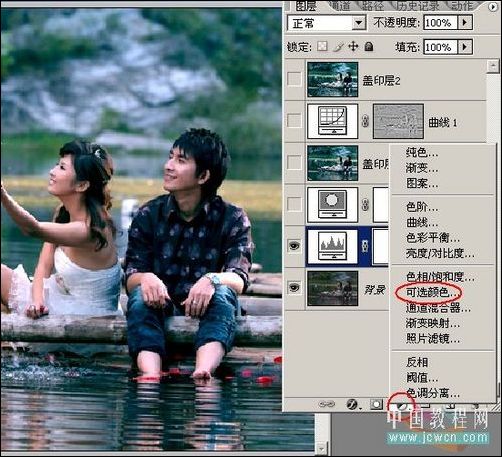
图8
勾选绝对,参考数值如下
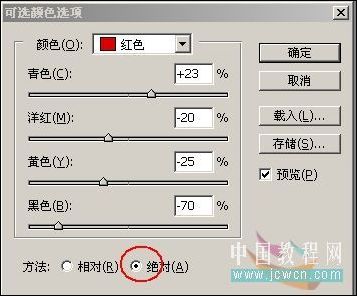
图9
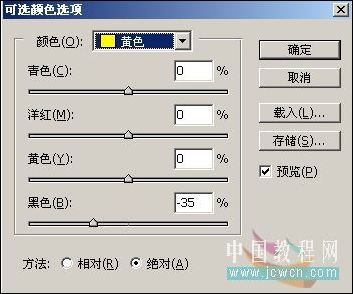
图10

图11

图12

图14
Ctrl Alt Shist E盖印图层,其实前面几步的目的就是把整幅图像,调整成青绿色和白色为主色调的效果。

图17
10像素
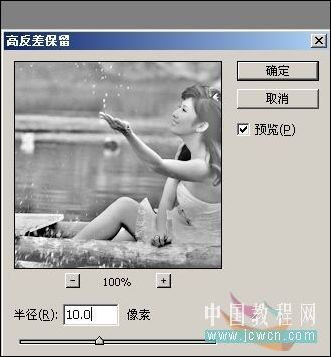
图18
按住Ctrl键点击绿副本的缩略图,载入选区
返回RGB通道,Shift F7反选
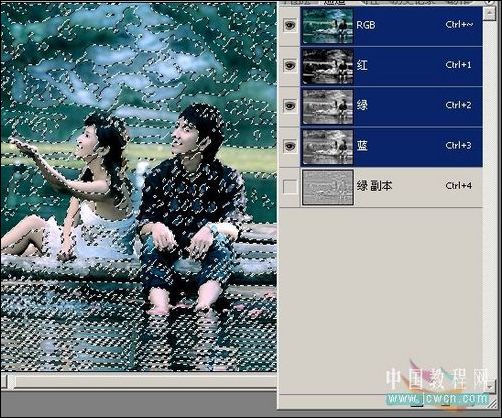
图20
创建曲线调整层
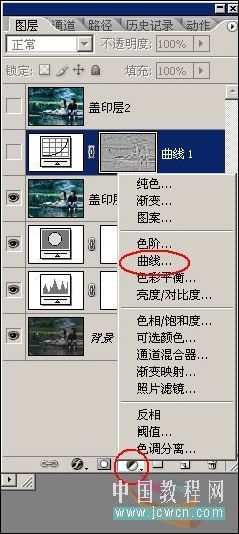
图21
使人物肤色提亮一点,增强画面层次感
设置前景色为青绿色,可以用吸管工具吸取,背景色为白色
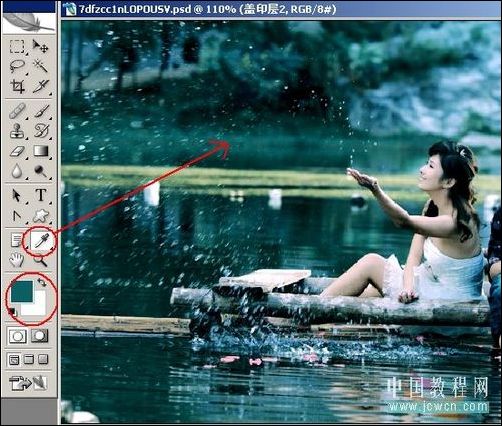
图24
滤镜-渲染-纤维
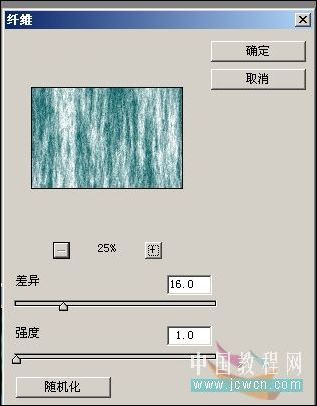
图26
编辑-渐隐
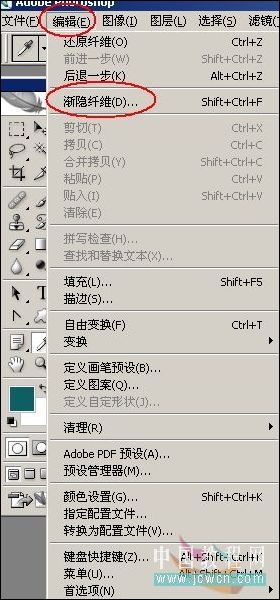
图27
注意模式为柔光
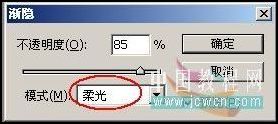
图28
滤镜-模糊-高斯模糊
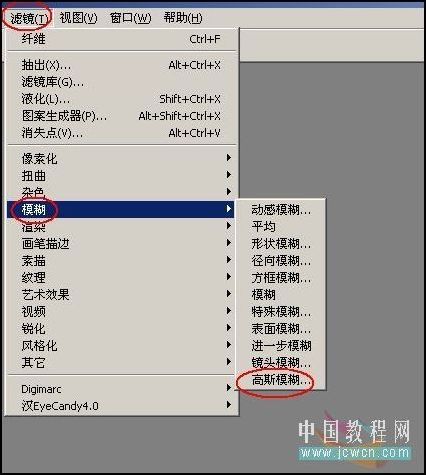
图29
数值2.0

图30
滤镜-杂色-减少杂色
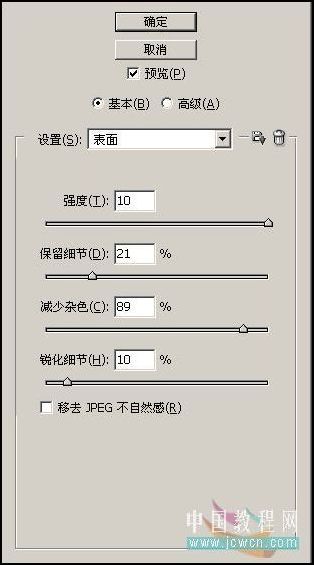
图32
滤镜-扭曲-扩散亮光
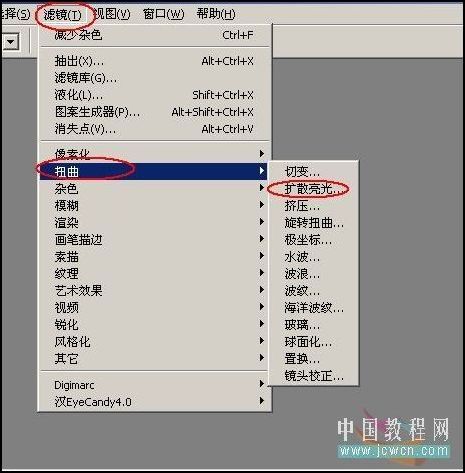
图33
数值
为盖印层2增加蒙板,设置前景色为黑色,用画笔涂抹出人物部分...
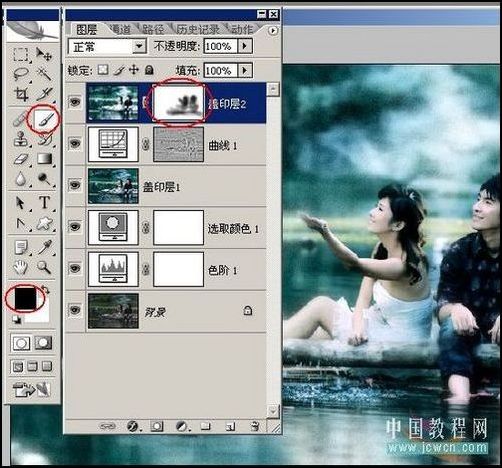
图35
基本效果完成如图
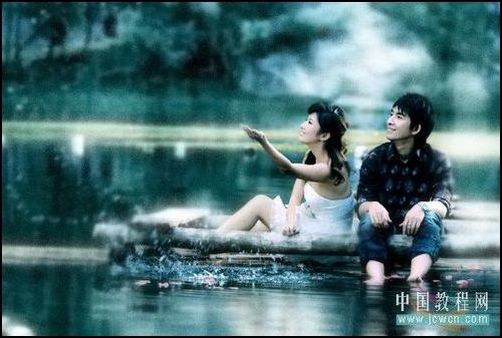
图36
接下来在图像的上方的蓝色部位右击鼠标,选择画布大小
我们平时用数码相机照出来的照片可称写真,除了POSE几乎没有什么修饰,如果是浪漫的写真,那我们就更应该美化它,让它更具艺术感。本教程主要是使用photoshop通过调色处理,来达到我们想要的艺术效果,一起来看看吧~
先看原图和效果图:
原图

效果图

图1
分别用吸管取黑场和白场

图2
图3
再分开调下RGB和各个通道的色彩
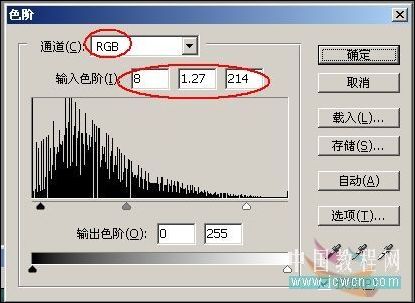
图4
图5
图6
图7
再次创建新的调整层:可选颜色
图8
勾选绝对,参考数值如下
图9
图10
图11
图12

图13
图14
Ctrl Alt Shist E盖印图层,其实前面几步的目的就是把整幅图像,调整成青绿色和白色为主色调的效果。
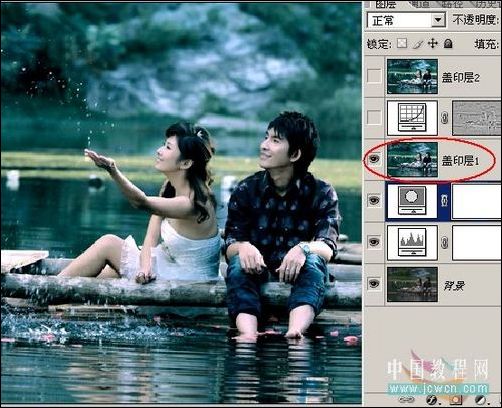
图15
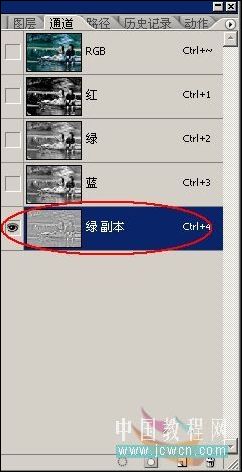
图16
图17
10像素
图18
按住Ctrl键点击绿副本的缩略图,载入选区
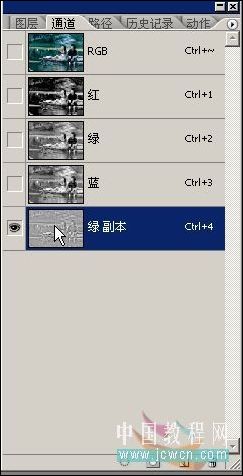
图19
返回RGB通道,Shift F7反选
图20
创建曲线调整层
图21
使人物肤色提亮一点,增强画面层次感

图22

图23
设置前景色为青绿色,可以用吸管工具吸取,背景色为白色
图24
滤镜-渲染-纤维
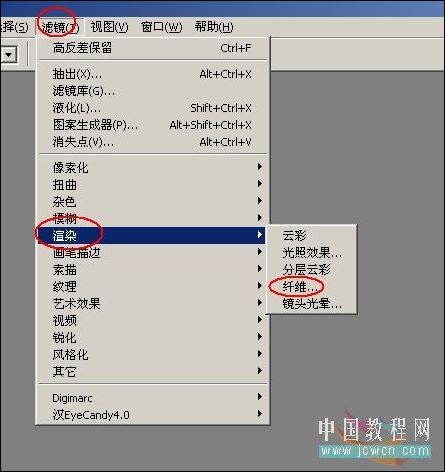
图25
图26
编辑-渐隐
图27
注意模式为柔光
图28
滤镜-模糊-高斯模糊
图29
数值2.0
图30
滤镜-杂色-减少杂色
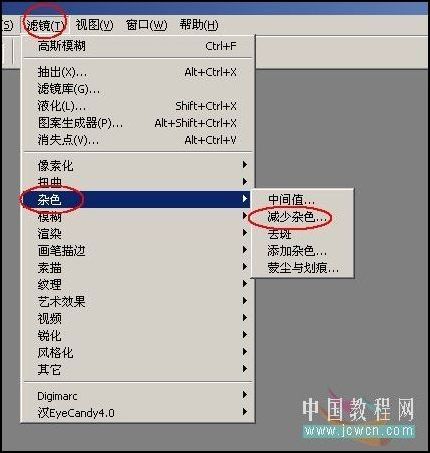
图31
图32
滤镜-扭曲-扩散亮光
图33
数值

图34
为盖印层2增加蒙板,设置前景色为黑色,用画笔涂抹出人物部分...
图35
基本效果完成如图
图36
接下来在图像的上方的蓝色部位右击鼠标,选择画布大小

图37
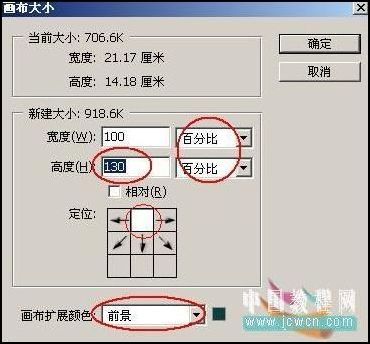
图38

图39
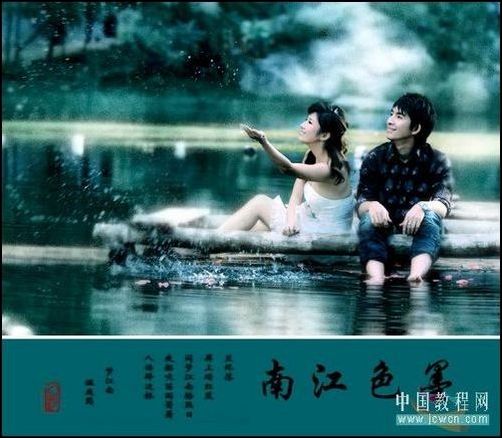
图40
搜索更多相关主题的帖子:江南 墨色 教程 数码相机 照片
简单的,我们教你,深奥的,你来分享,非主流照片|qqkongjian|feizhuliu|tupian|luntan|psjiaocheng|bishua|ruanjian|chajian|xiazai|psxiazai|qqkongjiandaima