![](https://img.lvups.com/d/file/bigpic/2022/12/25/shkv5i1bztn.jpg)
![](https://img.lvups.com/d/file/bigpic/2022/12/25/u41mmsw5qpc.jpg)
以下是详细的photoshop教程步骤:
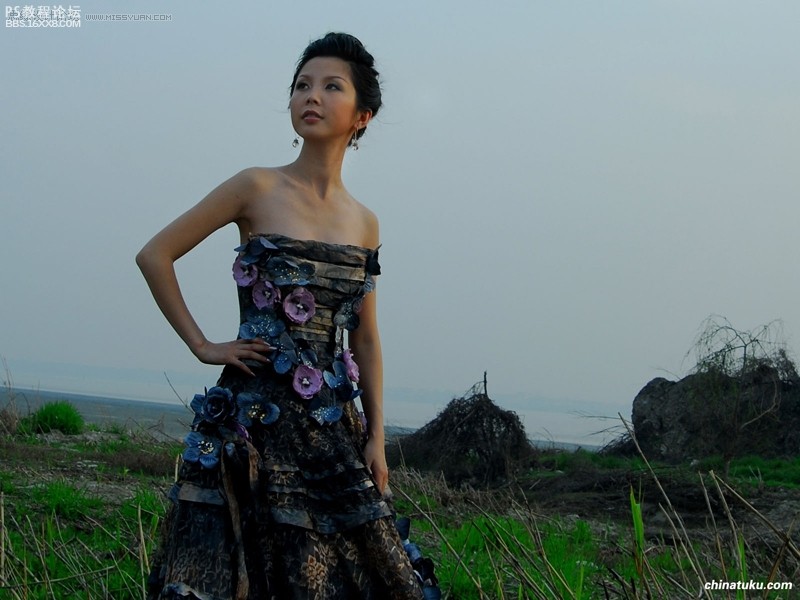
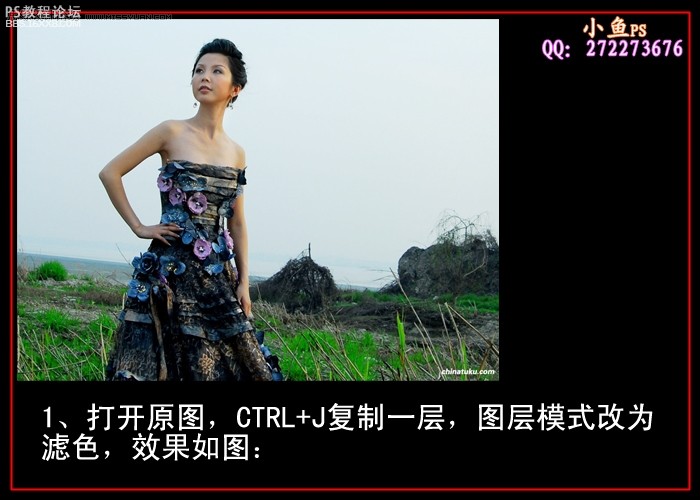
1、打开原图,CTRL+J复制一层,图层模式改为滤色,效果如图:
![](https://img.lvups.com/d/file/bigpic/2022/12/25/eddpi2flliu.jpg)
,
2、新建曲线调整层,参数如图,确定后用黑色画笔擦出人物皮肤
![](https://img.lvups.com/d/file/bigpic/2022/12/25/slvz5mhh3th.jpg)
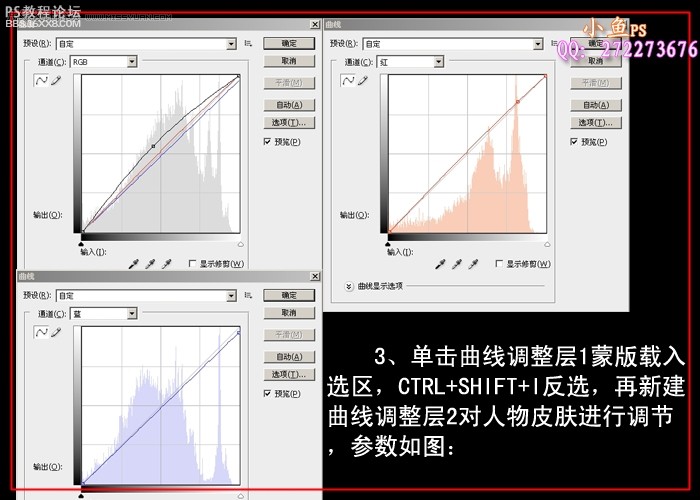
3、单击曲线调整层1蒙版载入选区,CTRL+SHIFT+I反选,再新建曲线调整层2对人物皮肤进行处理,参数如图。
![](https://img.lvups.com/d/file/bigpic/2022/12/25/hhvua0ziiey.jpg)
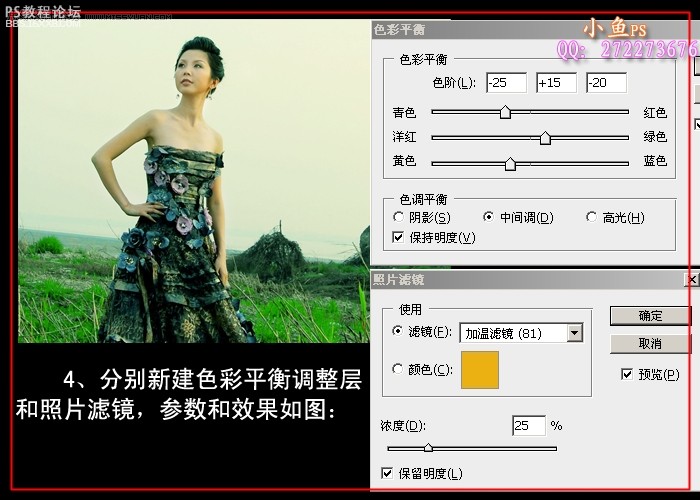
4、分别新建色彩平衡调整层和照片滤镜,参数和效果如图:
![](https://img.lvups.com/d/file/bigpic/2022/12/25/x5p20igr2ah.jpg)
,
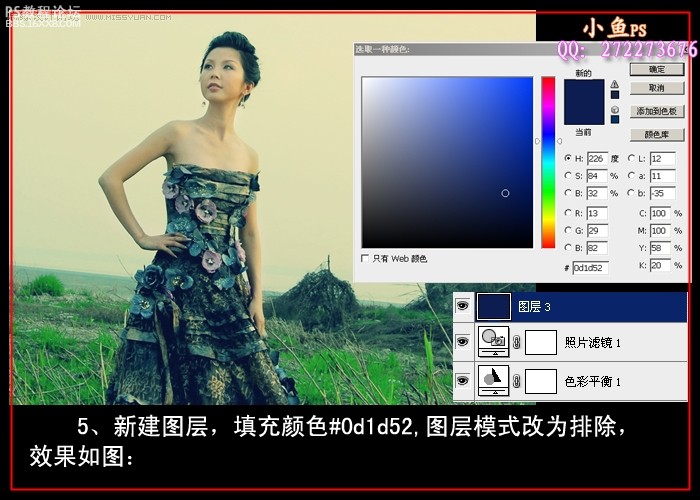
5、新建图层,填充颜色#0d1d52,图层模式改为排除,效果如图:
![](https://img.lvups.com/d/file/bigpic/2022/12/25/ww01kmpfumm.jpg)
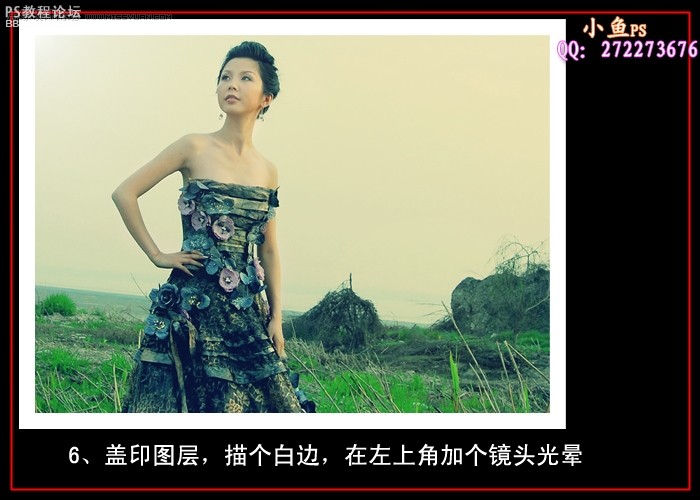
6、盖印图层,描个白边,在左上角加个镜头光晕
![](https://img.lvups.com/d/file/bigpic/2022/12/25/ziwrqyoderh.jpg)
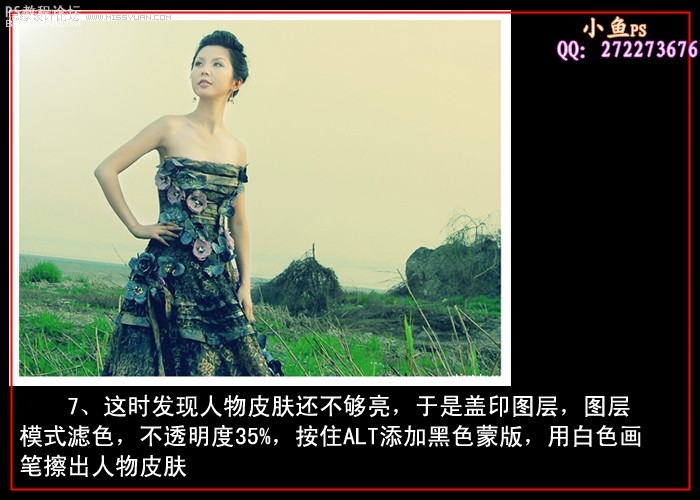
7、这时发现人物皮肤还不够亮,于是盖印图层,图层模式滤色,不透明度35%,按住ALT添加黑色蒙版,
用白色画笔擦出人物皮肤
![](https://img.lvups.com/d/file/bigpic/2022/12/25/of4csp54dta.jpg)
,
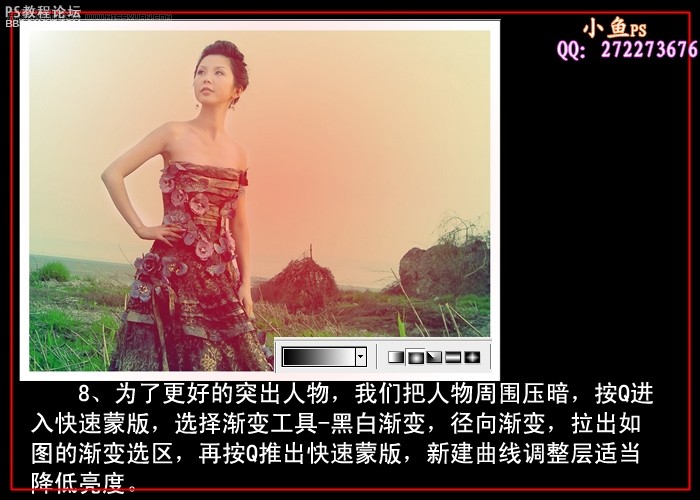
8、为了更好的突出人物,我们把人物周围压暗,按Q进入快速蒙版,选择渐变工具-黑白渐变,径向渐变
,拉出如图的渐变选区,再按Q推出快速蒙版,新建曲线调整层适当降低亮度。
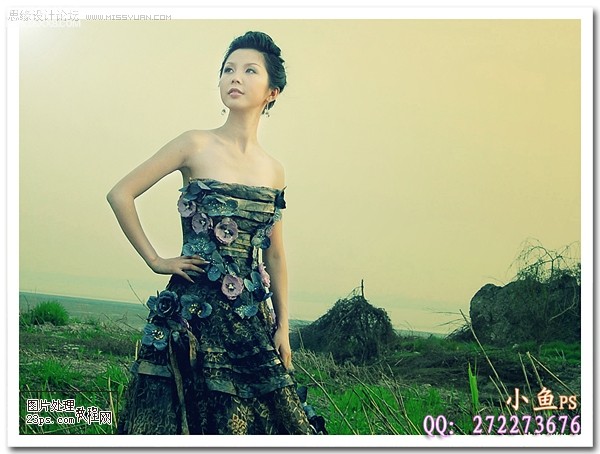
![](https://img.lvups.com/d/file/bigpic/2022/12/25/ainj1bde4uc.jpg)
9、盖印图层,适当锐化,完成最终效果。
![](https://img.lvups.com/d/file/bigpic/2022/12/25/shkv5i1bztn.jpg)
责任编辑:bbs.16xx8.com
作者: 出处:網絡