
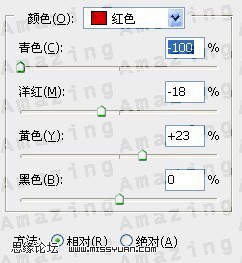
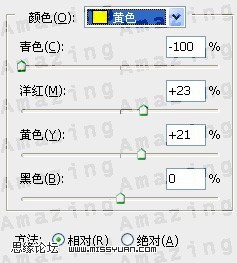
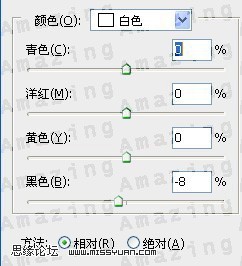
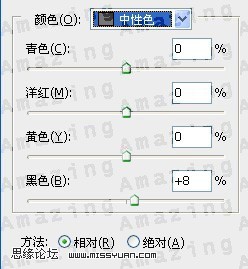
第4步:我在次利用了可选颜色这层在加强下草的色调。你们可以边调边看变化
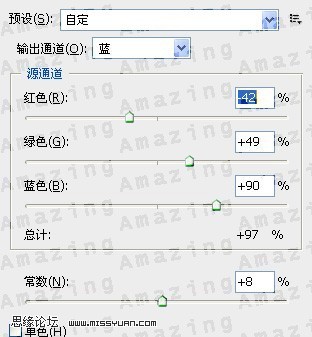
第五步:我用了混合通道器来稍做调节。
蒙板刷截图:
第六步:是对眼睛/嘴唇进行微调。
第七步:我运用了PS自带的滤境,渲染-光照效果:
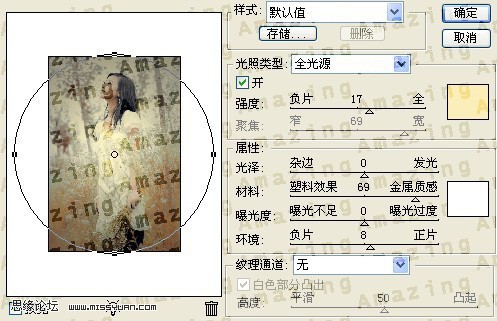
紧接着点编辑-渐隐光照效果

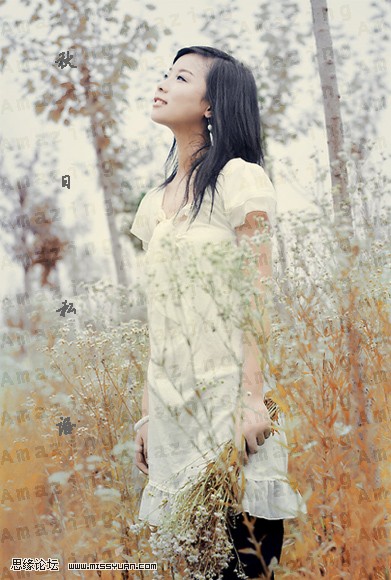
到这里整体效果已经出来了。。
最后我用了亮度/对比度来调节下立体效果:

最终效果图
第4步:我在次利用了可选颜色这层在加强下草的色调。你们可以边调边看变化
第五步:我用了混合通道器来稍做调节。
蒙板刷截图:
第六步:是对眼睛/嘴唇进行微调。
第七步:我运用了PS自带的滤境,渲染-光照效果:
紧接着点编辑-渐隐光照效果
到这里整体效果已经出来了。。
最后我用了亮度/对比度来调节下立体效果:
最终效果图
下一篇:ps调出美女婚纱甜美紫色调


