
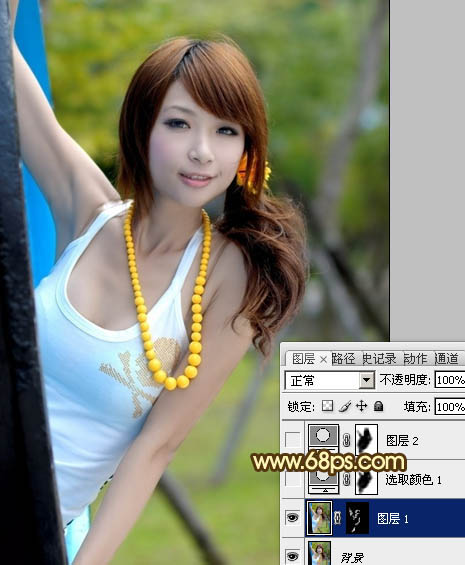
1、打开原图素材,把背景图层复制一层,简单的给人物磨一下皮,去掉肤色部分的杂色即可,大致效果如下图。
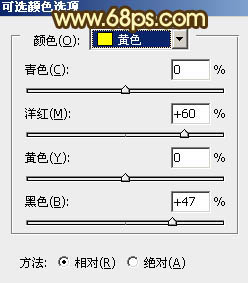
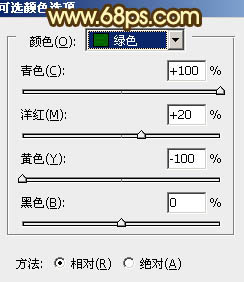
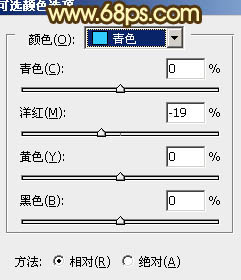
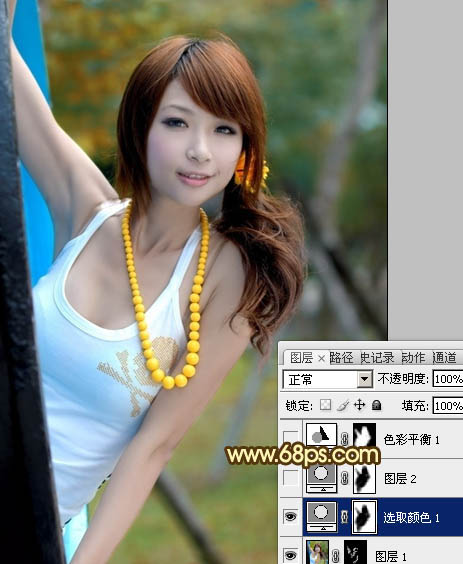
2、创建可选颜色调整图层,对黄、绿、青进行调整,参数设置如图2 - 4,确定后用黑色画笔把人物部分擦出来,效果如图5。这一步把背景黄绿转为青色。
2、创建可选颜色调整图层,对黄、绿、青进行调整,参数设置如图2 - 4,确定后用黑色画笔把人物部分擦出来,效果如图5。这一步把背景黄绿转为青色。
上一篇:夏日色调,调出夏日缤纷色风景照片
下一篇:ps处理外景美女图片柔和的黄褐色


![[非主流PS教程] 非主流图片制作教](https://img.lvups.com/d/file/titlepic/2022/12/25/ezubq003eyi.jpg)
![[非主流PS教程] 非主流ps教程:非主](https://img.lvups.com/d/file/titlepic/2022/12/25/rkudu2pcc44.jpg)
