
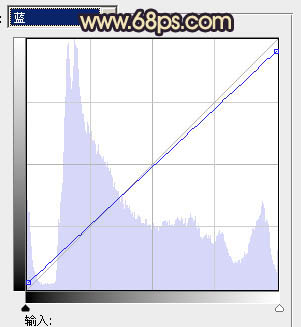
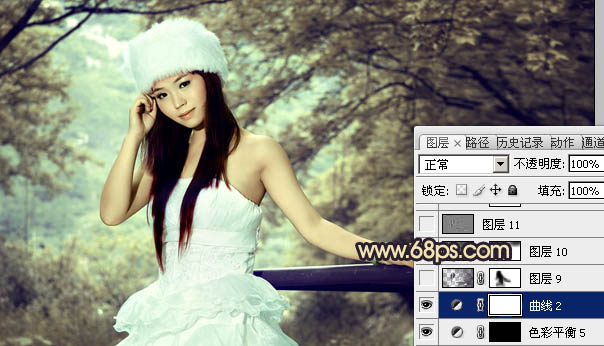
15、创建曲线调整图层,对蓝色进行调整,参数设置如图29,效果如图30。
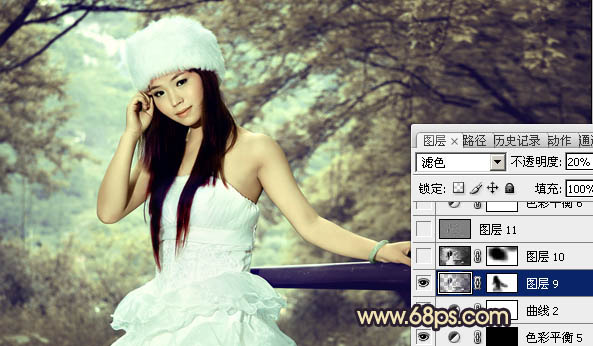
16、按Ctrl + Alt + ~ 调出高光选区,按Ctrl + Shift + I反选,新建一个图层填充暗蓝色:#3E324A,混合模式改为“滤色”,不透明度改为:20%,效果如下图。
17、新建一个图层,盖印图层。加强一下图片暗角,再适当把整体锐化一下,大致效果如下图。
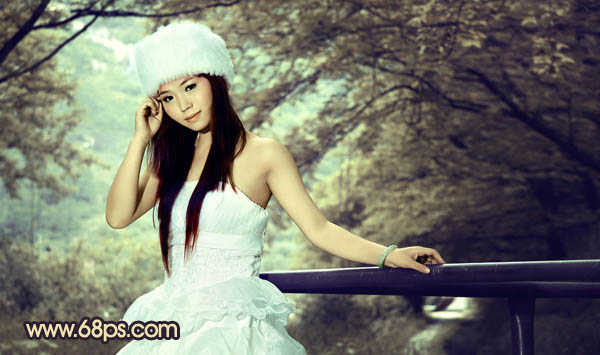
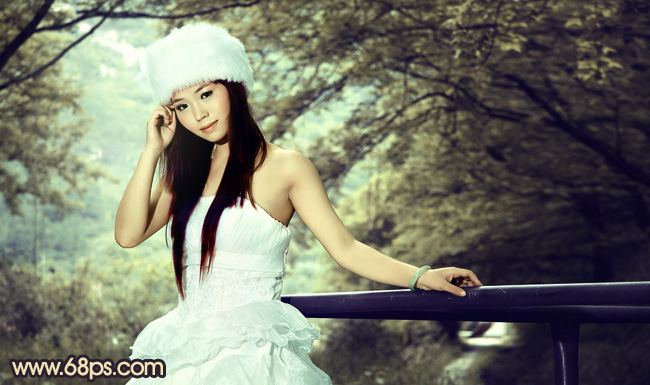
最后微调一下细节和整体颜色,完成最终效果。
16、按Ctrl + Alt + ~ 调出高光选区,按Ctrl + Shift + I反选,新建一个图层填充暗蓝色:#3E324A,混合模式改为“滤色”,不透明度改为:20%,效果如下图。
17、新建一个图层,盖印图层。加强一下图片暗角,再适当把整体锐化一下,大致效果如下图。
最后微调一下细节和整体颜色,完成最终效果。


![[非主流PS教程] 非主流图片制作教](https://img.lvups.com/d/file/titlepic/2022/12/25/ezubq003eyi.jpg)
![[非主流PS教程] 非主流ps教程:非主](https://img.lvups.com/d/file/titlepic/2022/12/25/rkudu2pcc44.jpg)
