
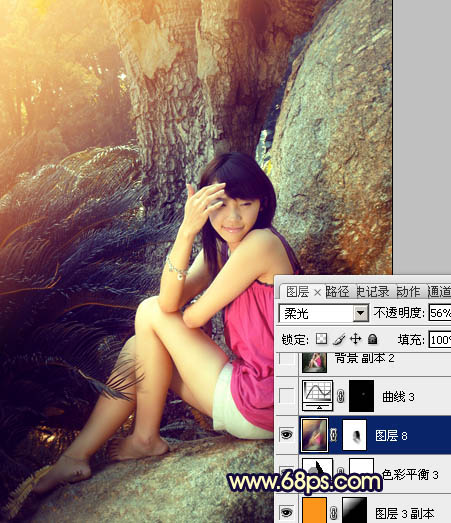
11、新建一个图层,盖印图层。执行:滤镜 > 模糊 > 高斯模糊,数值为5,确定后把图层混合模式改为“柔光”,不透明度改为:50%,效果如下图。
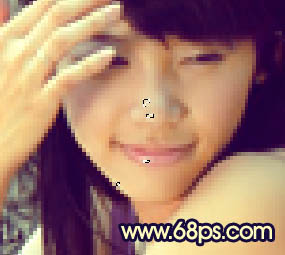
12、新建一个图层,盖印图层。用减淡工具把脸部高光部分稍微涂亮一点,效果如下图。
最后微调一下整体颜色,完成最终效果。

12、新建一个图层,盖印图层。用减淡工具把脸部高光部分稍微涂亮一点,效果如下图。
最后微调一下整体颜色,完成最终效果。
下一篇:几种常用暖色调照片效果


![[非主流PS教程] 非主流图片制作教](https://img.lvups.com/d/file/titlepic/2022/12/25/ezubq003eyi.jpg)
![[非主流PS教程] 非主流ps教程:非主](https://img.lvups.com/d/file/titlepic/2022/12/25/rkudu2pcc44.jpg)
