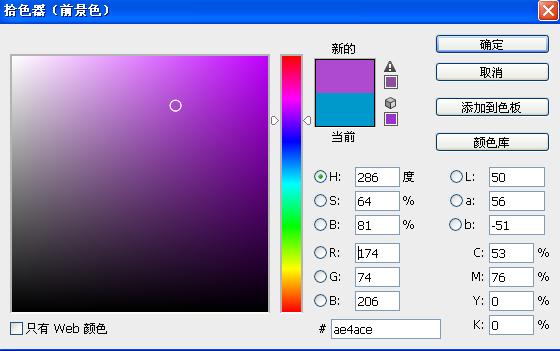
3、新建空白图层,前景颜色设置如下图。填充到图层。图层样式设置为“滤色“添加蒙版,用黑色画笔涂上。如下图
效果:

4、创建曲线图层,对RGB进行调整。参数设置如下图

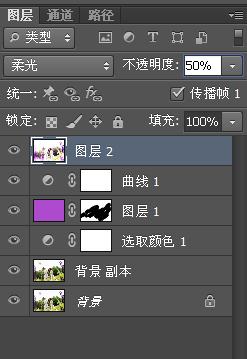
5、盖印图层,图层样式设置为”柔光“不透明度为50%
6、最终效果如下图!

3、新建空白图层,前景颜色设置如下图。填充到图层。图层样式设置为“滤色“添加蒙版,用黑色画笔涂上。如下图
效果:
4、创建曲线图层,对RGB进行调整。参数设置如下图
5、盖印图层,图层样式设置为”柔光“不透明度为50%
6、最终效果如下图!
上一篇:ps春季人物外景照片的橙绿柔美色
下一篇:ps韩系非主流紫蓝色