
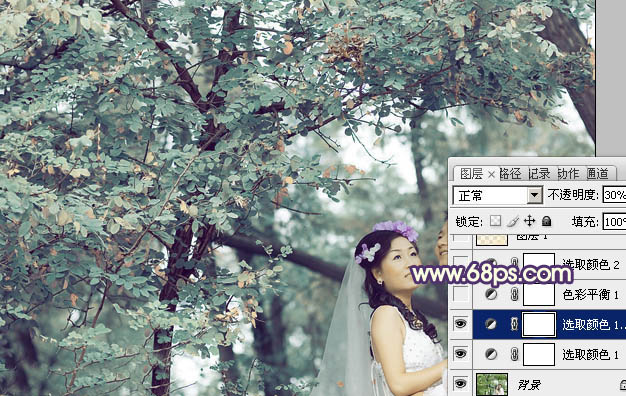
2、按Ctrl+ J 把当前可选颜色调整图层复制一层,不透明度改为:30%,效果如下图。
3、创建色彩平衡调整图层,对阴影、中间调、高光进行调整,参数设置如图7- 9,确定后把图层不透明度改为:30%,效果如图10。这一步增加图片的暖色。
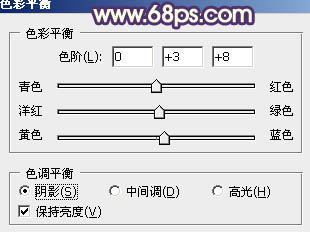

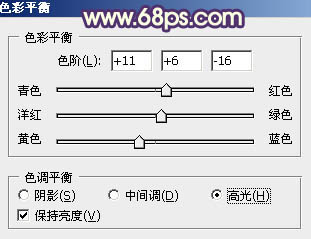
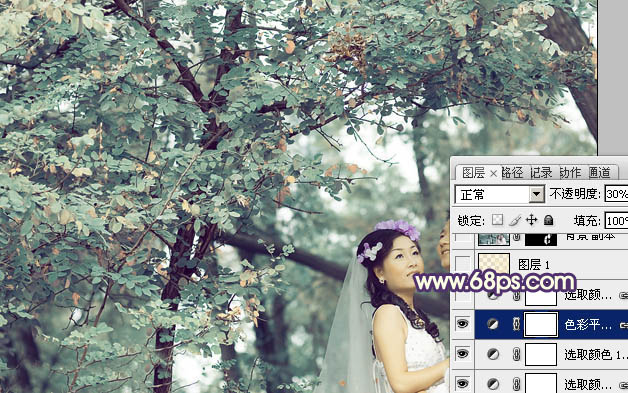
3、创建色彩平衡调整图层,对阴影、中间调、高光进行调整,参数设置如图7- 9,确定后把图层不透明度改为:30%,效果如图10。这一步增加图片的暖色。
上一篇:ps打造甜美的暗绿色外景人物图片
下一篇:ps打造柔和的黄褐色竹林婚纱照片


![[非主流PS教程] 非主流图片制作教](https://img.lvups.com/d/file/titlepic/2022/12/25/ezubq003eyi.jpg)
![[非主流PS教程] 非主流ps教程:非主](https://img.lvups.com/d/file/titlepic/2022/12/25/rkudu2pcc44.jpg)
