
6、用套索工具把脸部区域选取出来,适当羽化后用曲线调整图层加强肤色质感,数值自定,大致效果如下图。
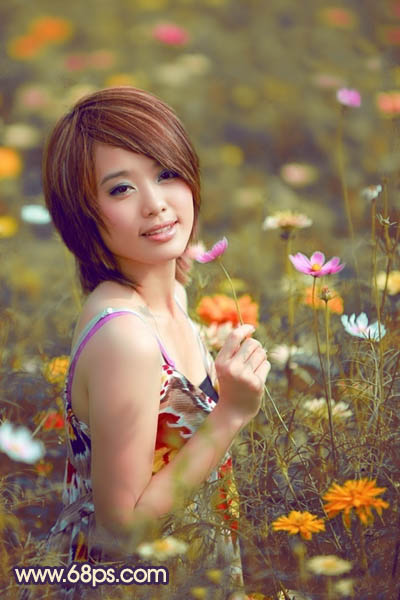
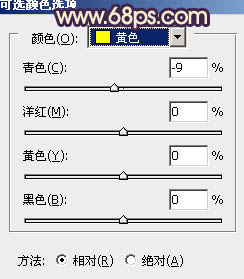
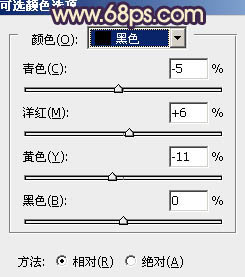
7、创建可选颜色调整图层,对黄、白、黑进行调整,参数设置如图12 - 14,效果如图15。这一步加强高光及暗部颜色,增强图片对比度。

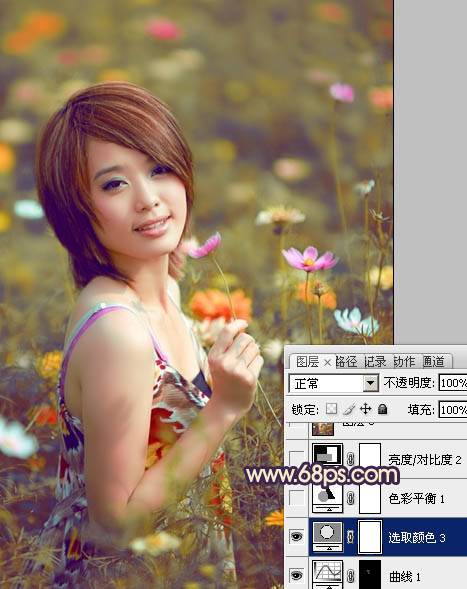
7、创建可选颜色调整图层,对黄、白、黑进行调整,参数设置如图12 - 14,效果如图15。这一步加强高光及暗部颜色,增强图片对比度。
下一篇:ps处理写真人物图片甜美的粉青色


![[非主流PS教程] 非主流图片制作教](https://img.lvups.com/d/file/titlepic/2022/12/25/ezubq003eyi.jpg)
![[非主流PS教程] 非主流ps教程:非主](https://img.lvups.com/d/file/titlepic/2022/12/25/rkudu2pcc44.jpg)
