10、创建色彩平衡调整图层,对高光进行调整,参数设置如图18,效果如图19。
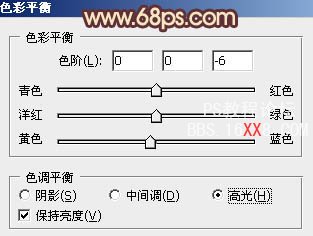
<图18>
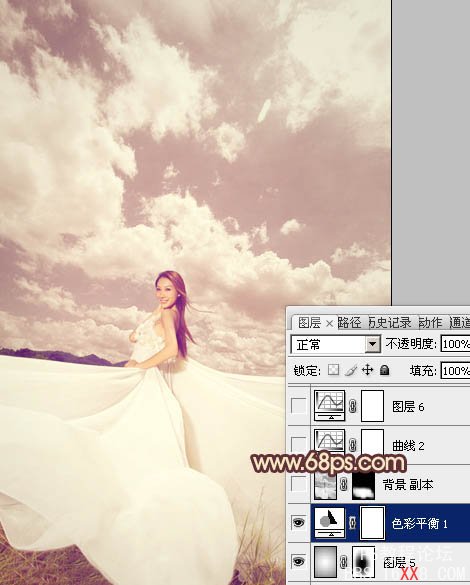
<图19>
11、把背景图层复制一层,按Ctrl + Shift + ] 置顶,按Ctrl + Shift + U 去色,再把混合模式改为“正片叠底”,按住Alt 键添加图层蒙版,用白色画笔把人物裙子部分擦出来,适当降低图层不透明度,这一步主要是增强衣服部分的细节,效果如下图。

<图20>
<图18>
<图19>
11、把背景图层复制一层,按Ctrl + Shift + ] 置顶,按Ctrl + Shift + U 去色,再把混合模式改为“正片叠底”,按住Alt 键添加图层蒙版,用白色画笔把人物裙子部分擦出来,适当降低图层不透明度,这一步主要是增强衣服部分的细节,效果如下图。
<图20>