

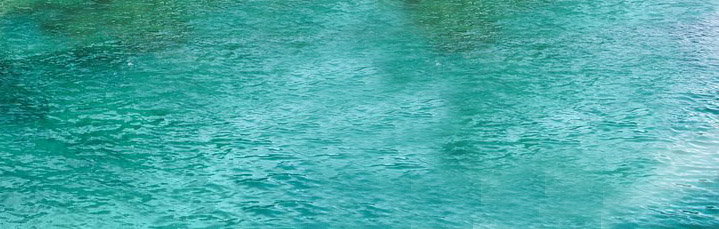
12、加入水面素材。打开下面的水面素材,用移动工具拖进来,放到组里面。
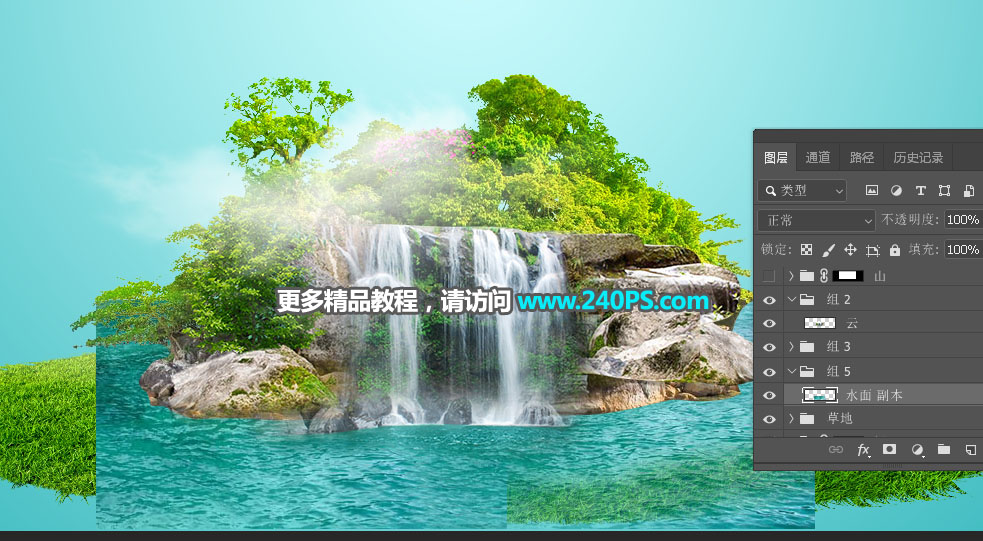
13、给组添加图层蒙版,并把蒙版填充黑色。
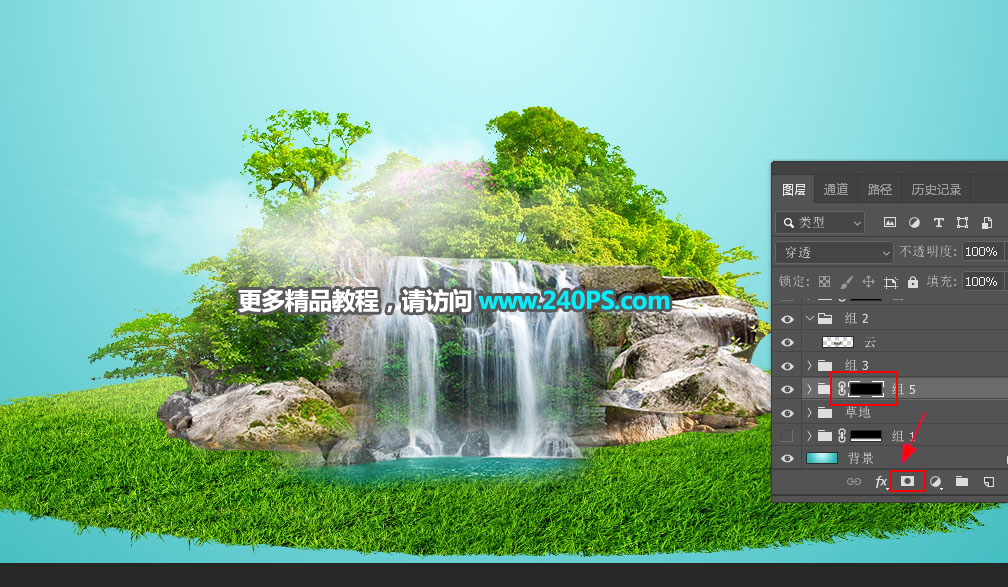
14、选择画笔工具,画笔不透明度设置为20%,用画笔把水面部分涂出来,过程如下图。
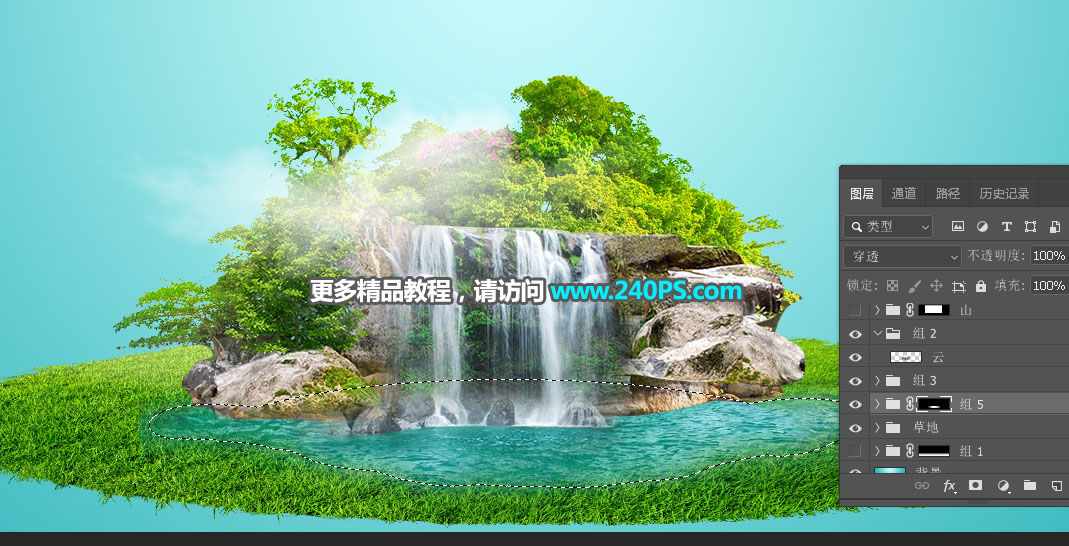
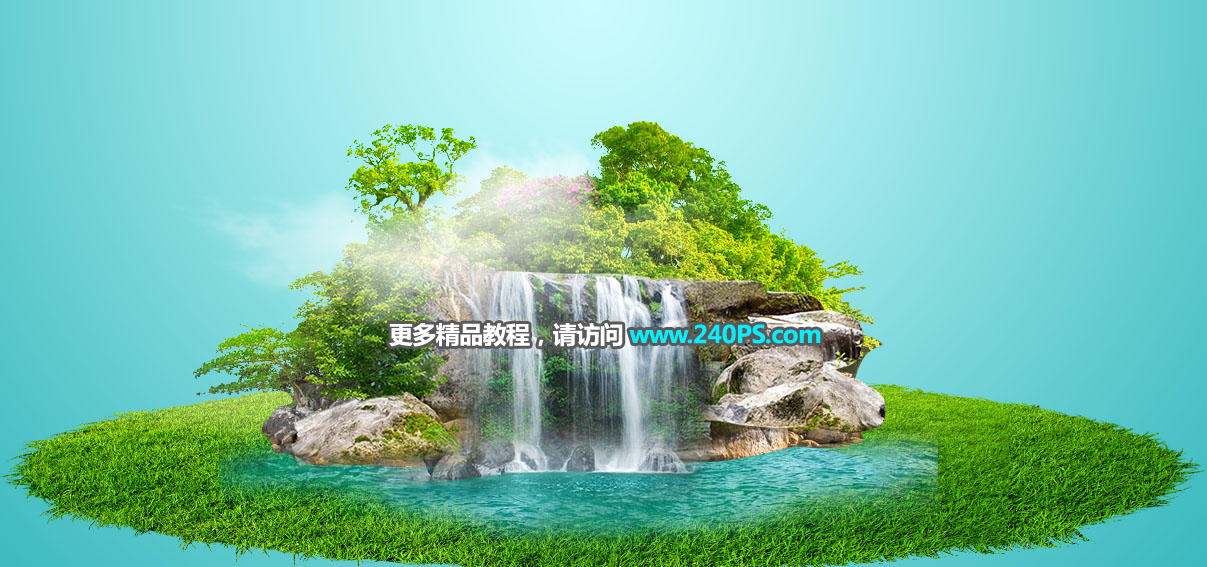
15、这是现在的效果,左右两侧还是有点空,需要处理一下。
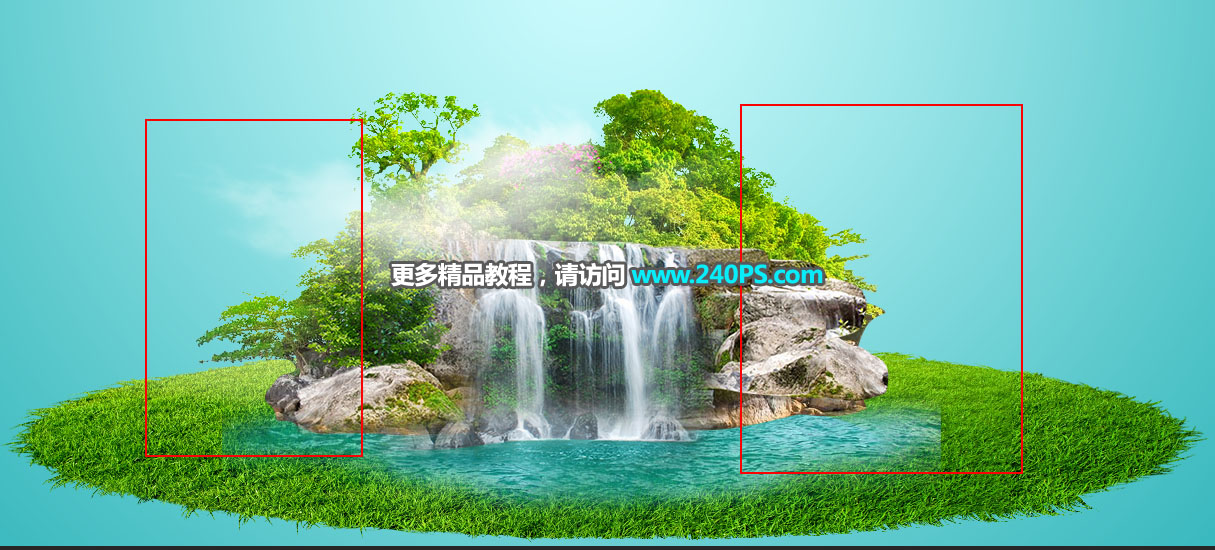
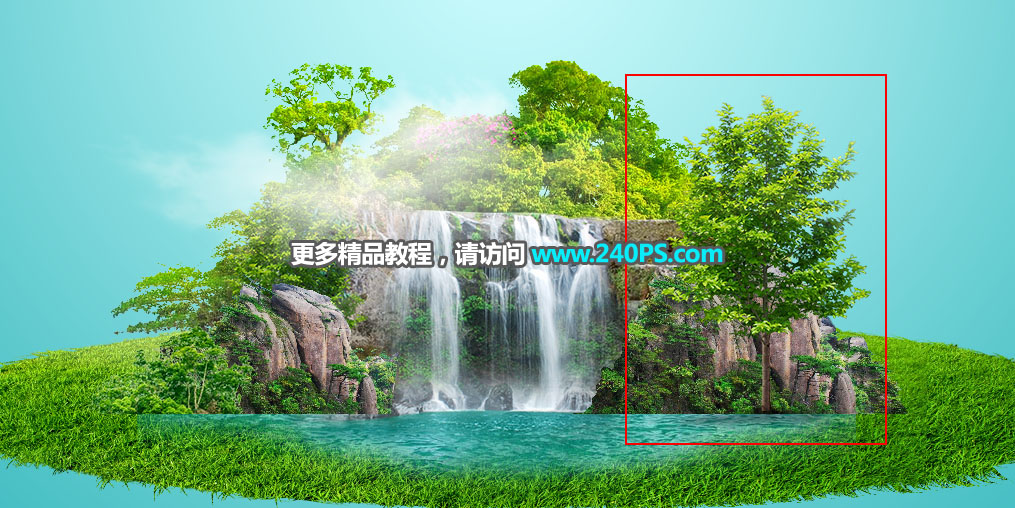
16、打开下面的石山素材2,用移动工具拖进来,放到右侧,调整好大小,把图层移到图层的最上面,过程如下图。

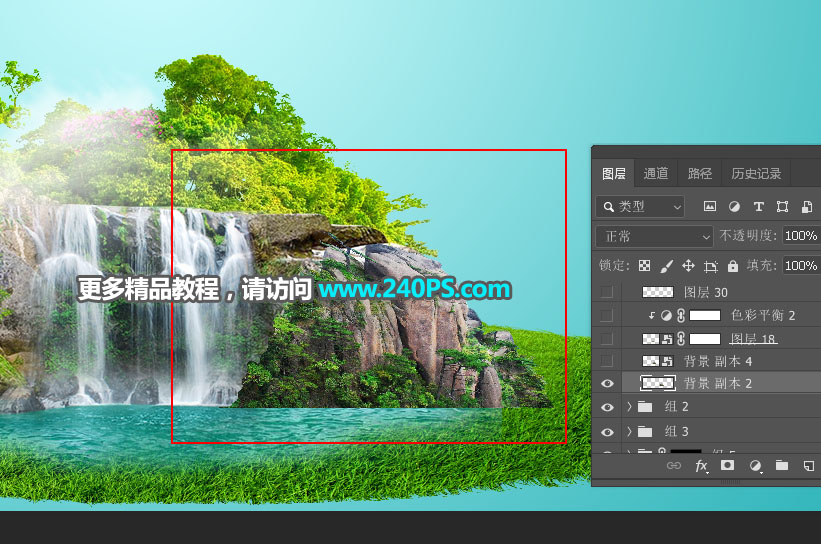
17、把当前图层复制一层,移到左侧,水平翻转一下,效果如下图。
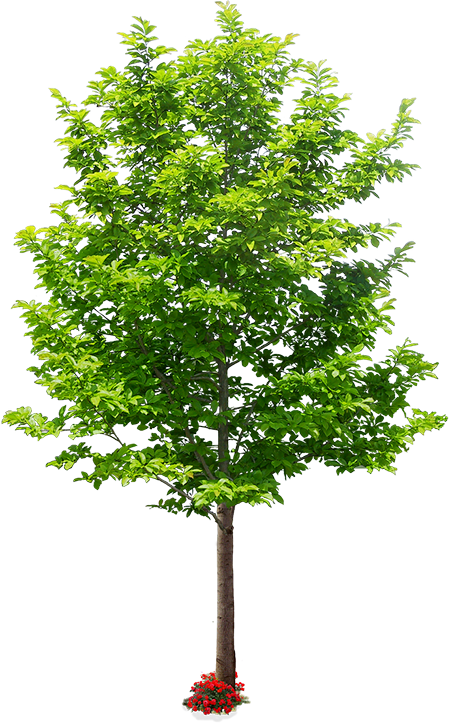
18、加入大树。打开下图所示树木素材,用移动工具拖进来,放到右侧位置,如下图。
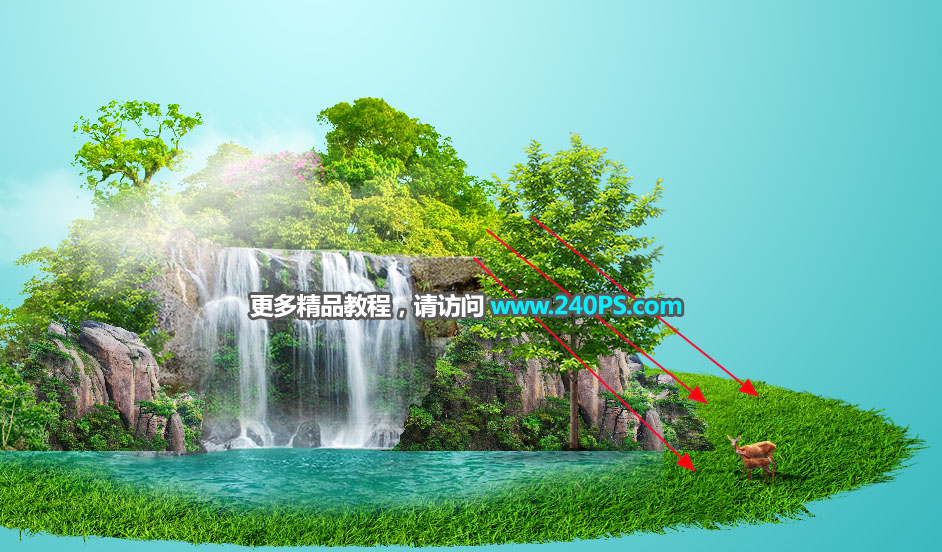
19、打开下面的鹿素材,抠出来,用移动工具拖进来,然后调整好位置和大小。
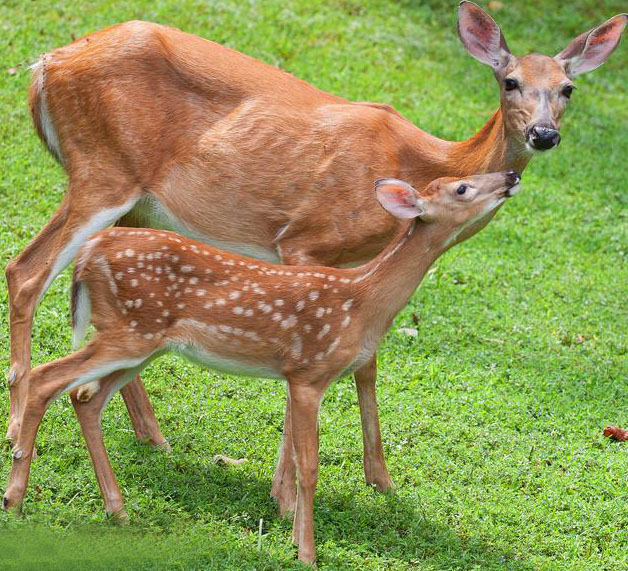
20、根据光源位置,微调鹿的光影,如下图。
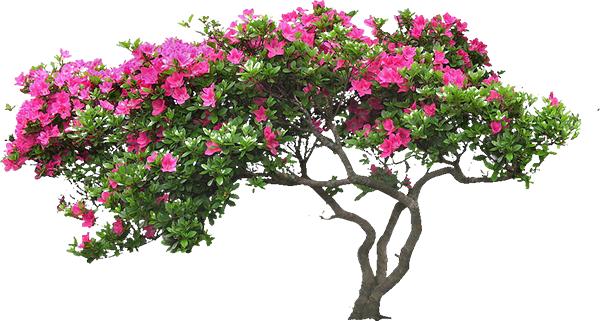
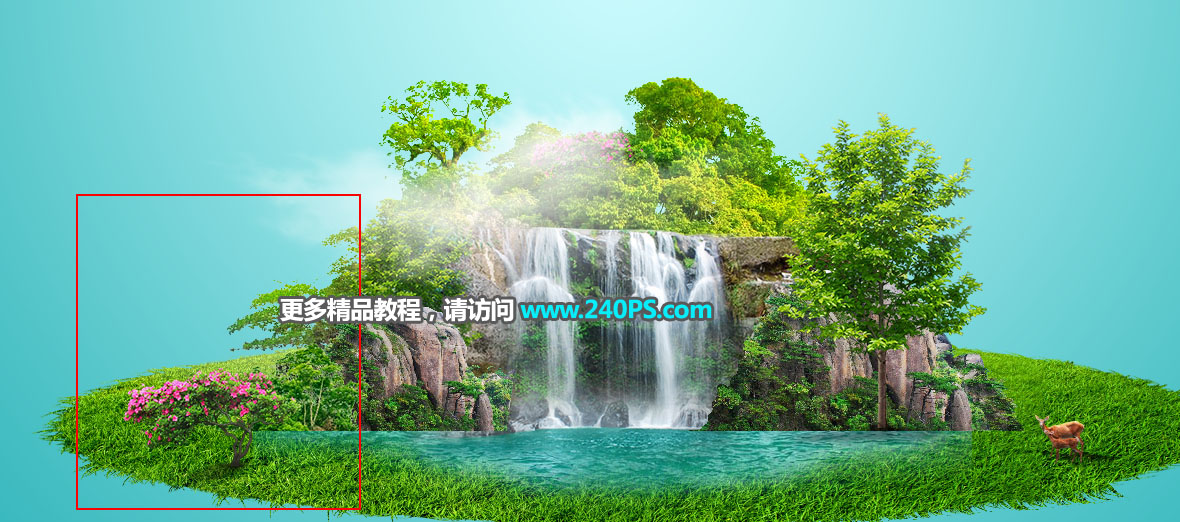
21、加入花树。打开下面的花树素材,用移动工具拖进来,放到左侧,并调整好大小及光影。
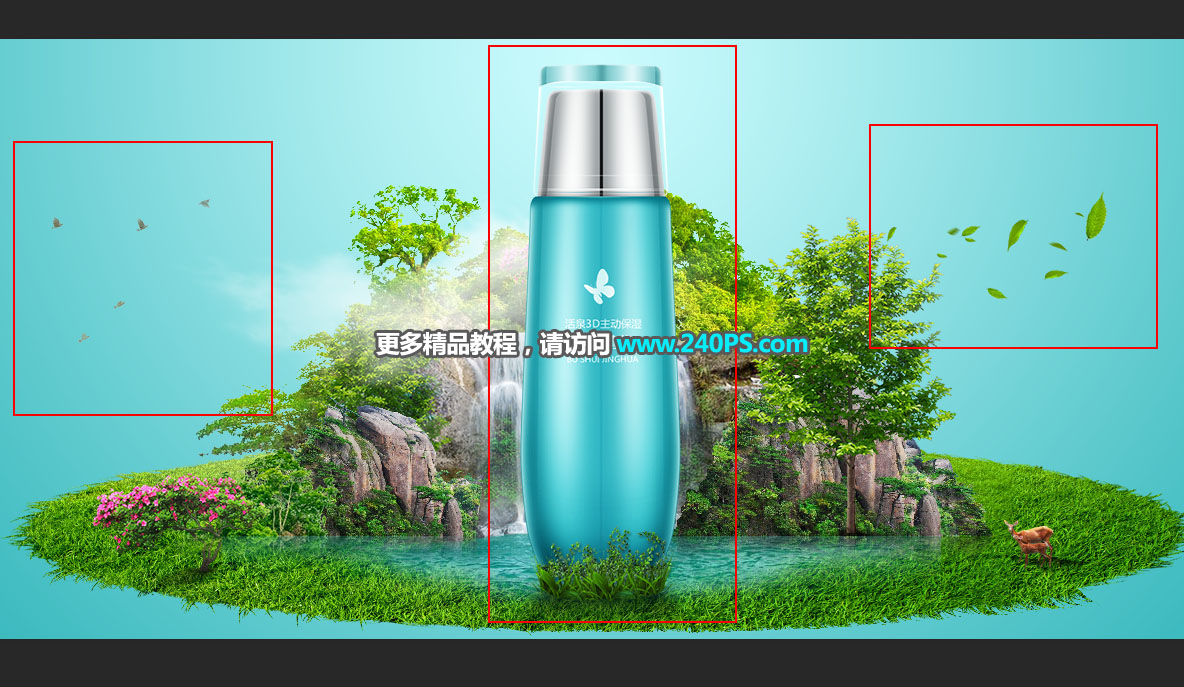
22、加入产品及一些装饰素材,效果如下图。
23、加入竹子。打开下面的竹子素材,用移动工具拖进来,按Ctrl + T 变形,然后鼠标右键选择变形,调整一下弧度,过程如下图。
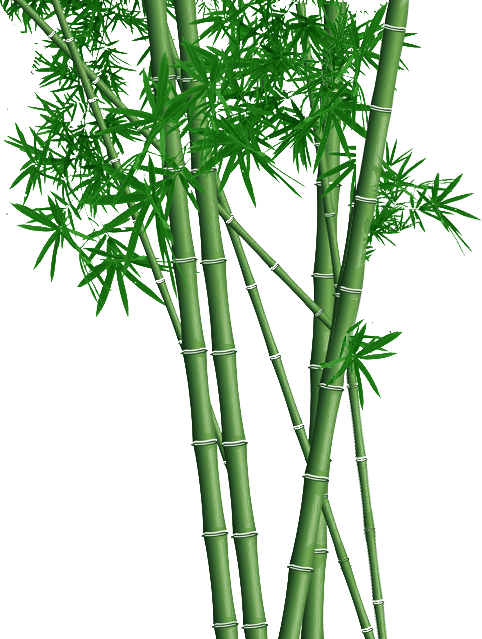

24、左侧竹子也是一样的方法制作,效果如下图。
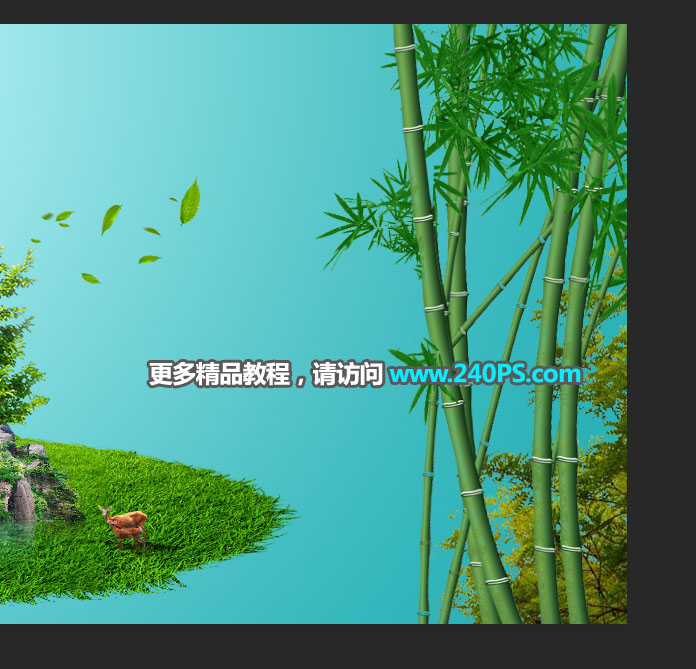
25、底部再加上一些水面,效果如下图。
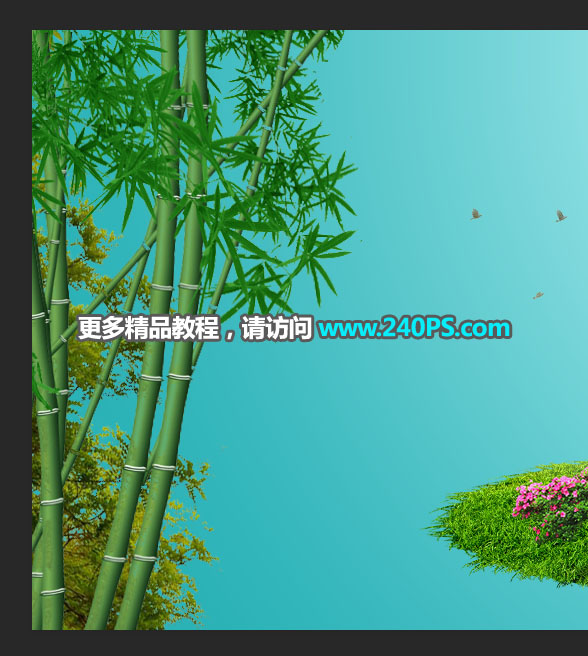
26、最后一步,微调一下细节和光影,再把整体柔化处理,效果如下图。

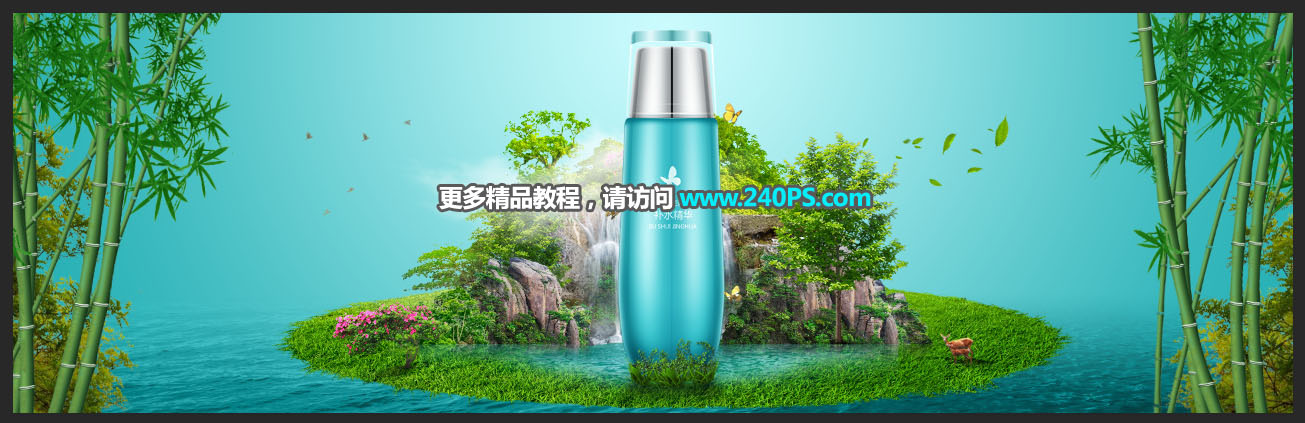
最终效果
 <点图片查看大图>


