
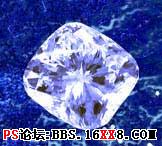
Erase the diamond's background (Polygonal Lasso Tool) and increase the stone's contrast (Curves). Give it a blue nuance also (Photo Filter)
使用多边形套索将钻石抠出来,增加对比度(图像-调整-曲线),并将钻石色调也调整为蓝色(图像-调整-照片滤镜)。
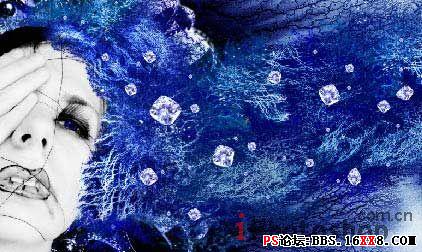
Copy now many times this layer and place the diamonds on the air's surface, changing their size with Edit Free Transform (ctrl+t)
将钻石多复制几份,沿着MM的假发凌乱放置,并使用编辑-自由变换改变一些钻石的大小,让它们看起来各不相同:)
Add the shadows by copying the stones' layer and make them of black color: Image -Adjustments -Brightness/Contrast
复制钻石层,将新层的钻石变为黑色(图像-调整-亮度/对比度),添加阴影效果。
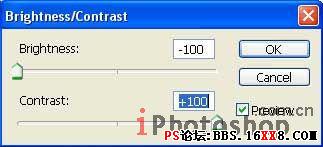
Place the indicated layer lower than the basic stones' layer and blur it out with Filter -Blur -Gaussian Blur.
黑色层点击滤镜-模糊-高斯模糊,如下设置,模糊后的图片放到原始钻石层下方。


