
先看效果图

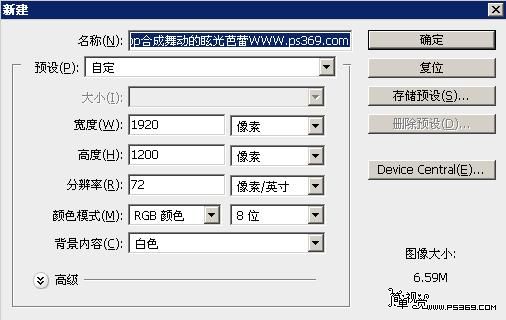
第一步:新建宽1920PX 高1200PX的画布
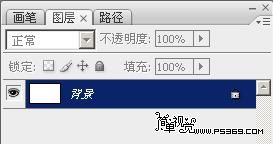
双击图层解锁,会弹出个新建图层,点击确定
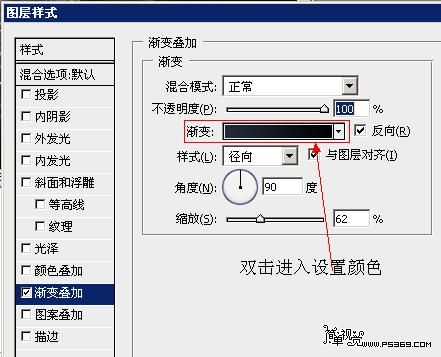
双击解锁后的图层进入图层混合模式,选择渐变叠加参数如下。
然后双击上图红框位置,进入渐变设置,从左到右为#020202→#212a3a
第一步:新建宽1920PX 高1200PX的画布
双击图层解锁,会弹出个新建图层,点击确定
双击解锁后的图层进入图层混合模式,选择渐变叠加参数如下。
然后双击上图红框位置,进入渐变设置,从左到右为#020202→#212a3a


