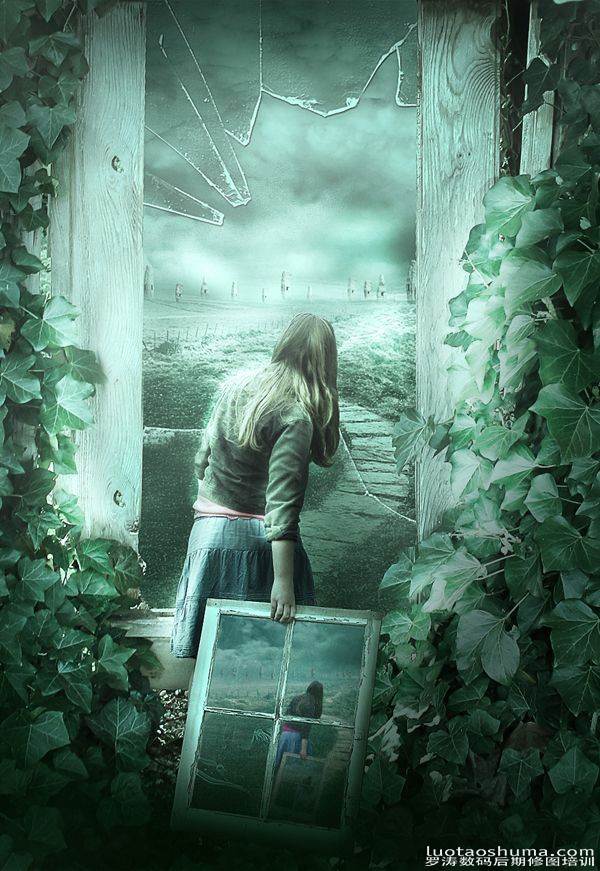
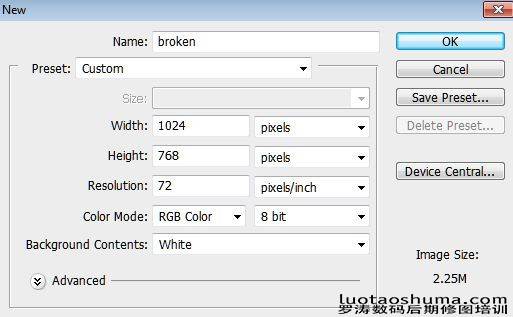
素材在最后面
![](https://img.lvups.com/d/file/bigpic/2022/12/26/2kx12ohenug.jpg)
![按此在新窗口浏览图片](https://img.lvups.com/d/file/bigpic/2022/12/26/adg2nmabdcy.jpg)
![按此在新窗口浏览图片](https://img.lvups.com/d/file/bigpic/2022/12/26/zvst00z0j3s.jpg)
最终效果预览:
![](https://img.lvups.com/d/file/bigpic/2022/12/26/2kx12ohenug.jpg)
第1步
开始创建一个新的文件(Ctrl + N) 1024像素宽和768像素高。命名:破碎
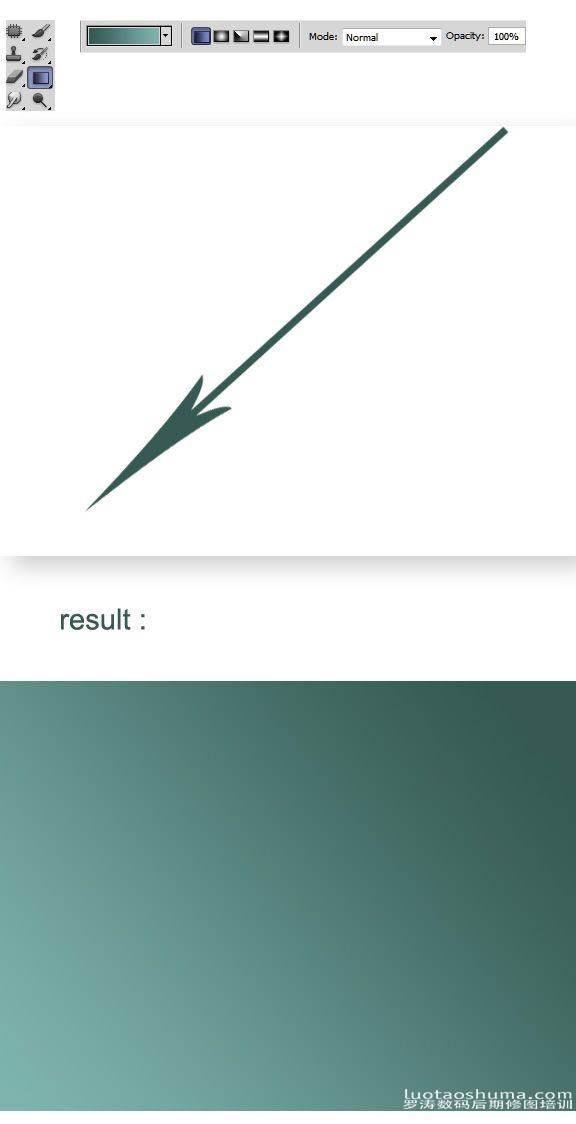
![按此在新窗口浏览图片](https://img.lvups.com/d/file/bigpic/2022/12/26/adg2nmabdcy.jpg)
第2步
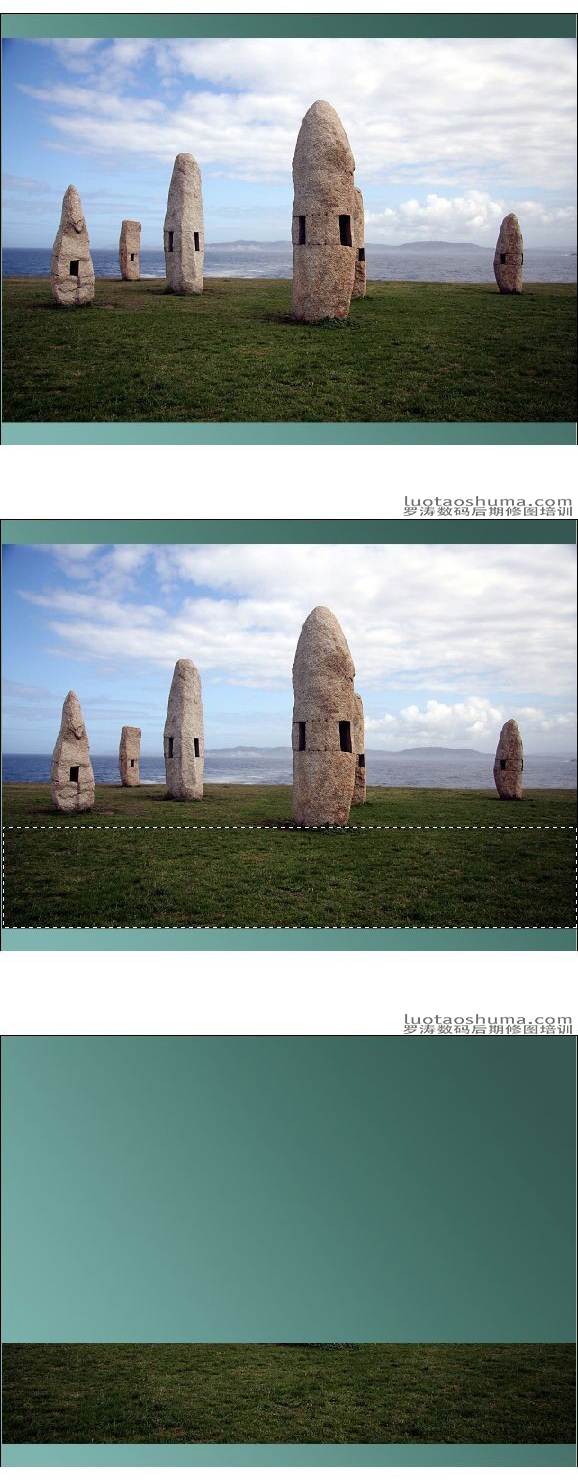
设置前景色为#365a53、背景色为#7fb4af。并使用渐变工具,在工具面板上,选择线性渐变、正常模式、100%不透明度的渐变,开始制作 一个从右上角至左下
角的颜色渐变。请看截图:
![按此在新窗口浏览图片](https://img.lvups.com/d/file/bigpic/2022/12/26/zvst00z0j3s.jpg)
第3步
现在打开巨石图片素材,使用矩形选框工具,选取要使用草地区域,按Ctrl + J键复制得到一个草地层。我命名这个层叫:草地1层,我们将 使用草地层进行下面
的操作,这是下面修图环节必不可少的。
![按此在新窗口浏览图片](https://img.lvups.com/d/file/bigpic/2022/12/26/iak3n4do1l5.jpg)