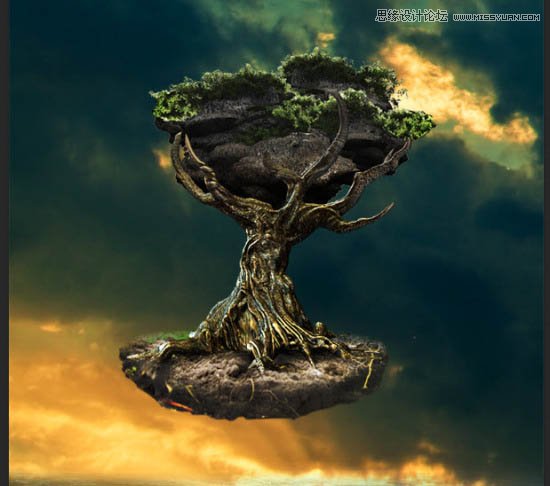
10、这是迄今为止效果。

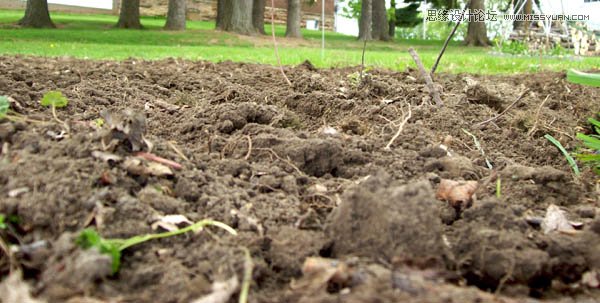
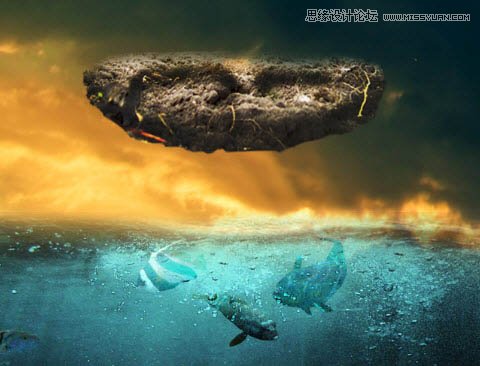
11、添加地面,把地面素材拖到PS,用选区工具选择选择,如下图所示。
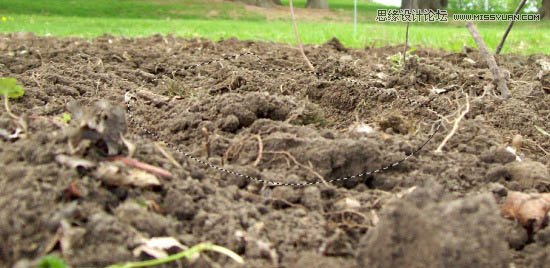
12、复制并粘贴到文档。调整大小,把它放在海洋图层上面。用软橡皮擦擦其边缘直到形成以下形状。
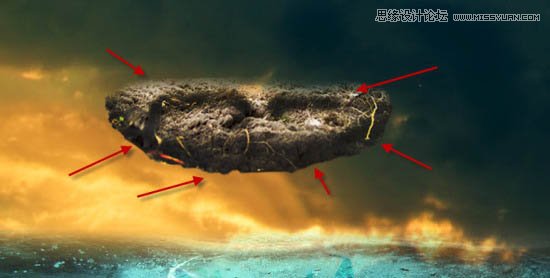
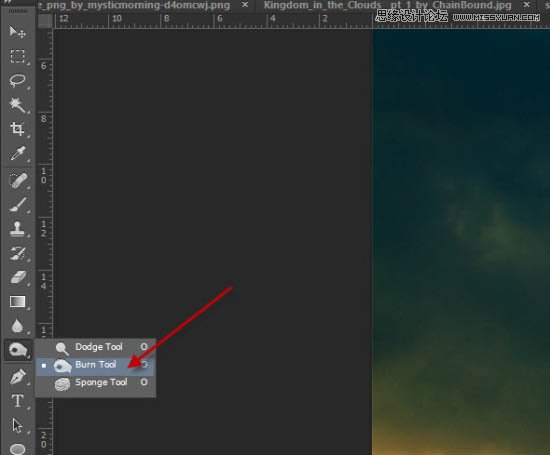
13、用加深工具加深地面的底部,如下图所示。
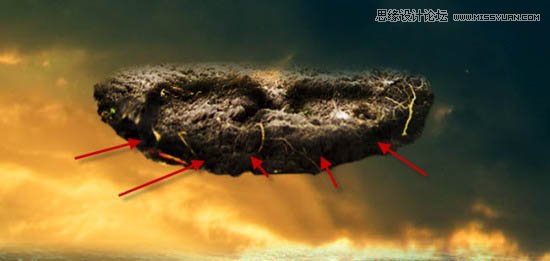
14、为土壤图层添加曲线调整层蒙版。

15、这是迄今为止效果。
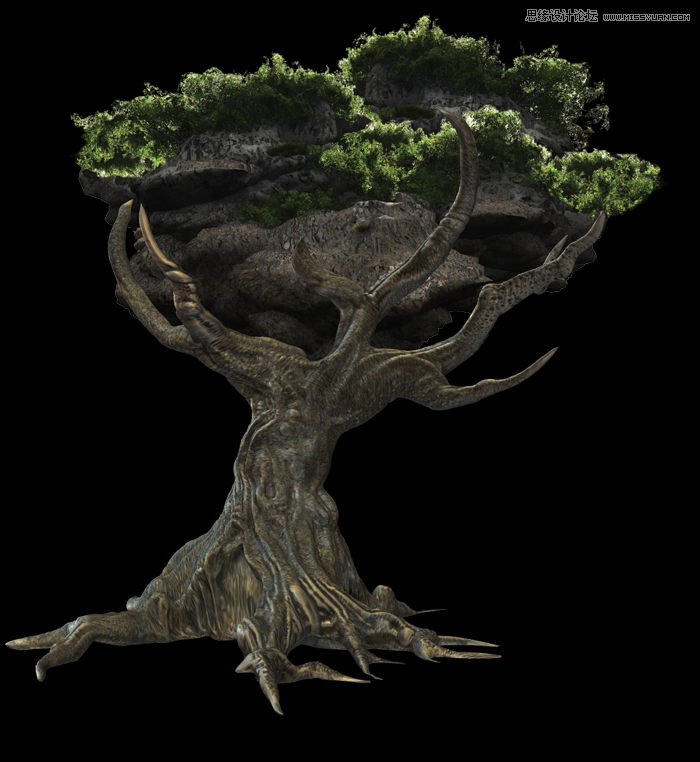
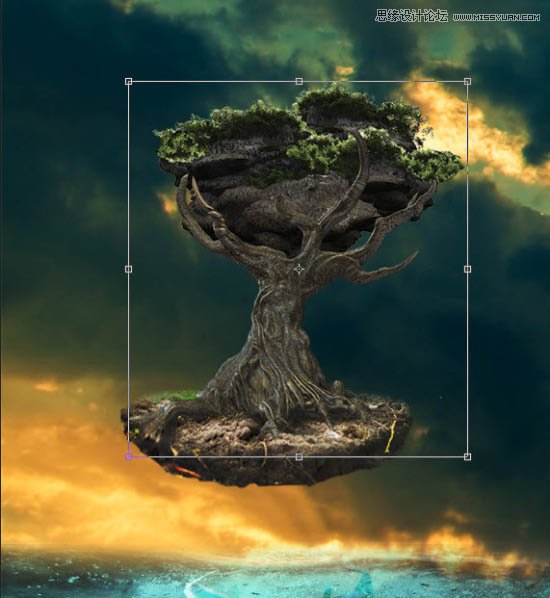
16、添加树,将树的素材添加到我们的文档,调整大小以适应地面的宽度。
17、添加下面的曲线调整层为蒙版。
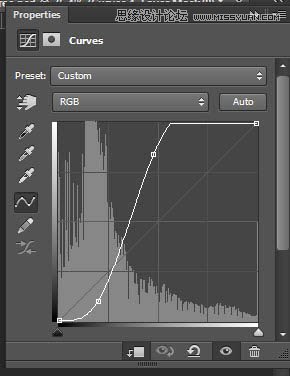
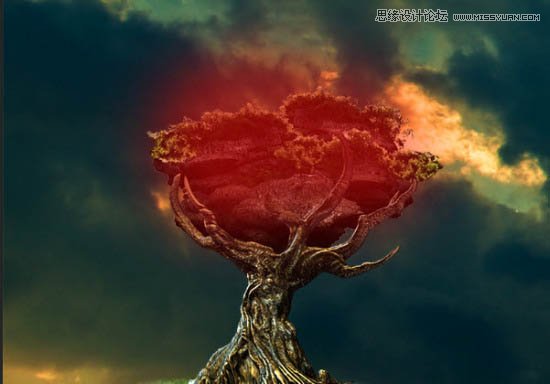
18、在曲线蒙版中用黑色涂抹一下区域。
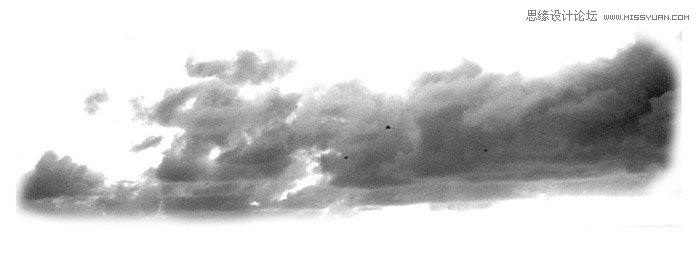
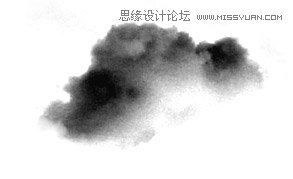
19、新建一个图层,用云朵笔刷画一些云朵出来。
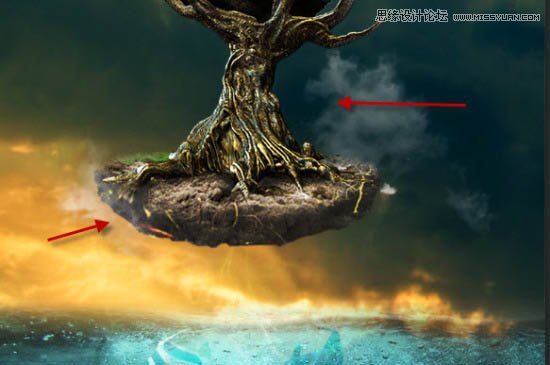
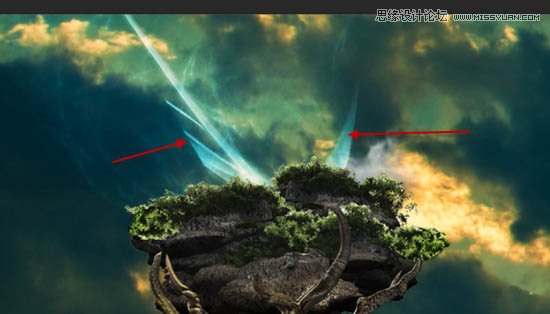
20、创建一个新层,再加一些粒子效果。
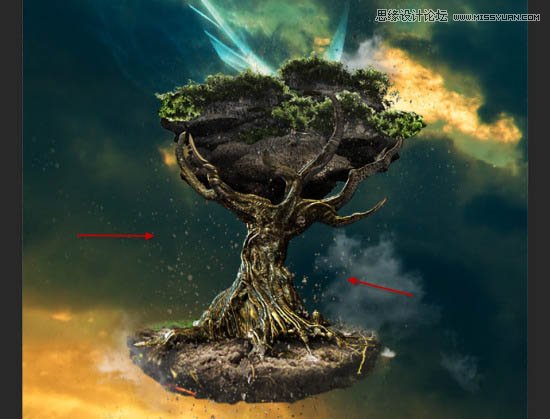
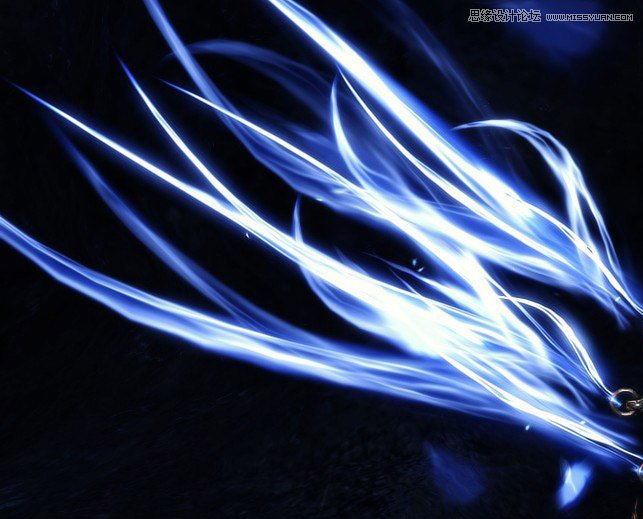
21、使用抽象的笔刷画一些线条在树的周围:(用“叠加”的混合模式,添加一下花哨的照明效果)。