
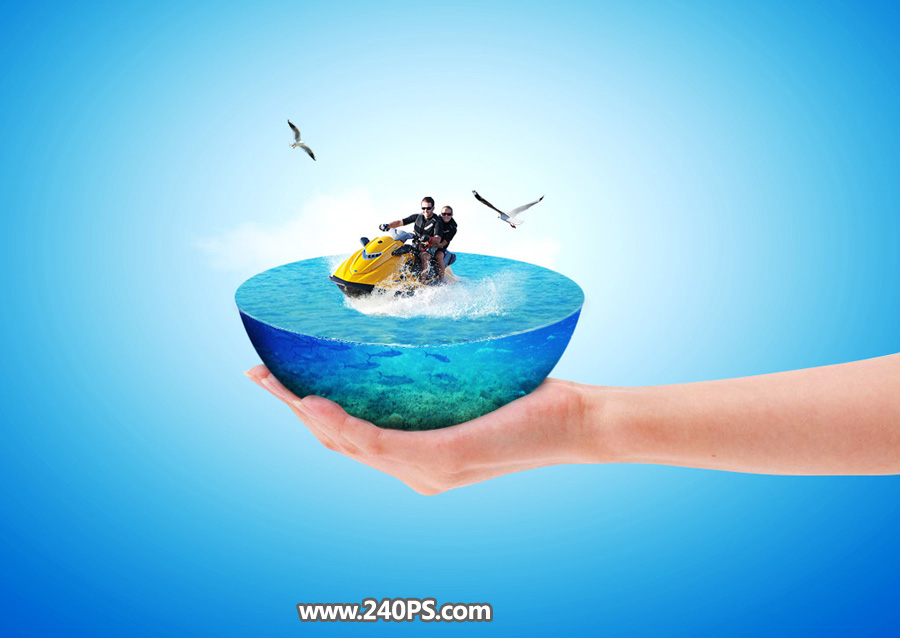
水立方效果非常流行,它以一种极广的视觉来展示水中的世界,分别可以看到水面、水中、水底、天空等画面,每一个面又可以加入相关的各种元素,内容非常丰富。感兴趣的朋友让我们一起来学习吧。
最终效果
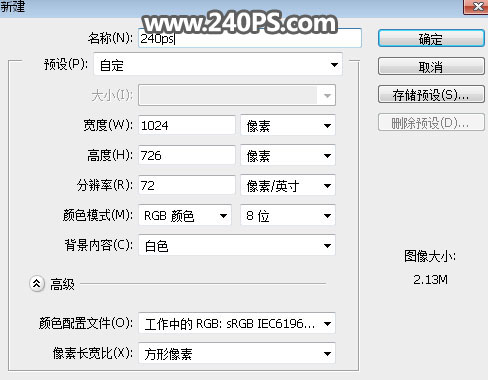
1、新建画布。打开PS软件,按Ctrl + N 新建画布,尺寸为1024 * 726像素,分辨率为72像素/英寸,然后确定。
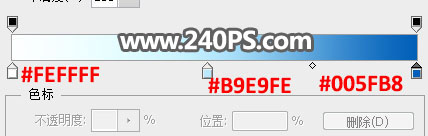
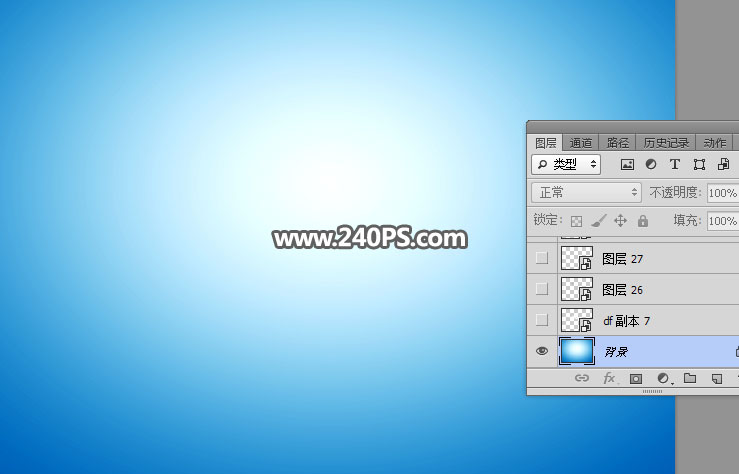
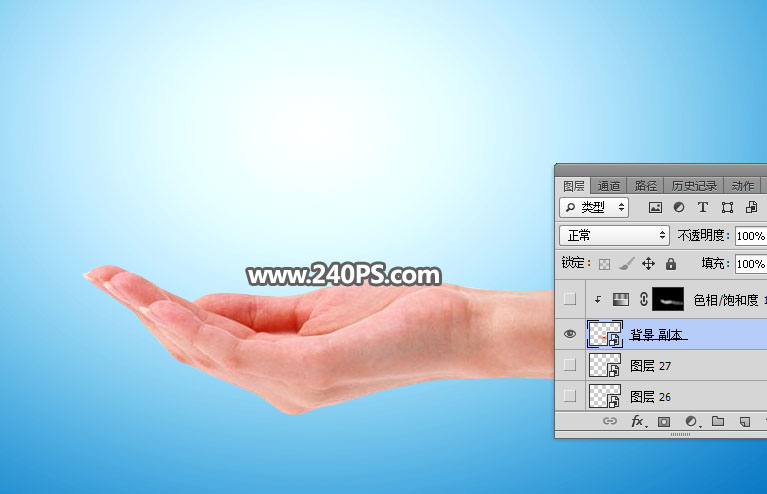
2、添加背景色。选择渐变工具,颜色设置为淡蓝色至深蓝色,如下图,然后由画布的中心向边角拉出径向渐变。

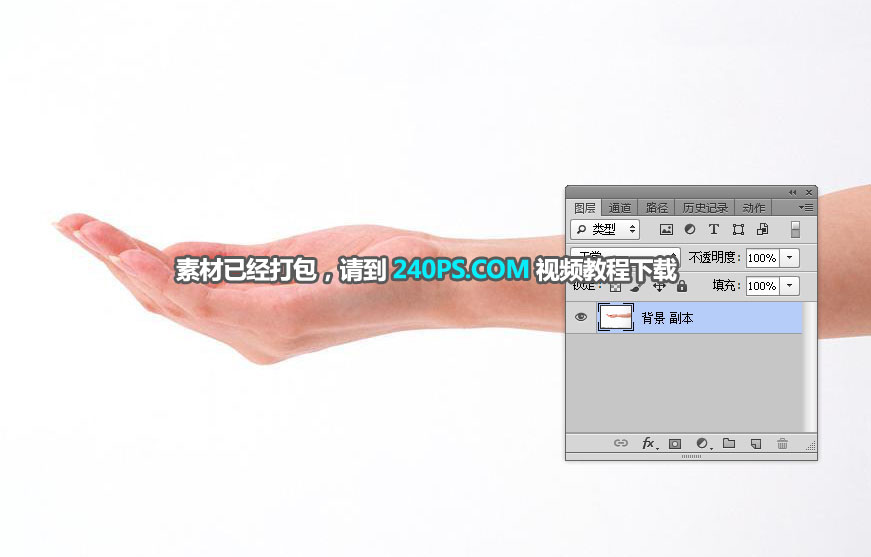
3、打开手的素材。
4、用钢笔工具勾出手,转为选区后添加图层蒙版。

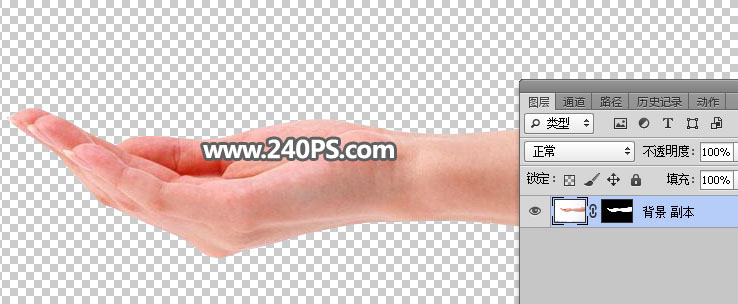
5、用移动工具把抠出的手拖进来,调整好位置,如下图。
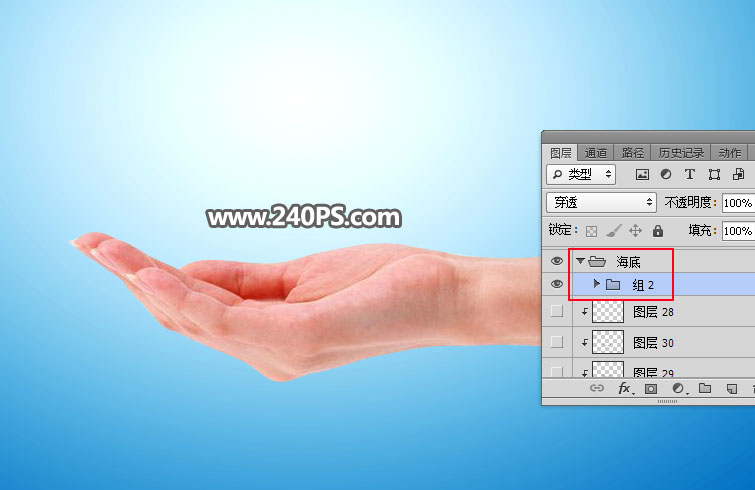
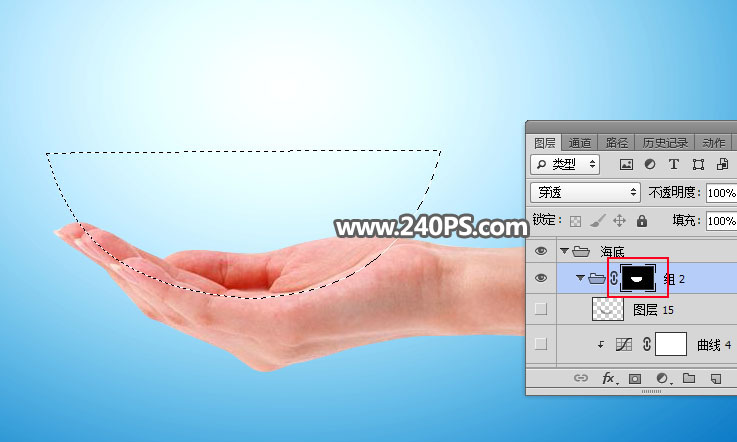
6、新建一个组命名为“海底”,然后在组里再新建一个组,如下图。
7、选择新建的组,用钢笔工具勾出下图所示的选区,并给组添加图层蒙版。
8、打开海底素材1,用移动工具拖进来。
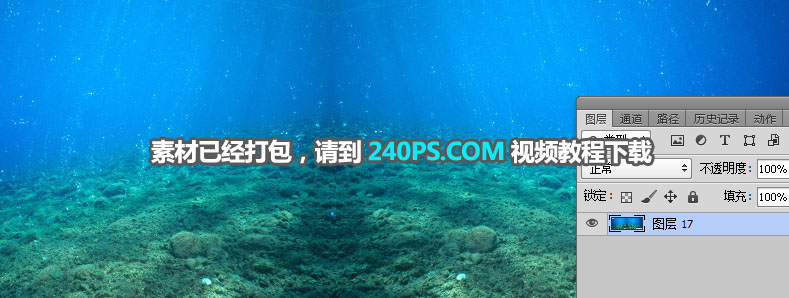
9、调成下图所示的大小。
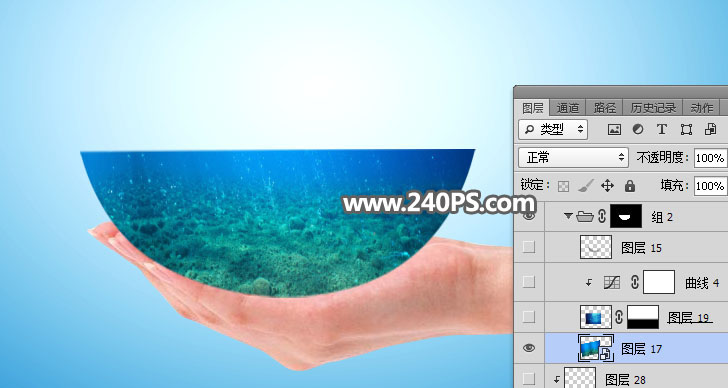
10、打开海底素材2,用移动工具拖进来。
11、添加图层蒙版,用黑白渐变拉出底部透明效果,如下图。
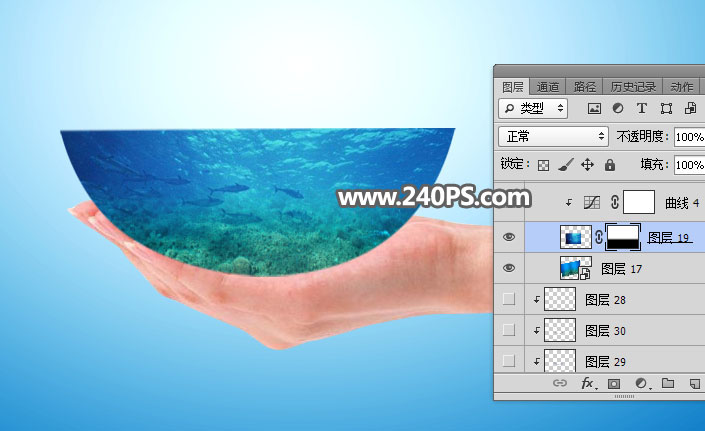
12、创建曲线调整图层,增加明暗对比,参数设置如下图,确定后按Ctrl + Alt + G 创建剪切蒙版。


