
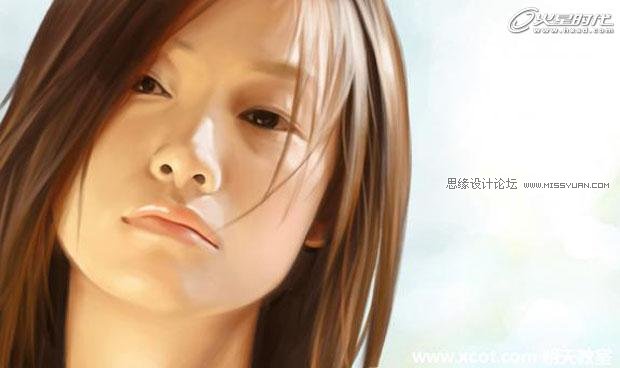
效果图:
首先我们打开PS,新建一张画纸,这里的比例设定为宽屏比例。注意我们在开始打稿的时候不要一下就陷入到形体的细节去,这里我采用的方法是
先用几个大色块对人物的形体做个大的概括。
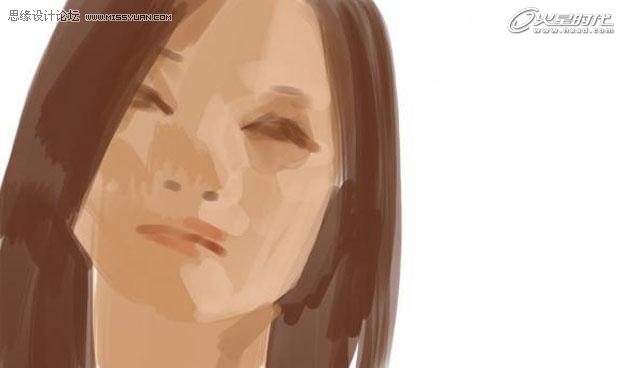
然后继续用大色块把脸部几个转折,光源和冷暖对比分出来,在这里我们可以开始理出结构关系了。
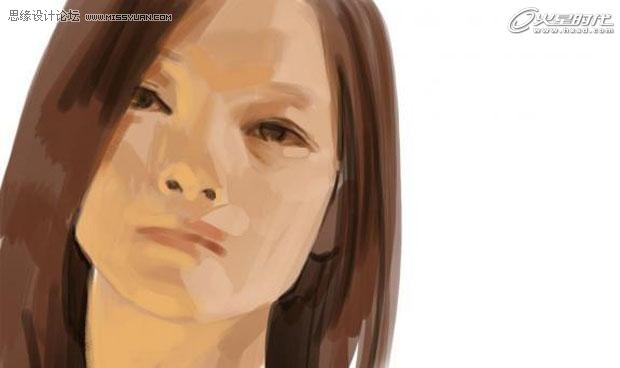
继续细化光线的结构和结构关系。
粗略地画出高光的位置,到此草图阶段基本完成,校对全图,开始进行结构的调整。
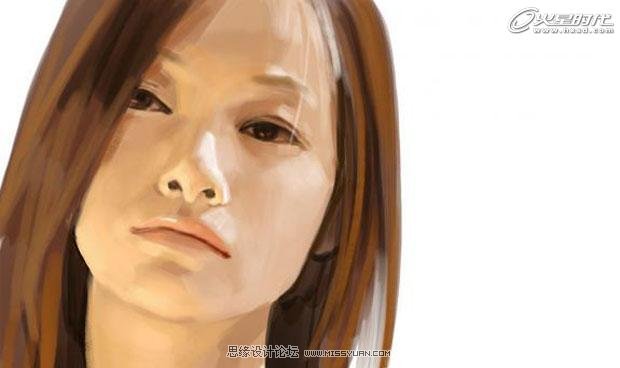
校准人物的头形,透视,比例等关系,虽然这是一张注重色彩关系的练习,但这些仍是十分重要的。
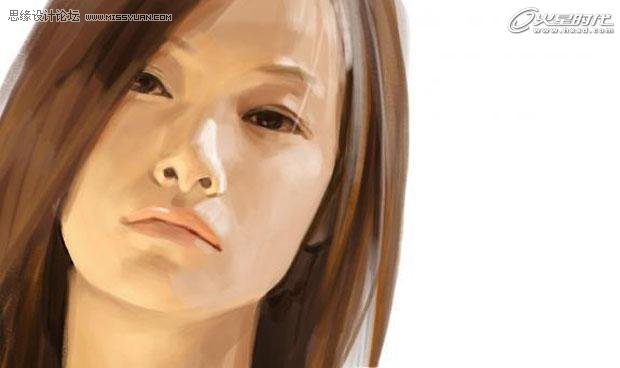
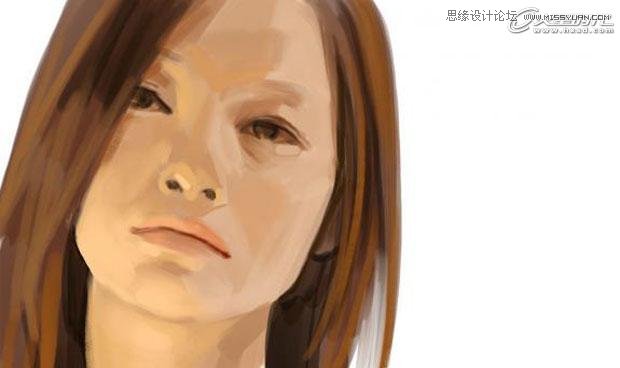
对五官等部位进行调整,注意在塑造女性五官的时候既要把几个重要的结构点体现出来,但又不能画得太过明显,捕捉色彩间的微妙变化
可以帮助我们达到这一点。

这时我们可以新建一个图层,柔化先前的凌乱笔触,同时进一步校准人物的眼神等细节。
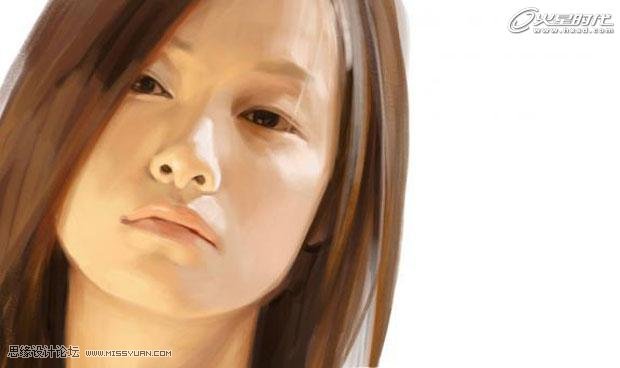
可以看出,这里人物的皮肤已经相对细腻很多,这个方法对于一些写实、唯美插画中女性的表现很实用。
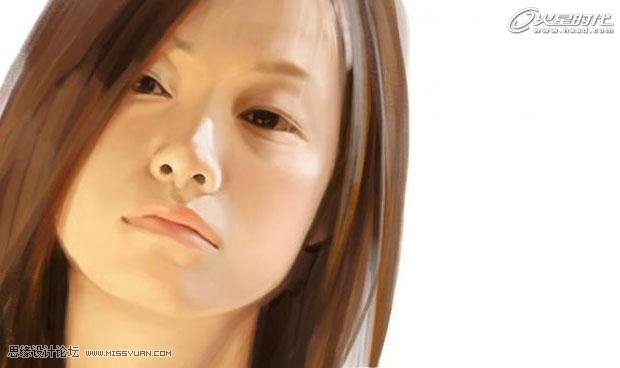
我们接着给人物画上头发,注意,让一些头发“跳”出来会增加画面的鲜活感,也给女性角色带来一些生活气息。

然后给人物加上唇上的高光,使画面看上去更加提神,再给画面加上简单的背景,画面就算是完成了。


