
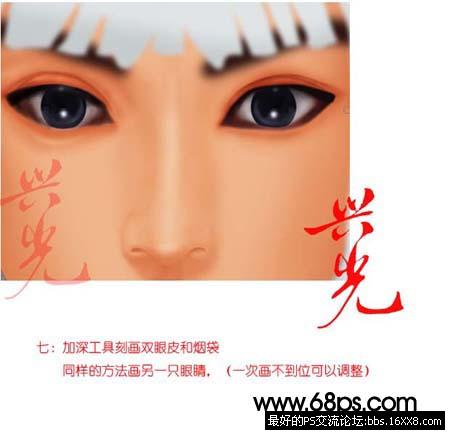
7、用加深工具客户双眼皮和眼袋,同样的方法画另一只眼睛。
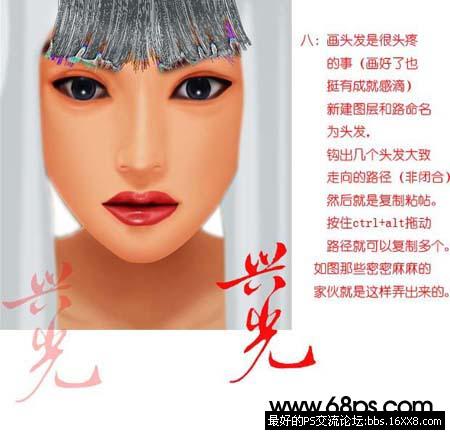
8、话头发很头疼,新勾出几个头发的大致 走向的路径,然后就是复制粘贴,按住Ctrl = Alt移动路径就可以复制多个。
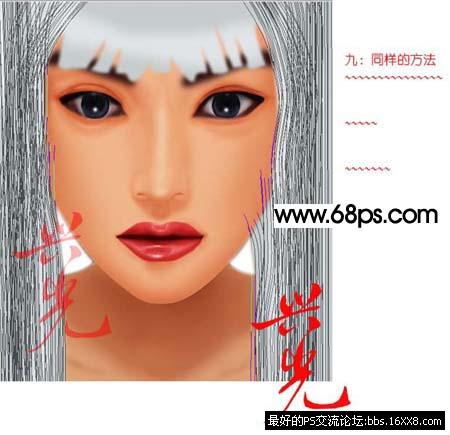
9、同样的方法勾长发。
10、选画笔工具按F5打开选项画板,进行设置如下图。

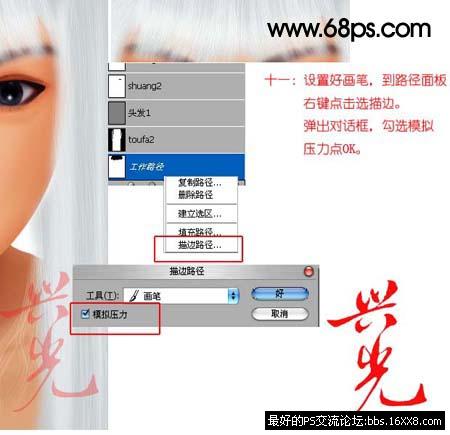
11、设置好画笔,到路径画板右键点击选描边。弹出的对 话框,勾选模拟压力勾选。
12、眉毛的画法相 同。
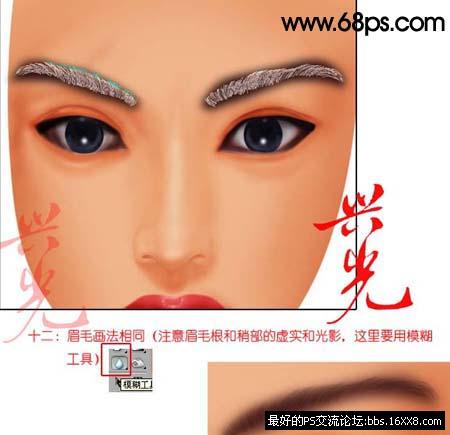
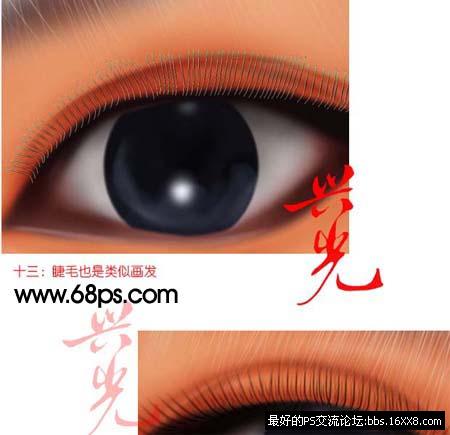
13、睫毛的也类似。
[table]
画好的眼睛局 部放大。

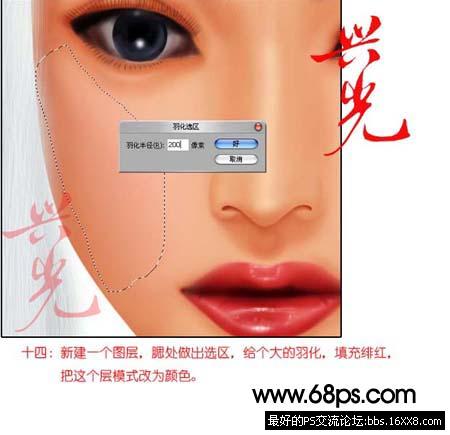
14、新建一个图层,腮处用套索工具勾出选区,适 当的羽化,填充粉红色,图层混合模式改为颜色。另一边用同样的方法。
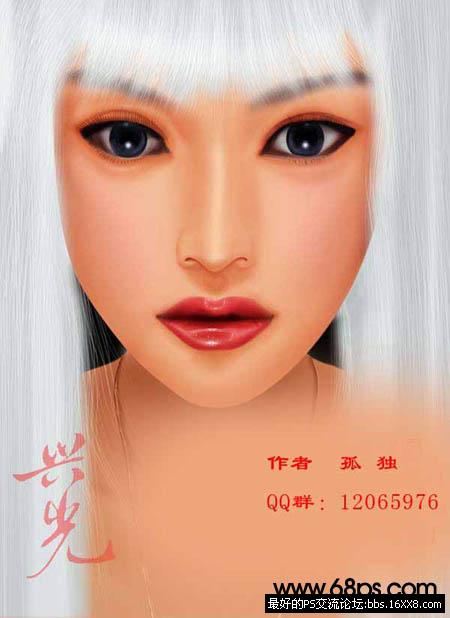
整体修饰细节,完成最终效果。
搜索更多相关主题的帖子: ps鼠绘教程 photoshop教程


