
4.选择【滴溅】笔刷,制作元素的亮部,使颜色加深,如图所示:
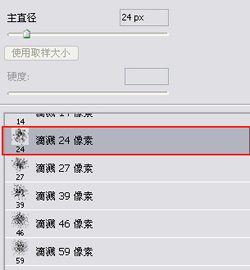
图4-1
画笔的模式选为【颜色减淡】
图4-2
不需要全体提亮,只需要把笔刷刷在要提亮的具体位置就行,提亮后的效果对比,明显效果好了不少。

图4-3
5.同样的方法处理魔法旋窝。

图5-1
6.接着通过【喷枪】钢笔和【滴溅】笔刷交替绘制女法师施法聚气的魔法球。

图6
7.到这一步,我要明确下整幅画的明暗变化,左上方需要提亮,需要加闪电之类的元素进去,而偏右下方的区域颜色需要加重变暗,这样才能拉开明暗对比,让气氛更加强烈。

图7-1
新建一层,图层模式为【柔光】
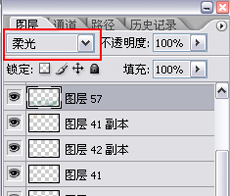
图7-2
选择一种淡黄色,在左上方制作光晕,不过颜色需要调整。

图7-3
调出【色彩平衡】界面,设置参数如下。

图7-4
调节【色彩平衡】使光晕的亮度和背景的融合度都调高了。

图7-5
8.新建一层,图层模式为【颜色减淡】
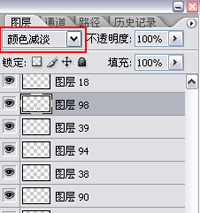
图8-1
选择【耀斑】笔刷。

图8-2


