
今天我们用photoshop将正常色彩的人像照片调节为黑白冷艳的特效,喜欢黑白效果的朋友可以学习一下.
先看看原图和效果图:
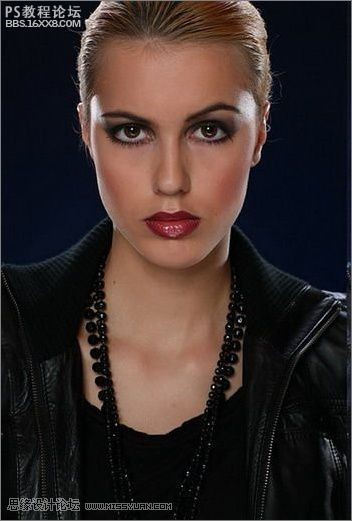
原图

效果图
下面是调色过程和步骤:
1、用photoshop打开原图,复制图层,用仿制图章工具磨皮,透明度我用20%。
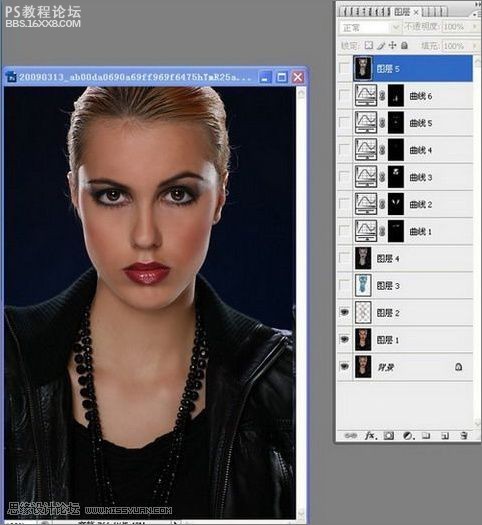
图1
2、将磨皮后的图层复制一层,执行图像—调整—反相,把图层模式设为:颜色,不透明度:35%。
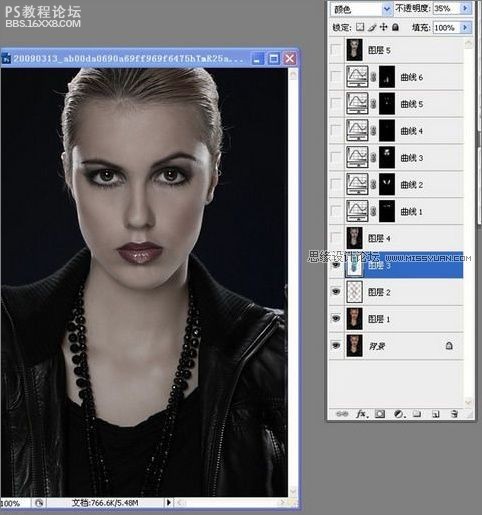
图2
,
3、盖印图层,建曲线调整3、盖印图层,建曲线调整层,用曲线加深眼部。 图3 4、加深腮部 图4 5、 曲线4提亮鼻梁。 图5 6、眼白、嘴唇下面上面提亮。曲线6脖子那里提亮,先选哪地方要提亮,用曲线提亮,在蒙版处用高
3、盖印图层,建曲线调整3、盖印图层,建曲线调整层,用曲线加深眼部。
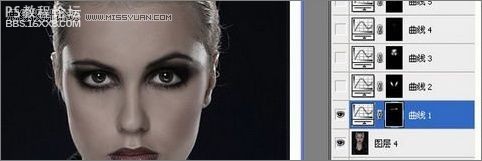
图3
4、加深腮部
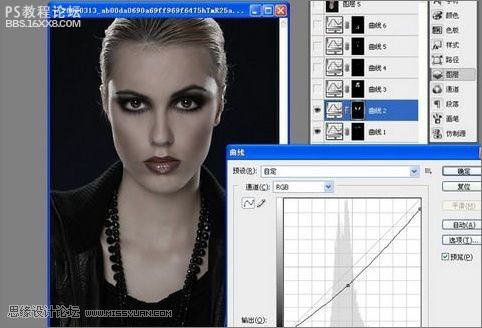
图4
5、 曲线4提亮鼻梁。
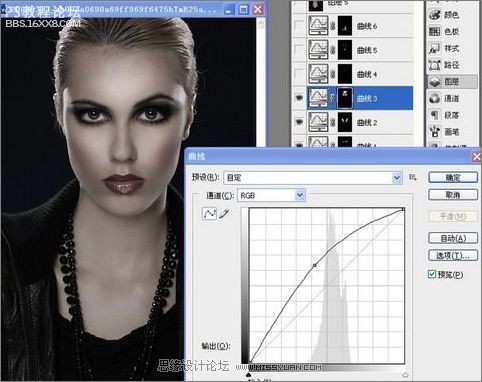
图5
6、眼白、嘴唇下面上面提亮。曲线6脖子那里提亮,先选哪地方要提亮,用曲线提亮,在蒙版处用高糊模糊弄到看不出痕迹,盖印图层锐化,完成最终效果!

图6
最终效果:

图7
作者:水晶石数字教育学院 出处:太平洋电脑网
先看看原图和效果图:
原图
效果图
下面是调色过程和步骤:
1、用photoshop打开原图,复制图层,用仿制图章工具磨皮,透明度我用20%。
图1
2、将磨皮后的图层复制一层,执行图像—调整—反相,把图层模式设为:颜色,不透明度:35%。
图2
,
3、盖印图层,建曲线调整3、盖印图层,建曲线调整层,用曲线加深眼部。 图3 4、加深腮部 图4 5、 曲线4提亮鼻梁。 图5 6、眼白、嘴唇下面上面提亮。曲线6脖子那里提亮,先选哪地方要提亮,用曲线提亮,在蒙版处用高
3、盖印图层,建曲线调整3、盖印图层,建曲线调整层,用曲线加深眼部。
图3
4、加深腮部
图4
5、 曲线4提亮鼻梁。
图5
6、眼白、嘴唇下面上面提亮。曲线6脖子那里提亮,先选哪地方要提亮,用曲线提亮,在蒙版处用高糊模糊弄到看不出痕迹,盖印图层锐化,完成最终效果!
图6
最终效果:
图7
作者:水晶石数字教育学院 出处:太平洋电脑网