

扭转:


球面:

纯粹用photoshop做的...
做法如下:
上面几种效果, 其实做法都是一样的,使用的滤镜不同, 产生不同的效果,我用波形效果作例子, 请大家举一反三。
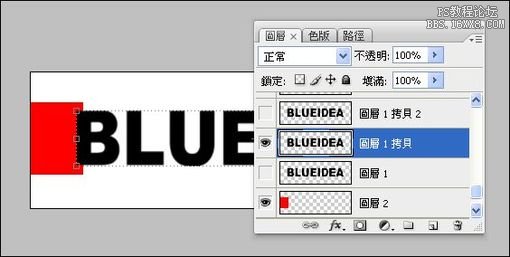
1. 新挡 500x150 添加文字 删格化
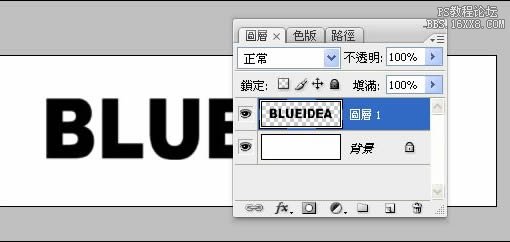
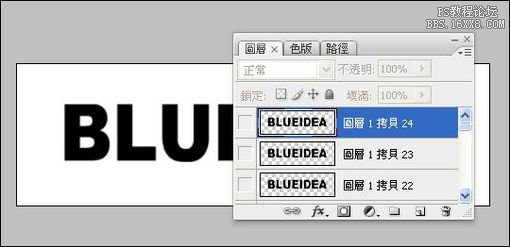
2. 复制 26 个文字图层... 嘿嘿
并把复制的图层眼睛按掉
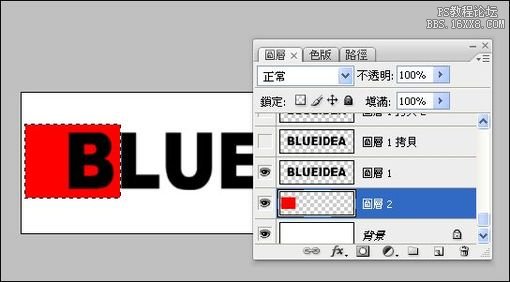
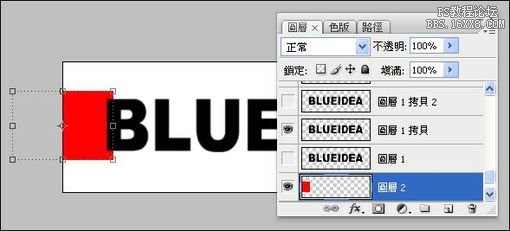
3. 最下面新增一个图层 画方块填充红色
方块宽度约为空白宽度两倍
4. 图层1 是动画第1格, 保持不动
我们将从图层1 拷贝开始
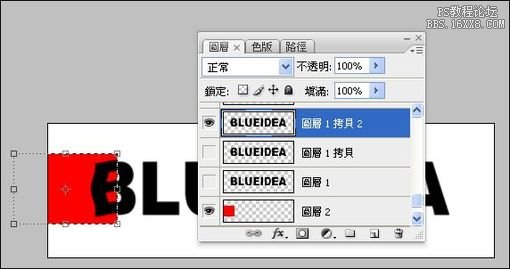
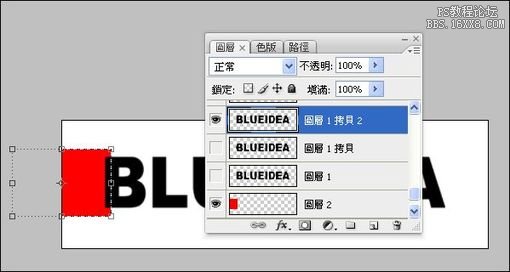
5. 把红色方块往左移, 中心对齐边缘:
6. 选择图层1拷贝, 载入红色方块选区
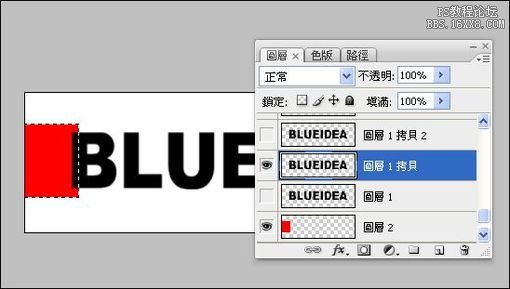
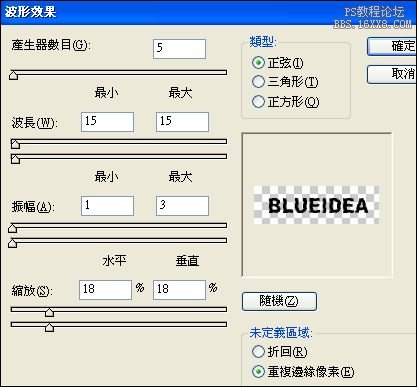
7. 使用波形滤镜
参考设置:
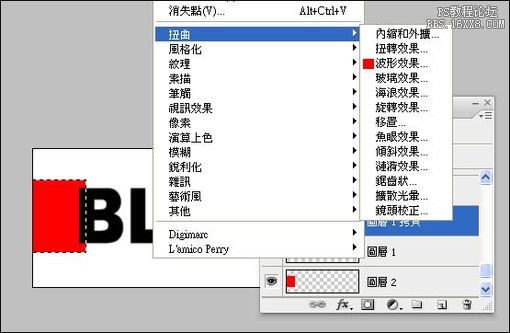
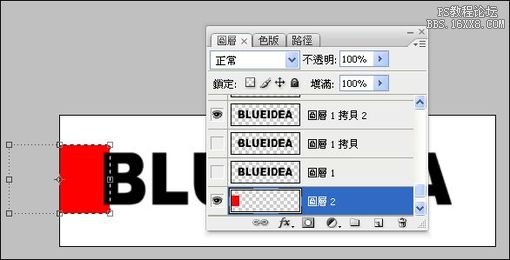
8. 图层1拷贝变形完毕.
现在要对 图层1拷贝2 进行变形...
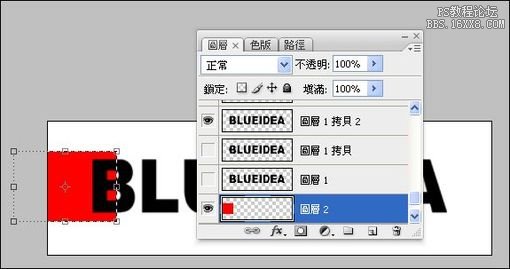
9. 选择红色方块图层 按V (移动工具)
注意: 选区不要取消 !!!
然后... 先按住shift键
再按方向键 往右 两次
这样红色方块会往右移动 20 pixels
10. 选择图层1拷贝2 , 按ctrl F
使用刚刚的滤镜
11. 其他图层变形...
重复上面 步骤8~10 即可