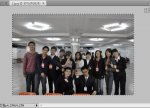
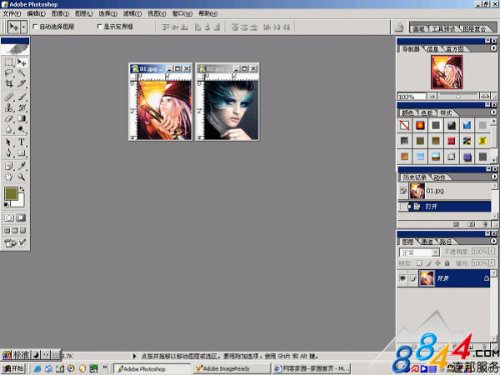
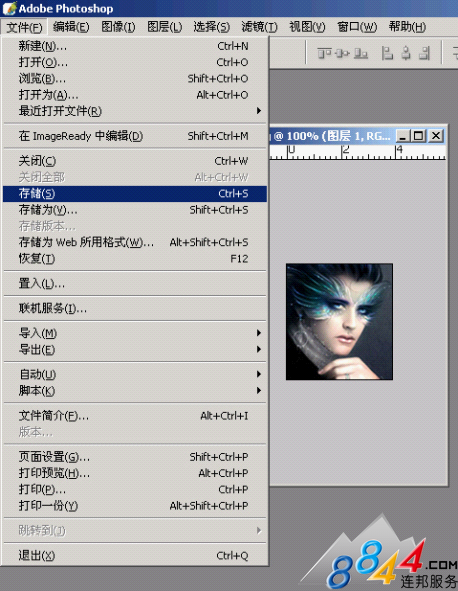
启动photoshop,并打开需要的两幅图!
![GIF动画制作教程 教程](https://img.lvups.com/d/file/bigpic/2022/12/25/uywppz5kwar.png)
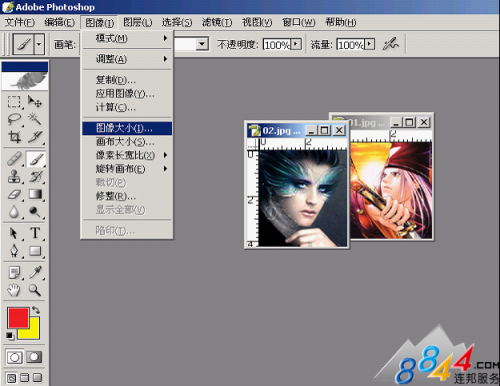
第二步点击图象大小弹出修改框,修改宽度和高度的像素。注意下面红线里的约束比例!要改成非比例的大小就把勾点去!然后将两副图片的大小调一致!
![](https://img.lvups.com/d/file/bigpic/2022/12/25/iv2pvi0a5ud.png)
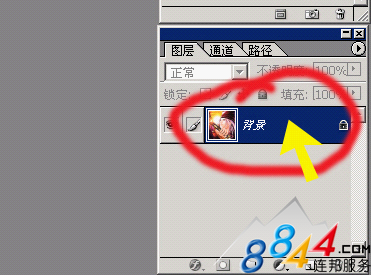
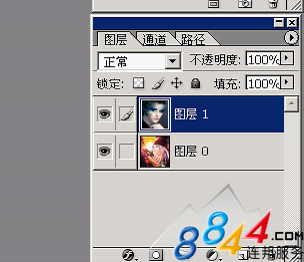
第三步很多JPG格式的图在photoshop8.0里锁定的,所以双击图层里的背景项,会弹出一个选项框,选择好~将背景变为图层!(同理,另一幅图片也这么做。但注意在photoshop里通过点击图片来改变当前编辑的图片,所以改另一副图先点击一下)
![](https://img.lvups.com/d/file/bigpic/2022/12/25/4rgitjdtqmc.png)
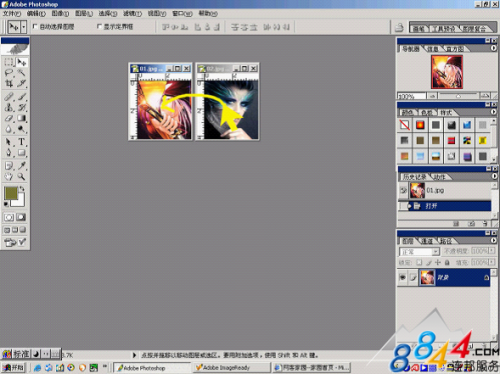
第四步选择左边工具条上面右边的工具!然后点住一幅图片将它拖至另一副图片里!这时在图层里应该是有两个图层!将两个图片根据画面的大小对对好~按保存!
![](https://img.lvups.com/d/file/bigpic/2022/12/25/nnufkf2pita.png)
![](https://img.lvups.com/d/file/bigpic/2022/12/25/2fot51av5uj.png)
![](https://img.lvups.com/d/file/bigpic/2022/12/25/yfe3xdorfzl.png)
![](https://img.lvups.com/d/file/bigpic/2022/12/25/hjegn3w2wqa.png)
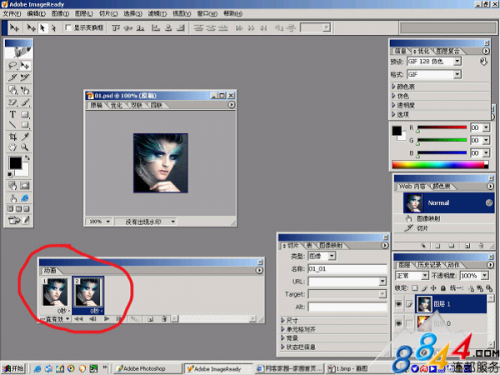
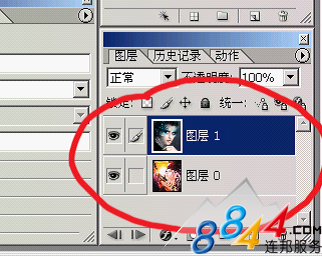
第五步这时启动ImageReady,打开你刚保存的图片!注意红线圈的地方,这里应该显示两个图层!
![](https://img.lvups.com/d/file/bigpic/2022/12/25/tl2uh1ivlhn.png)
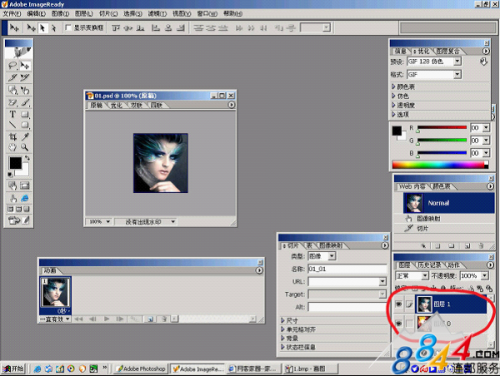
第六步在动画工具条里点击“复制当前帧”就是红色圈住的复制后,在动画里会显示有两个帧!注意红色圈住的地方!
![](https://img.lvups.com/d/file/bigpic/2022/12/25/bw2ttck1jig.png)
![](https://img.lvups.com/d/file/bigpic/2022/12/25/1rjdtit0oa3.png)
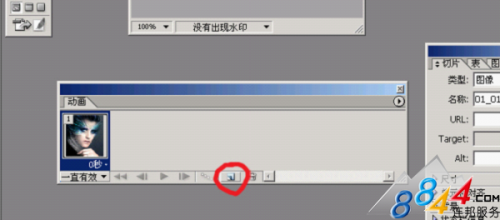
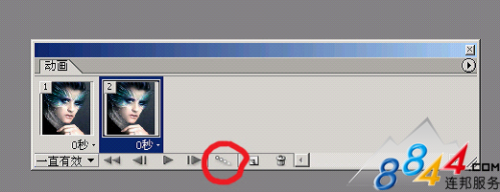
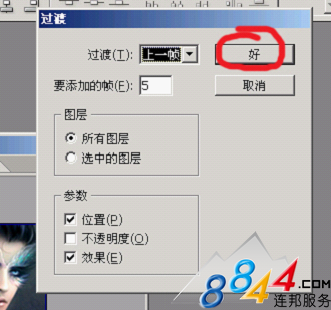
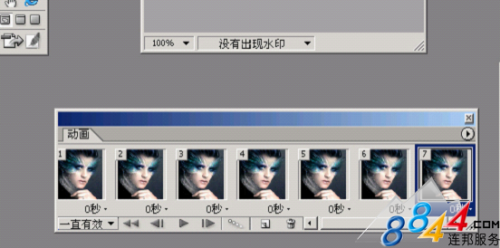
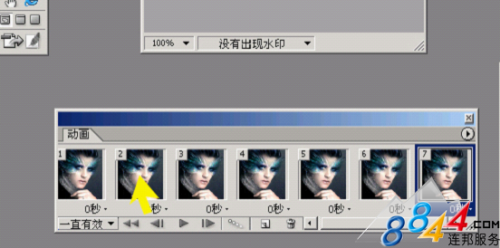
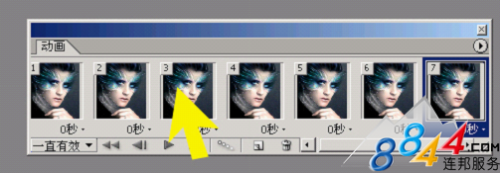
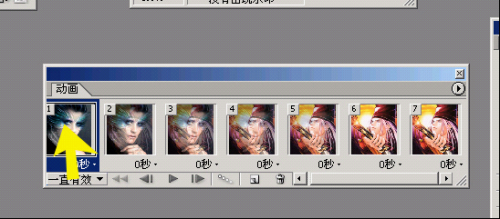
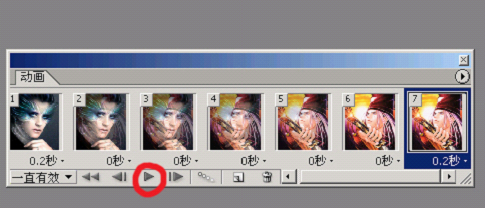
第七步点击动画工具里的“过度...”按扭!点击后会出现过度对话框!在“要添加的帧数”里选择你希望的帧数,默认是5,这里我们也选择5,然后点击“好”这时下面动画栏里会显示有7个帧!如图:
![](https://img.lvups.com/d/file/bigpic/2022/12/25/ffjeoucpkec.png)
![](https://img.lvups.com/d/file/bigpic/2022/12/25/s5dqbdqnhsb.png)
![](https://img.lvups.com/d/file/bigpic/2022/12/25/5c4kchu5lj1.png)
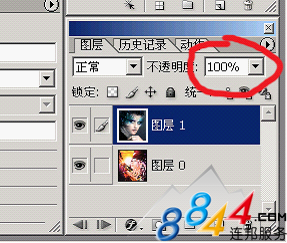
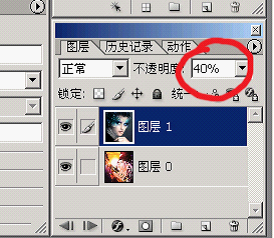
第八步这时看看图层里的当前图层是否为上面的图,不是的话点击来改变当前图层!(注意有兰色条显示的就是当前图层!选择好当前图层后,点击动画栏里第二个帧!如图黄色箭头所指点中后第二帧应该是兰色的!然后在图层栏那边改透明度!将其从100%改为80%
![](https://img.lvups.com/d/file/bigpic/2022/12/25/33d0kni54jy.png)
![](https://img.lvups.com/d/file/bigpic/2022/12/25/q3dlwlh0hdy.png)
![](https://img.lvups.com/d/file/bigpic/2022/12/25/5ymvyytdrpv.png)
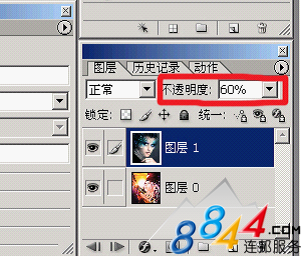
第九步接着选择第三个帧,将其不透明值改为60%
![](https://img.lvups.com/d/file/bigpic/2022/12/25/2fgfzbpwa5g.png)
![](https://img.lvups.com/d/file/bigpic/2022/12/25/fao2u105yub.png)
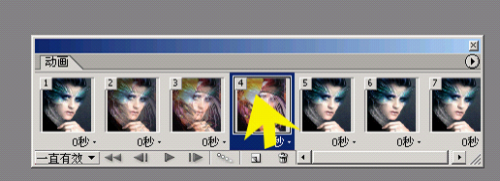
第十步点击第4帧!将其不透明值改成40%
![](https://img.lvups.com/d/file/bigpic/2022/12/25/uniiv4f15as.png)
![](https://img.lvups.com/d/file/bigpic/2022/12/25/kef0cst2spa.png)
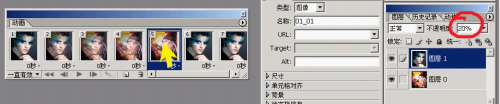
第十一步点击第5帧,将其不透明值改成20%
![](https://img.lvups.com/d/file/bigpic/2022/12/25/yxrb4ygclev.png)
第十二步点击第6帧,将其不透明值改成0%
![](https://img.lvups.com/d/file/bigpic/2022/12/25/vritq0yhely.png)
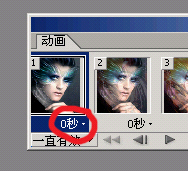
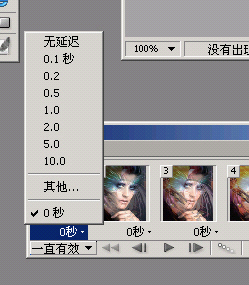
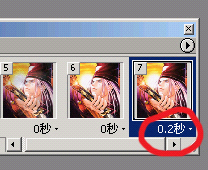
第十三步点击第1帧点击“选择帧延迟时间”如图红圈里的点击后会弹出个菜单!如图选择0.2秒延迟后,第1帧下面会变为0.2秒,如图
![](https://img.lvups.com/d/file/bigpic/2022/12/25/oehqlpb4wyt.png)
![](https://img.lvups.com/d/file/bigpic/2022/12/25/ibpdgsjsdgq.png)
![](https://img.lvups.com/d/file/bigpic/2022/12/25/cygud52oy1w.png)
![](https://img.lvups.com/d/file/bigpic/2022/12/25/2npljnca1pl.png)
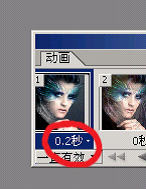
第十四步点击第7帧,将其也变为0.2秒延迟
![](https://img.lvups.com/d/file/bigpic/2022/12/25/ecnpicqv0ij.png)
![](https://img.lvups.com/d/file/bigpic/2022/12/25/msr4uciclhp.png)
第十五步点击“播放”按扭。看下效果!
![](https://img.lvups.com/d/file/bigpic/2022/12/25/1rb4qz2m20a.png)
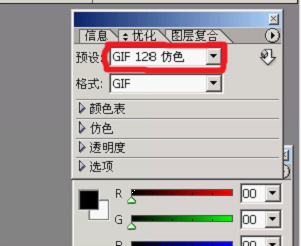
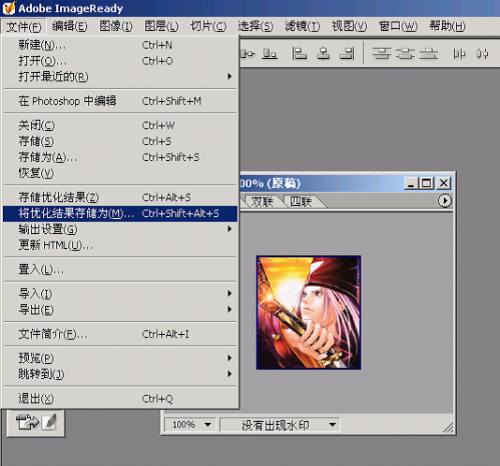
第十六步准备保存了,在转为GIF文件前,先设下优化值!在预设一项将其值改为GIF128仿色然后选择文件菜单里的“将优化结果存储为”
![](https://img.lvups.com/d/file/bigpic/2022/12/25/ekw3cv5lvwn.png)
![](https://img.lvups.com/d/file/bigpic/2022/12/25/4opm1qgjd3g.png)