
利用PhotoShop CS2制作日出动画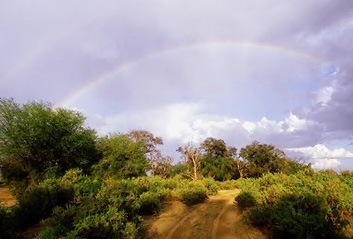


![]()
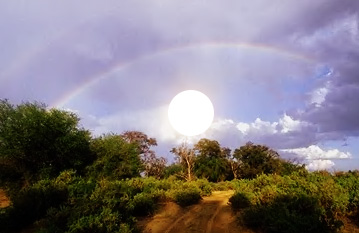
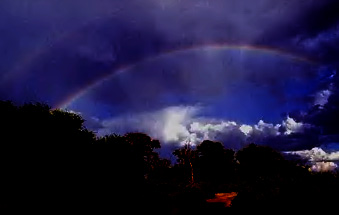
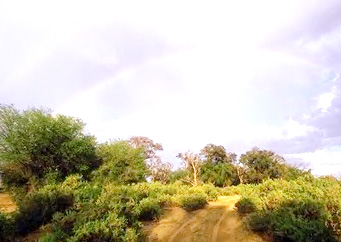
打开一幅风景照。
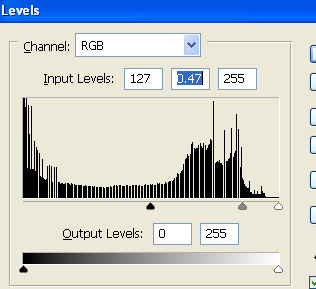
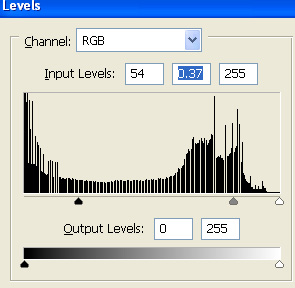
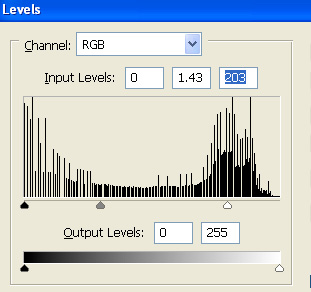
复制图层,按下 Ctrl L 打开色阶窗口,并应用如下设置。
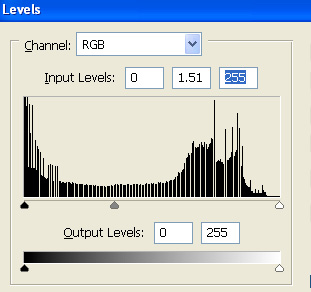
复制原始层5次并按下列图示分别设置每层的色阶。
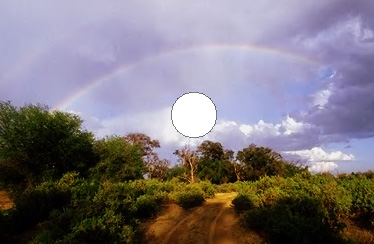
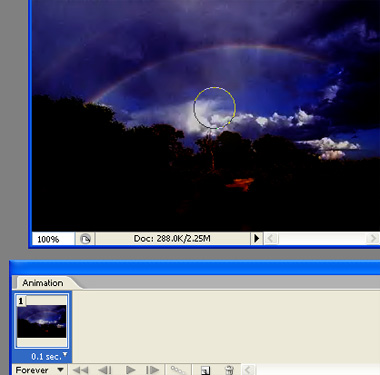
绘制一圆形。
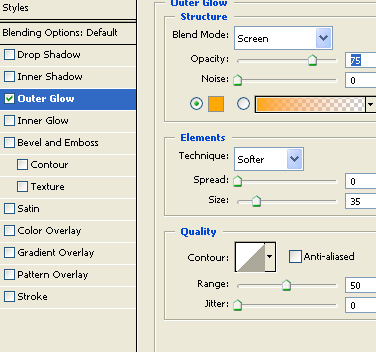
打开图层样式窗口,外发光。
混合模式:滤色
方法:柔和
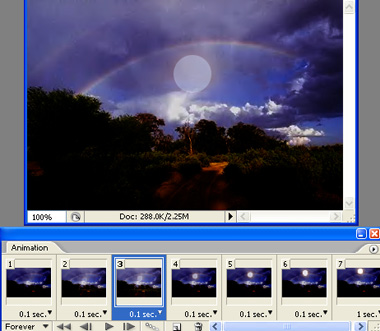
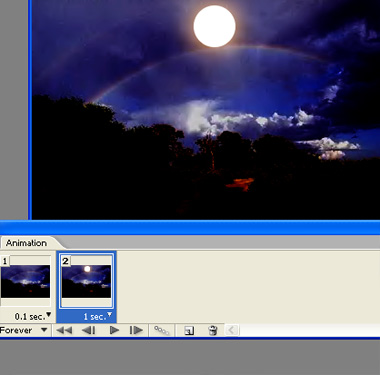
打开动画面板,在第一桢中隐藏除最暗的一层外的其他层,选择圆形层并降低不透明度到“10%”。
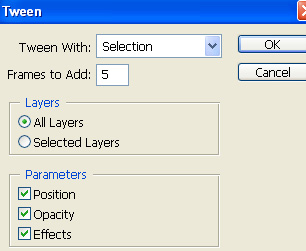
复制桢,向上移动圆形层并将不透明度设为“100%”。
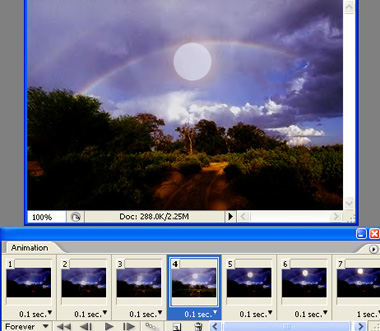
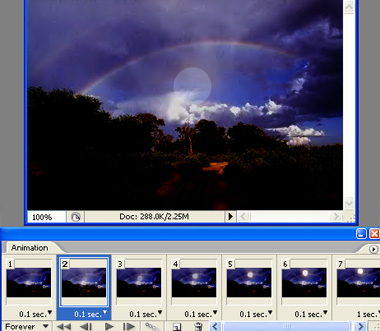
在动画面板中选择过渡按钮,并应用如下设置。
从第二桢开始由暗至明,依次调整各桢所显示的图像。
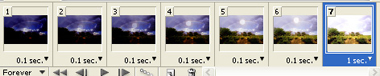
按下 Ctrl Alt Shift S 保存为GIF动画,大功告成。


