
(5)使用同样方法,在人物的睫毛处绘制选区,并将选区羽化2个像素。然后创建“通道混合器2”调整图层,对选区内图像色调进行调整,如图2-98所示。
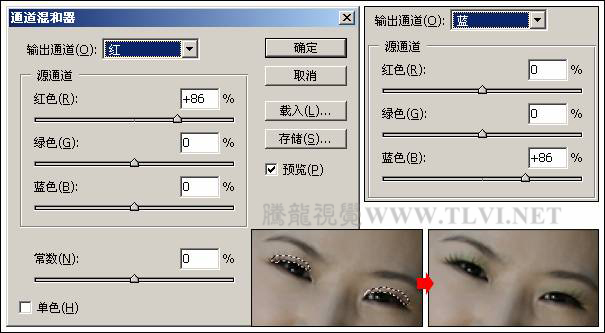
图2-98 制作眼影
(6)接下来在人物的腮帮上绘制选区,并将选区羽化5个像素。然后创建“通道混合器 3”调整图层,对选区内的图像色调进行调整,制作出腮红效果,如图2-99所示。
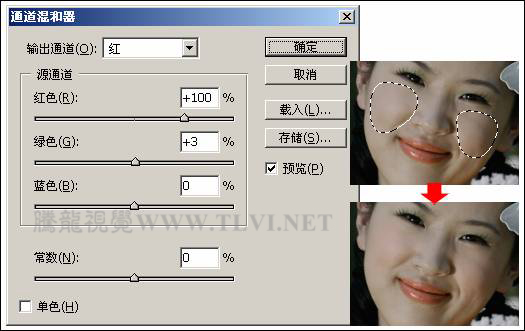
图2-99 制作腮红图像
(7)在人物的眼睛处绘制选区,并将选区羽化1个像素。然后创建“亮度/对比度 1”调整图层,增强眼睛的亮度和对比度,如图2-100所示。
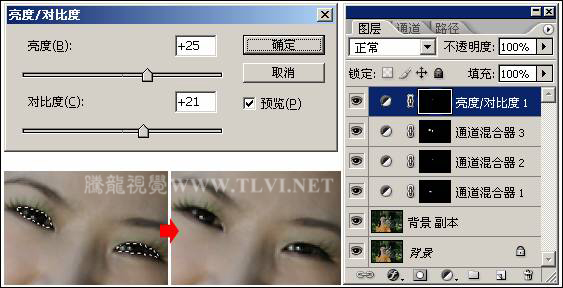
图2-100 调整眼睛图像
提示:使用“亮度/对比度”命令调整眼睛图像,可以使人物眼睛看起来更加灵活有神。
(8)依次创建“色相/饱和度 1”和“亮度/对比度 2”调整图层,对整个图像的色调进行调整,如图2-101所示。
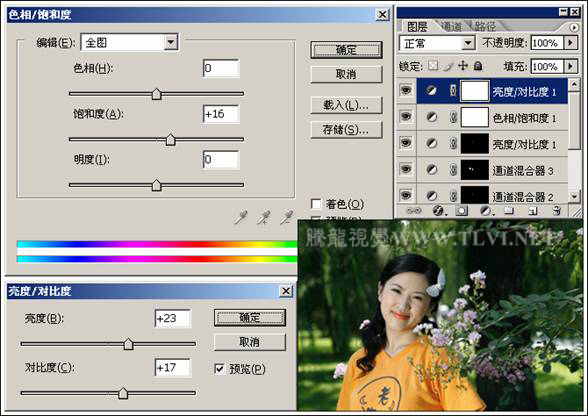
图2-101 调整整个图像的色调
(9)创建“曲线 1”调整图层,将图像色调稍微调亮,如图2-102所示。
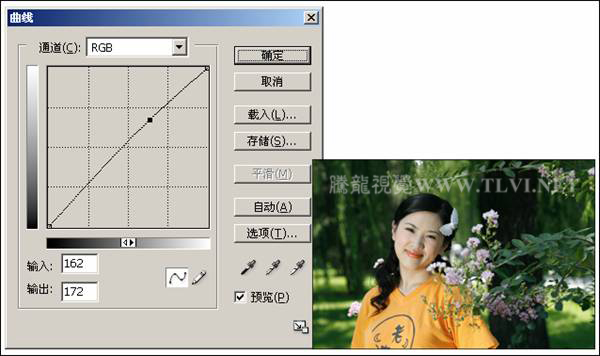
图2-102 设置“曲线”对话框
(10)最后在视图中添加相关的文字信息和装饰图像,完成实例的制作
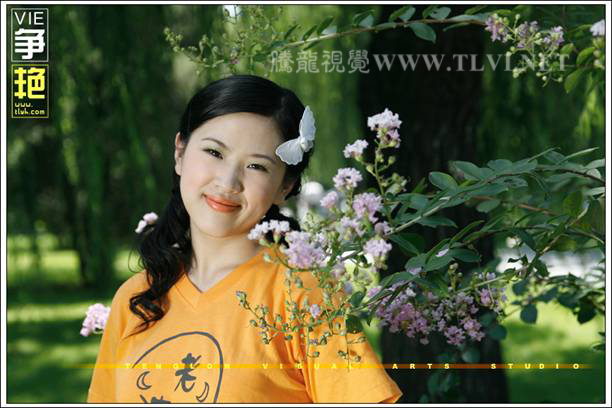
图2-103 完成效果


