第十步:叠加方式选择柔光

第十一步:ctrl+I 反向,根据实际情况调节不透明度
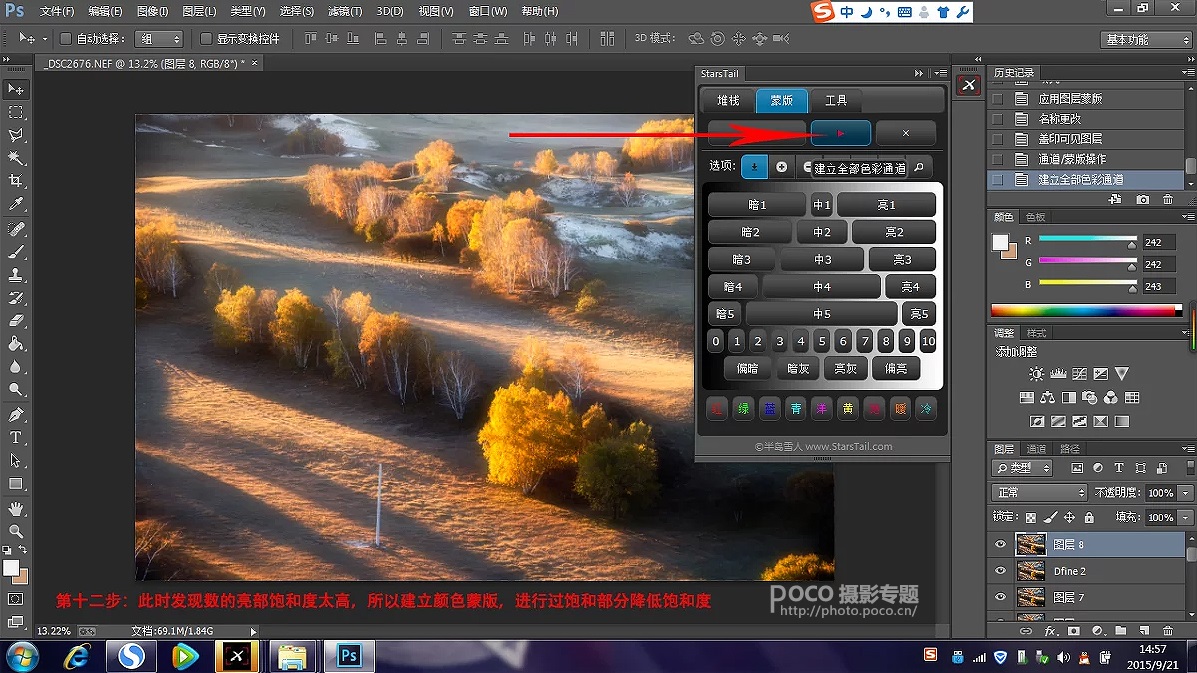
第十二步:这时发现树的亮度和饱和度太高,所以建立颜色蒙版,把饱和度过高的部分饱和度降低

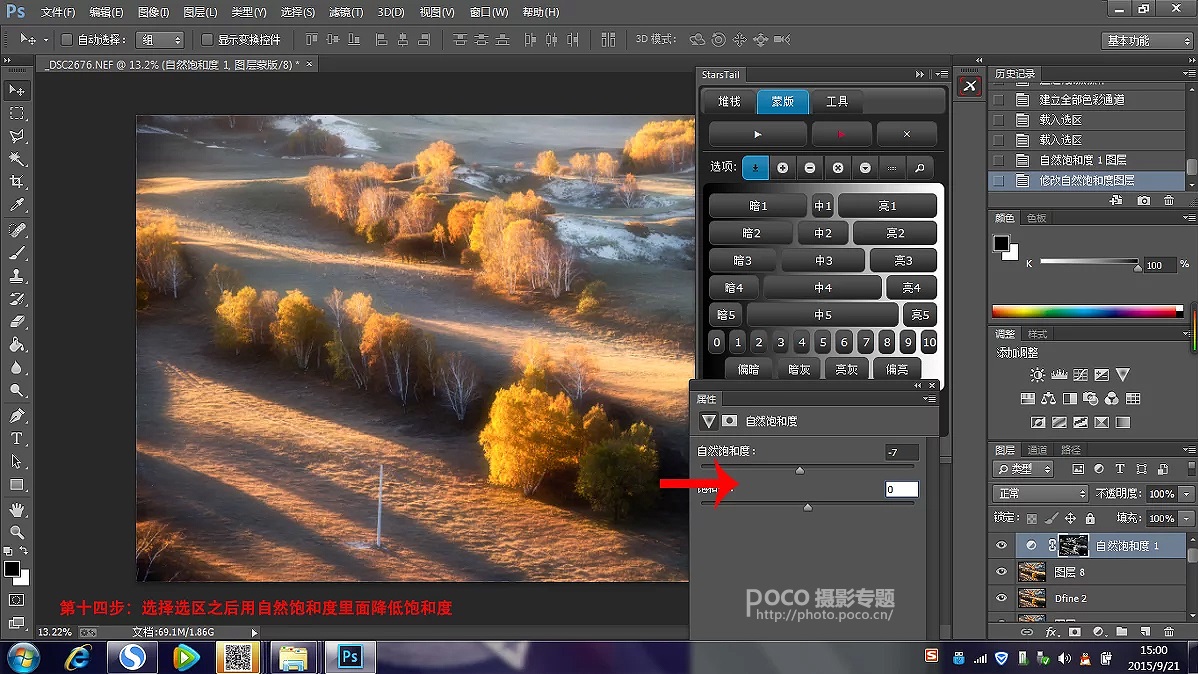
第十三步:ctrl+颜色蒙版进行选取

第十四步:选择选区之后用自然饱和度里面降低饱和度
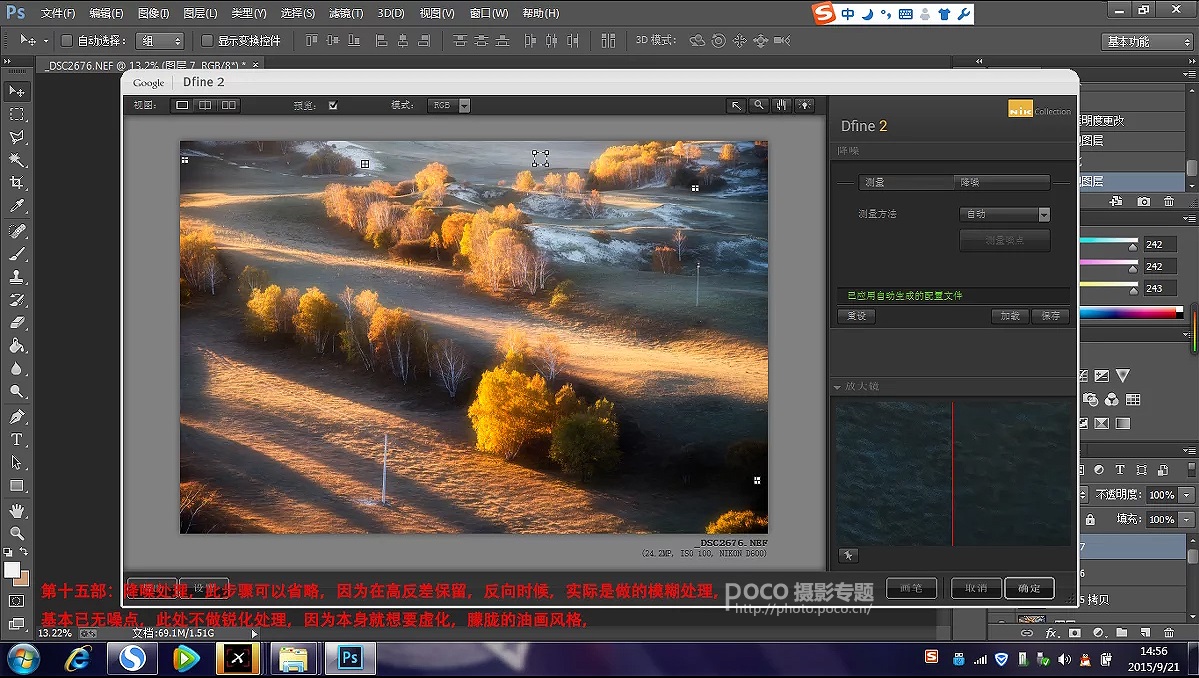
第十五步:降噪处理,此步骤可以省略,因为在高反差保留、反向时候,实际是做了模糊处理,基本已无噪点,此处不做锐化处理,因为本身就想要虚化、朦胧的油画效果
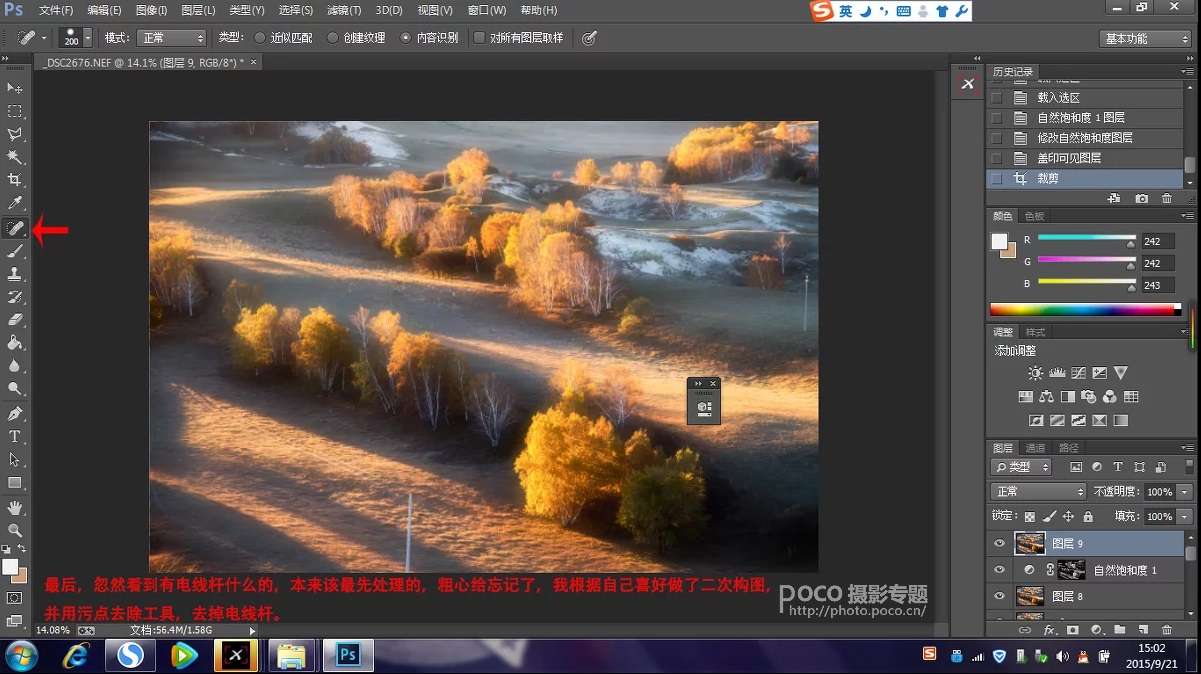
最后,忽然发现图片中电线杆,本来应该最先处理,个人根据自己喜好做了二次构图,并用污点去除工具,去掉电线杠