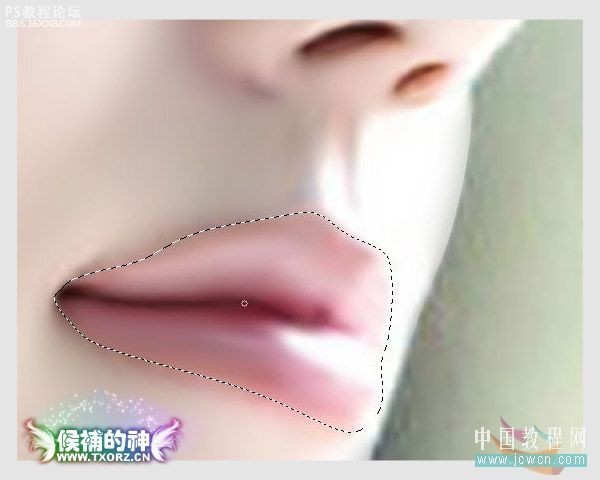
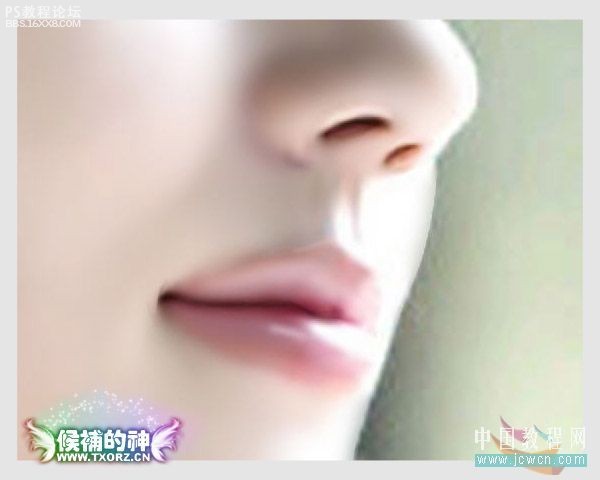
十、这时再把嘴巴路径转成选区,使用涂抹工具把人物嘴唇的效果涂抹出来。
![](https://img.lvups.com/d/file/bigpic/2022/12/25/o5iqibg5zyo.jpg)
![](https://img.lvups.com/d/file/bigpic/2022/12/25/bmocmjjesri.jpg)
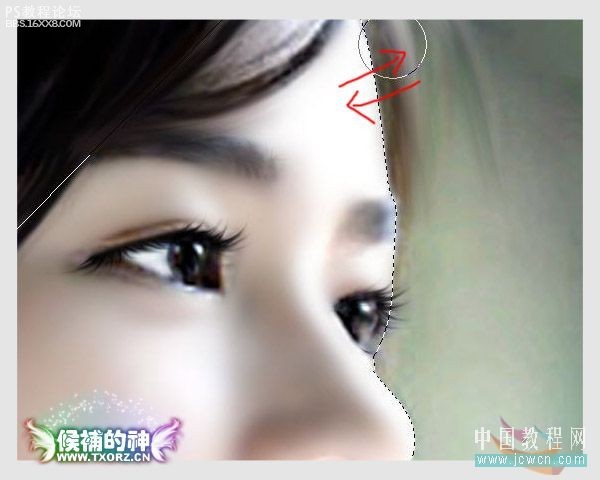
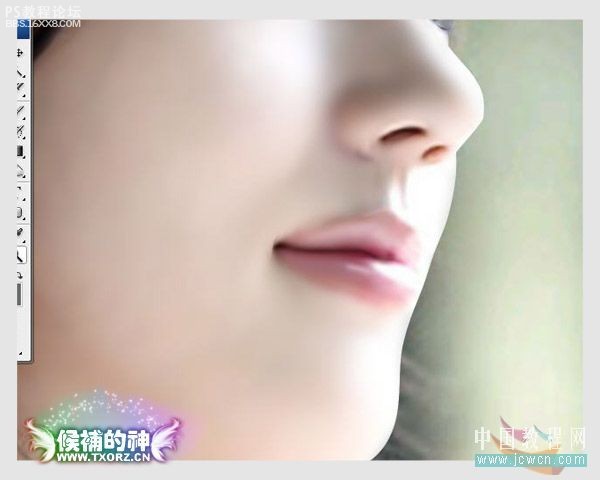
, 十一、将脸部及手臂路径转换成选区,使用涂抹工具在选区边缘向外涂抹,再执行CTRL+SHIFT+I反选,然后用涂抹工具向内涂抹,经过这种步骤处理的轮廓效果就能表现出来。
![](https://img.lvups.com/d/file/bigpic/2022/12/25/l2p3mfsfrfh.jpg)
![](https://img.lvups.com/d/file/bigpic/2022/12/25/vaqhqenoyac.jpg)
![](https://img.lvups.com/d/file/bigpic/2022/12/25/qb1l0xduydj.jpg)
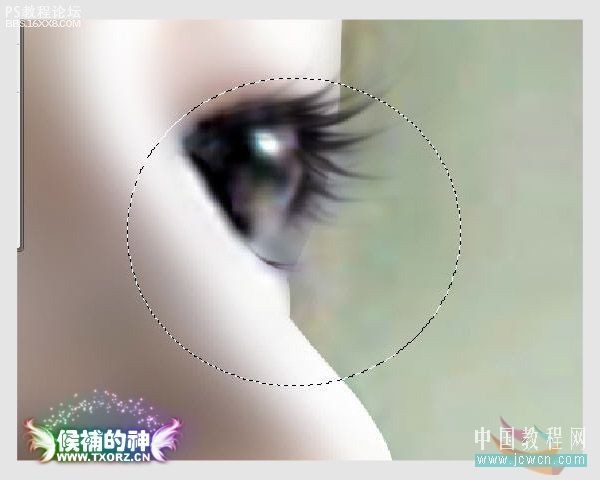
十二、双眼皮的美女才漂亮,所以我们要给这位照片中的美女添加双眼皮,勾出一个选区,用加深工具在选区内侧加深,再用模糊工具修饰。
![](https://img.lvups.com/d/file/bigpic/2022/12/25/02yvl5ke1q5.jpg)
![](https://img.lvups.com/d/file/bigpic/2022/12/25/v1ta53pmfhc.jpg)
![](https://img.lvups.com/d/file/bigpic/2022/12/25/syb1zapowi2.jpg)
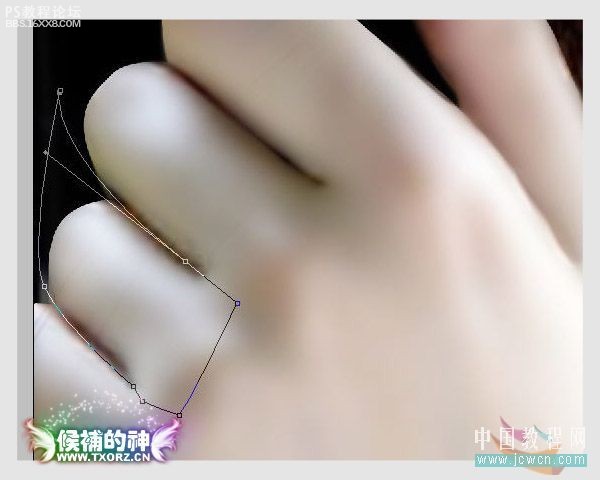
, 十三、手指轮廓的处理和面部是一样的,选建立选区,先用涂抹工具由内向外涂抹,再用模糊工具进行一些模糊处理,再用加深工具锐化指缝。
![](https://img.lvups.com/d/file/bigpic/2022/12/25/dldj5h1pk05.jpg)
![](https://img.lvups.com/d/file/bigpic/2022/12/25/ymomn51ag2q.jpg)
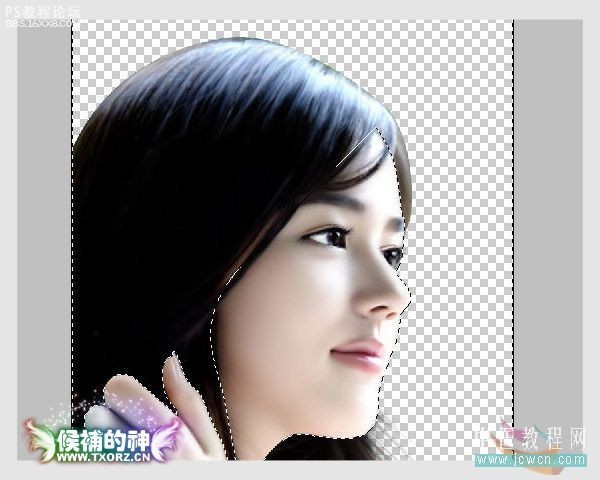
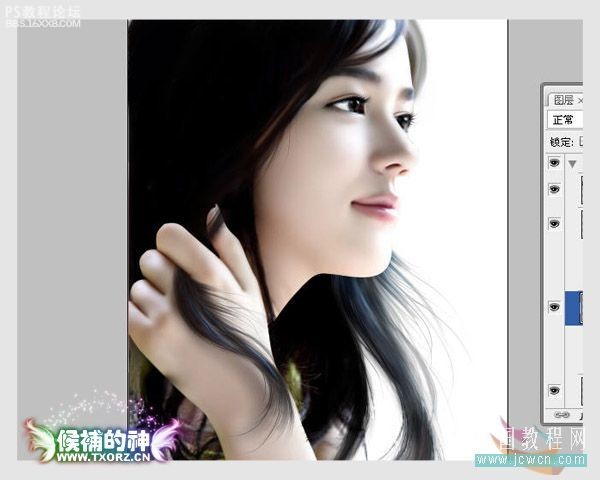
十四、用钢笔工具把人物抠出来,转换成选区,反选,删除选区内容,这时就只保留了人物,方便后面的更换背景。
![](https://img.lvups.com/d/file/bigpic/2022/12/25/zole3qwel5k.jpg)
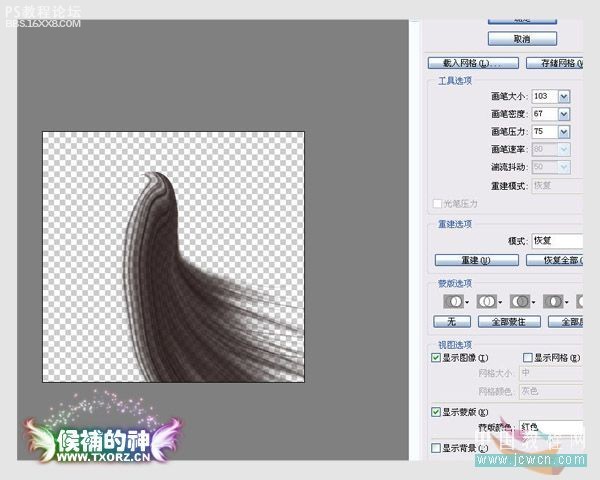
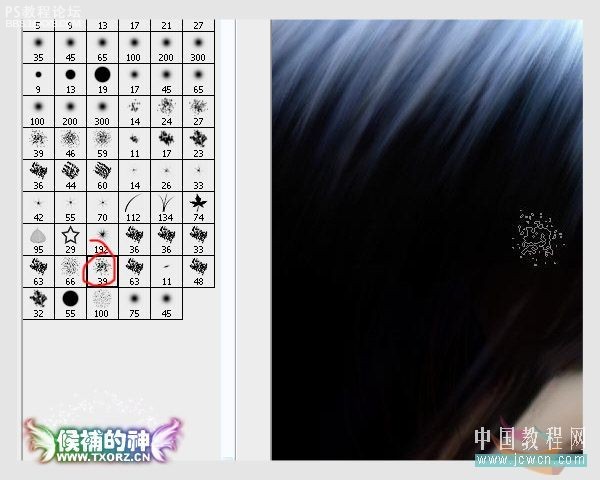
十五、在这一步中就可以添加一些头发,加了手指中间,用头发笔刷添加;还可以使用液化工具改变头发笔刷的形状。
![](https://img.lvups.com/d/file/bigpic/2022/12/25/ue0mf3xc2bw.jpg)
![](https://img.lvups.com/d/file/bigpic/2022/12/25/lolgbt52tw0.jpg)
![](https://img.lvups.com/d/file/bigpic/2022/12/25/jxhpjm3bygz.jpg)
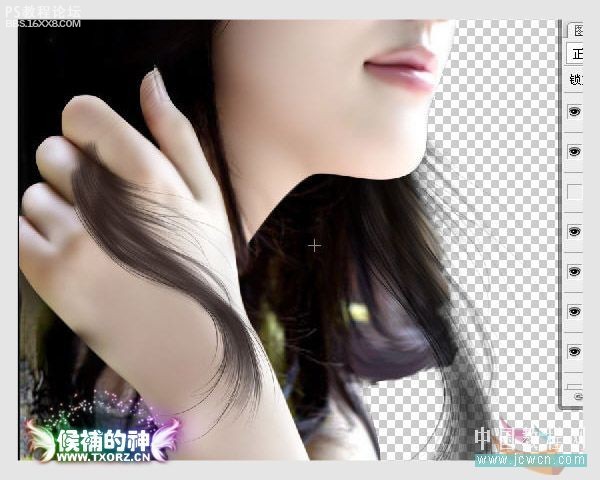
, 十六、选择一种合适的笔刷,沿着人物头发的纹理进行涂抹。
![](https://img.lvups.com/d/file/bigpic/2022/12/25/jggvj2g1p44.jpg)
![](https://img.lvups.com/d/file/bigpic/2022/12/25/iyz2yo5xoz0.jpg)
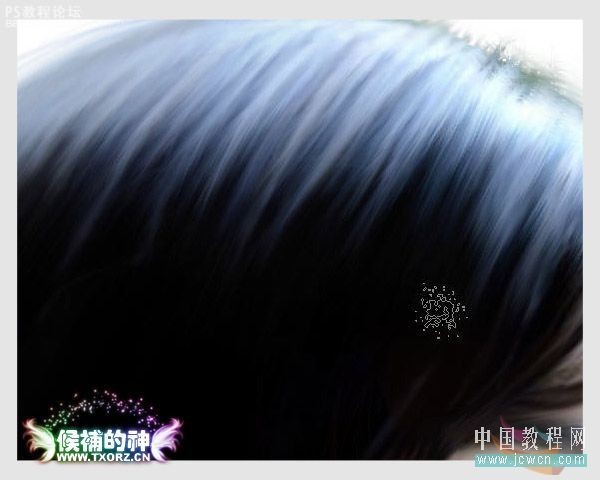
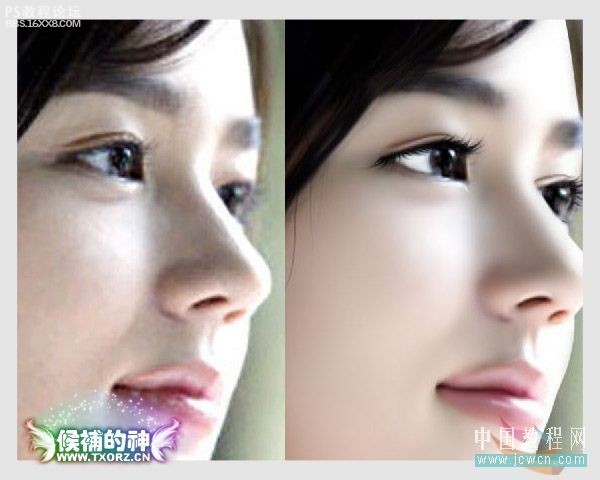
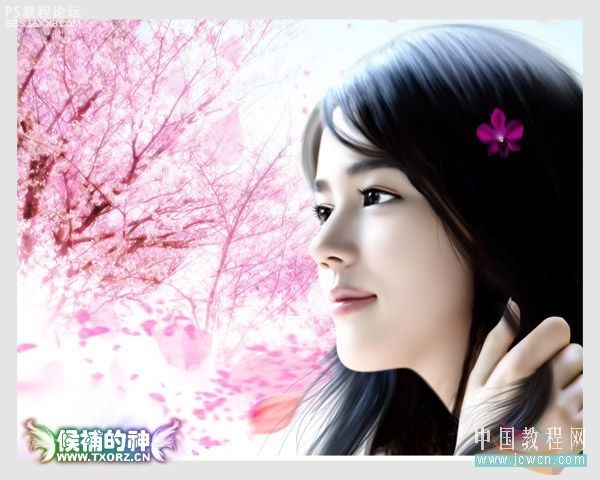
处理完以后的效果。最下面是图像旋转并添加了背景的效果。
![](https://img.lvups.com/d/file/bigpic/2022/12/25/f1211kup5ek.jpg)
![](https://img.lvups.com/d/file/bigpic/2022/12/25/hnsflryh3sp.jpg)
作者:候捕的神 出处:ф國教程網