
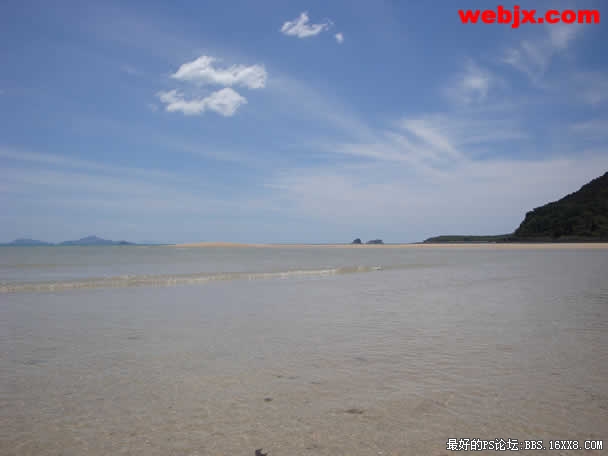
原图:
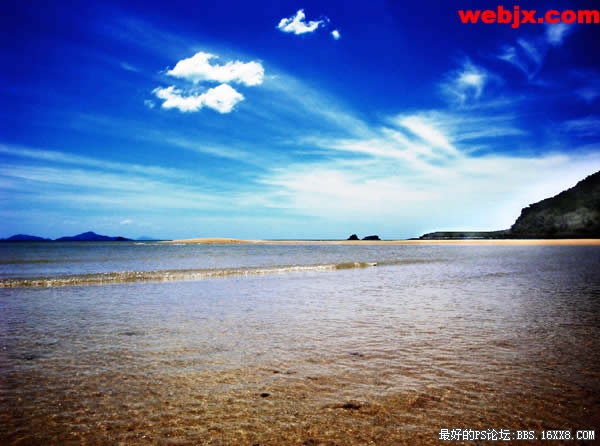
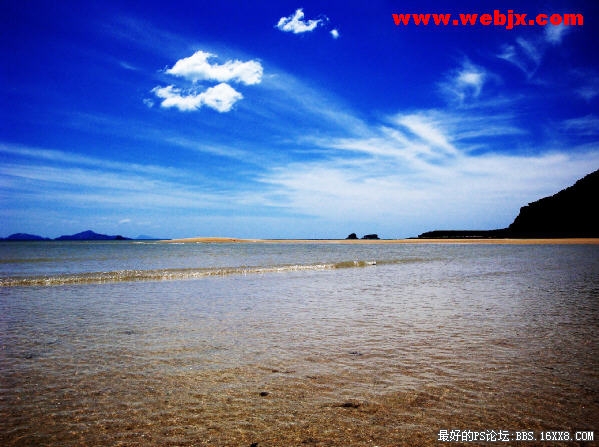
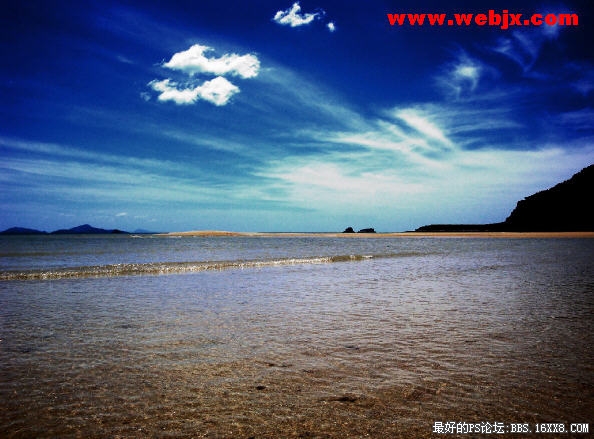
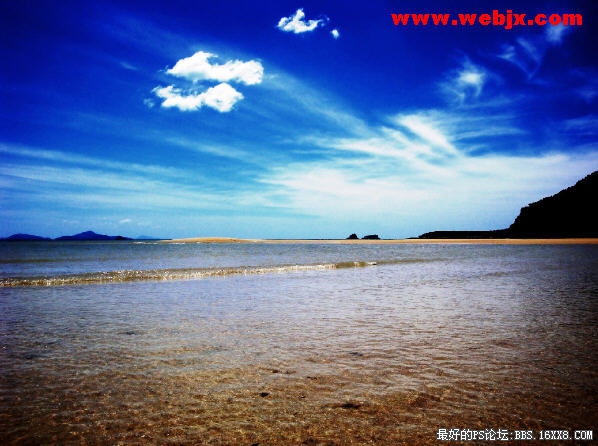
效果图:
,
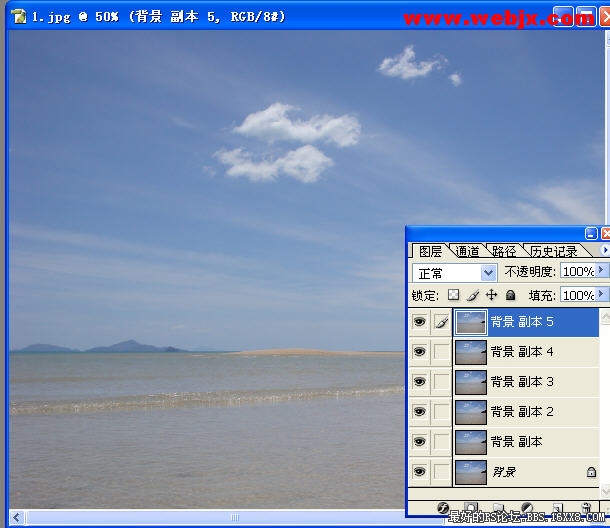
打开原图,复制背景层5次:
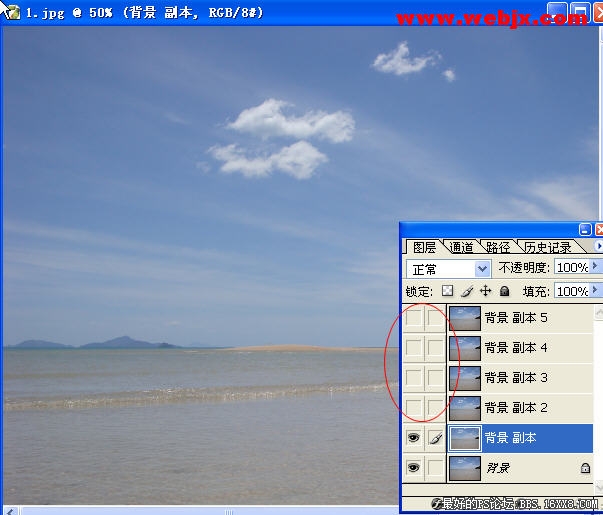
然后使其它4个复制层都隐藏:
然后按Ctrl+M调整背景 副本图层的曲线,设置如下:
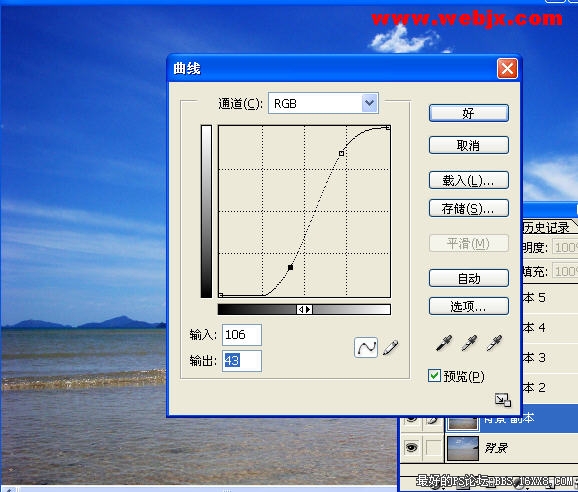
,
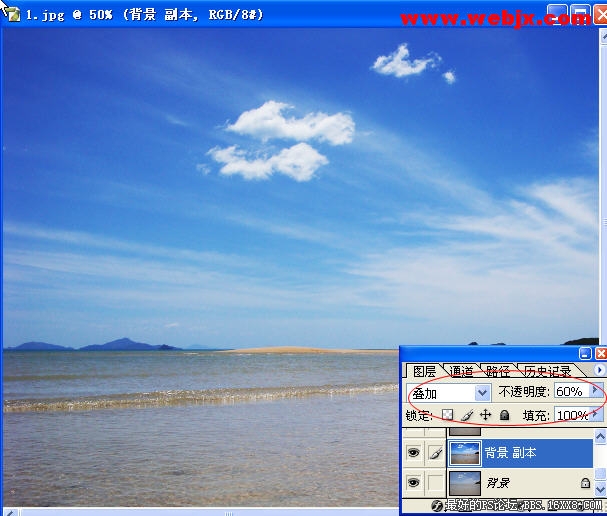
然后设置该图层的模式为“叠加”用来加强色彩对比,之后设置不透明度为60%,效果如下:
然后让“背景副本2”显示,我们按Ctrl + Alt + Shift 调整,应用设置如下:
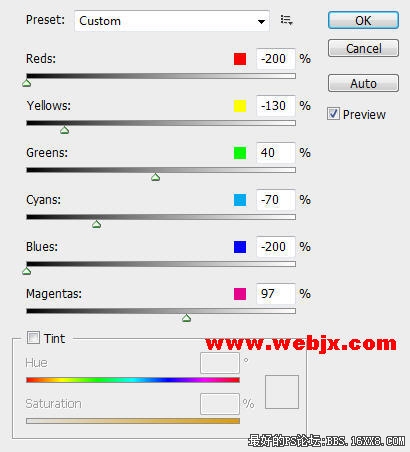
设置该图层模式为“柔光”,不透明度设置为70%。效果如下:
,
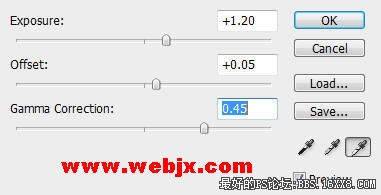
接下来修改“背景副本3”图层,执行图像→调整→曝光命令,设置如下:
图层模式调整为“颜色”,效果如下:

,
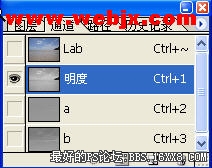
选择“背景副本4”,把图像模式设置为“Lab颜色”模式, 然后把通道模式设置为“明度”:
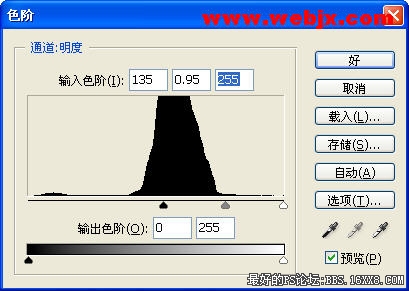
按Ctrl+L调整色阶:
然后把图像模式改为RGB模式,图层模式改为“柔光”,图层不透明度为50%,效果如下:
,
选择“背景副本5” ,执行模糊:“Filter Blur Surface Blur”,在这里Surface Blur滤镜只在photoshop中可用,模糊图像时保留图像边缘,可用于创建特殊效果,以及用于去除杂点和颗粒。
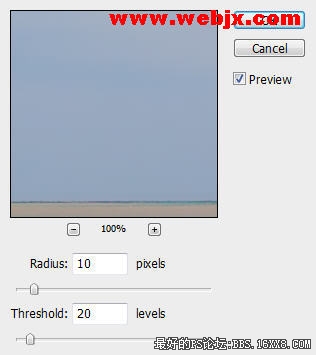
修改图层模式为“屏幕”,然后设置不透明度为60%,效果如下:
,
按“O”使Dodge Tool减淡工具,设置笔刷

用笔刷在山上的树上涂抹,使山上的树变亮,效果如下:
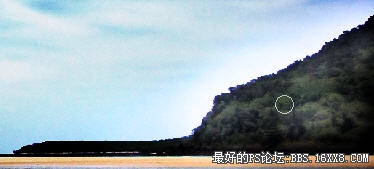
在这里可以调整降低透明度,使用减淡工具,效果如下:
作者:闪电儿 来源:网页教学网
效果图:
,
打开原图,复制背景层5次:
然后使其它4个复制层都隐藏:
然后按Ctrl+M调整背景 副本图层的曲线,设置如下:
,
然后设置该图层的模式为“叠加”用来加强色彩对比,之后设置不透明度为60%,效果如下:
然后让“背景副本2”显示,我们按Ctrl + Alt + Shift 调整,应用设置如下:
设置该图层模式为“柔光”,不透明度设置为70%。效果如下:
,
接下来修改“背景副本3”图层,执行图像→调整→曝光命令,设置如下:
图层模式调整为“颜色”,效果如下:
,
选择“背景副本4”,把图像模式设置为“Lab颜色”模式, 然后把通道模式设置为“明度”:
按Ctrl+L调整色阶:
然后把图像模式改为RGB模式,图层模式改为“柔光”,图层不透明度为50%,效果如下:
,
选择“背景副本5” ,执行模糊:“Filter Blur Surface Blur”,在这里Surface Blur滤镜只在photoshop中可用,模糊图像时保留图像边缘,可用于创建特殊效果,以及用于去除杂点和颗粒。
修改图层模式为“屏幕”,然后设置不透明度为60%,效果如下:
,
按“O”使Dodge Tool减淡工具,设置笔刷
用笔刷在山上的树上涂抹,使山上的树变亮,效果如下:
在这里可以调整降低透明度,使用减淡工具,效果如下:
作者:闪电儿 来源:网页教学网

