
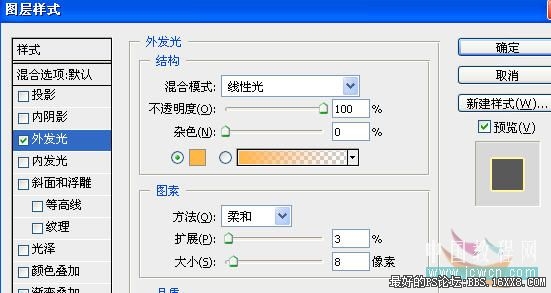
9、用橡皮擦去下边,图层/图层样式/外发光命令,设置颜色:255,184,71,其它设置如图8。
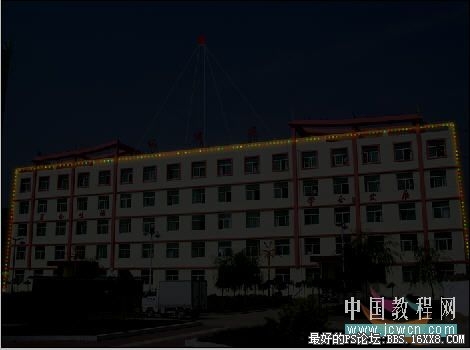
效果如图9
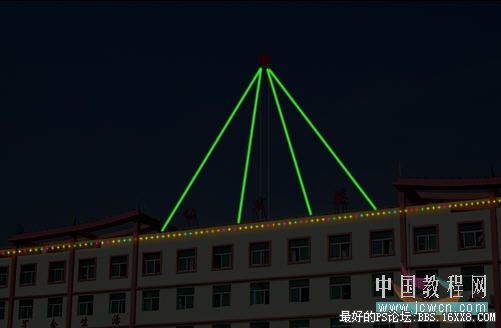
10、新建一层图层2,设置前景色为绿色(60,255,40)用3像素画笔沿拉线画线如图10(看不清楚可先隐藏背
景副本层)
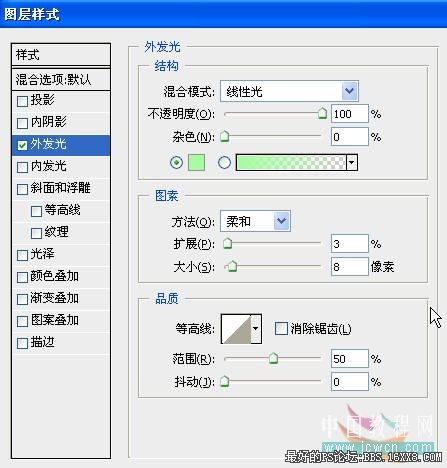
11、设置前景色为红色(255,70,40)画笔设置同前,进入路径面板对路径描边,再如前法添加外发光效果,
颜色为淡绿色(166,252,159),其它设置如图11
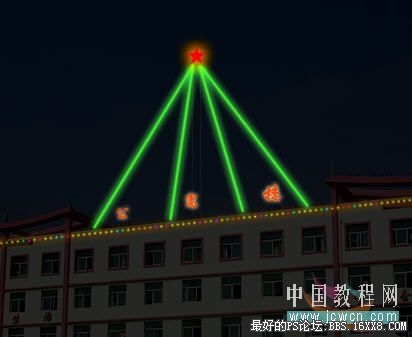
12、隐藏背景层副本,激活背景层,用魔棒点一下红五星,按ctrl+j复制为新图层,再按ctrl+shift+]将其置为
顶层,鼠标放在图层1的效果上,右键/拷贝图层样式,再激活红五星层右键/粘贴样式,双击外发光效果,改扩
展为8,大小为16,显示背景副本,现在效果如图12

13、隐藏背景副本,在公寓楼三个字的地方分三次打上相同的字,添加外发光样式,默认确定。如图13
14、新建一层,设置前景色为橙红色,(254,138,1),背景为黄色(255,255,0)用矩形选择工具做长方形
选区,羽化20 如图14

photoshop教程
