
Photoshop图片制作教程:简单的照片边框和签名制作作者:思令 来源:IT世界网
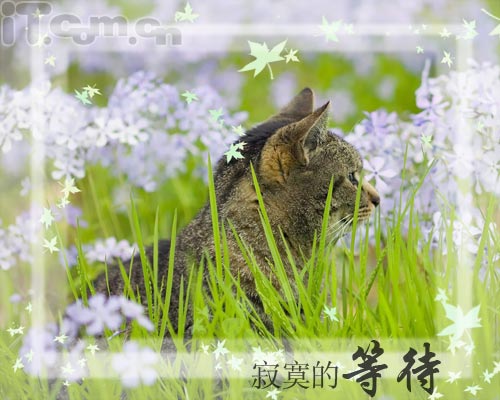
效果图
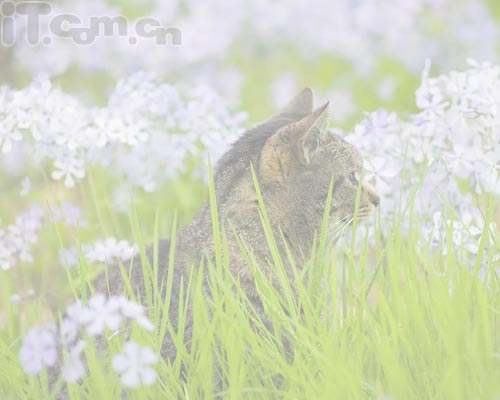
新建一层,填充白色,并把它的透明度调成50%,效果如下:
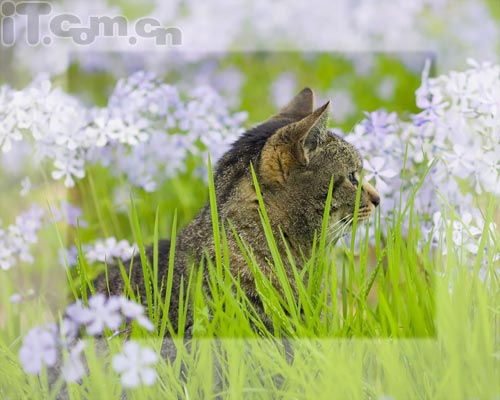
然后用矩形选框工具画出自已想让画面清晰的部分,然后按删除键,效果如下:
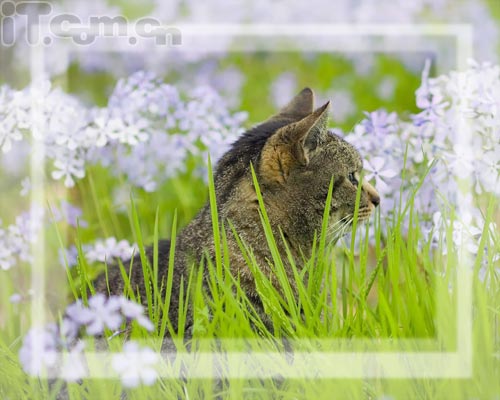
再添加新的图层,把它的透明度调到70%,然后同样用矩形选框工具在适当位置或者说自已喜欢的位置选择,然后按删除键,选的位置尽量使画面有一点层次感.如下图:
然后我用画笔工具里的枫叶画笔添加了点落叶飘零的效果,如下图:
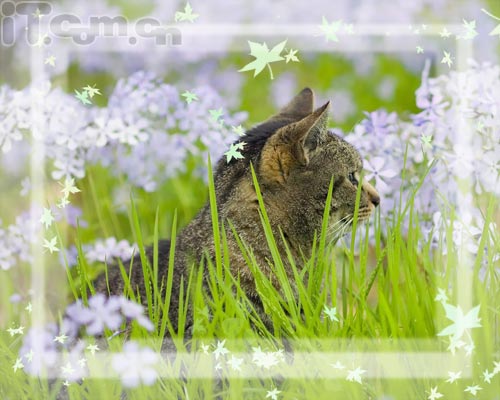
最后再加点文字搞定.如图:
先看效果图和原图:
效果图

原图
新建一层,填充白色,并把它的透明度调成50%,效果如下:
然后用矩形选框工具画出自已想让画面清晰的部分,然后按删除键,效果如下:
再添加新的图层,把它的透明度调到70%,然后同样用矩形选框工具在适当位置或者说自已喜欢的位置选择,然后按删除键,选的位置尽量使画面有一点层次感.如下图:
然后我用画笔工具里的枫叶画笔添加了点落叶飘零的效果,如下图:
最后再加点文字搞定.如图:


