
Photoshop简单打造彩虹效果 作者:闪电儿 教程来源:网页教学网
Photoshop照片处理教程,用Photoshop为照片简单添加一道彩虹。
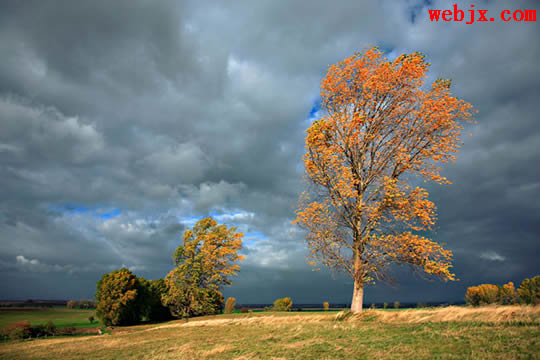
原图。
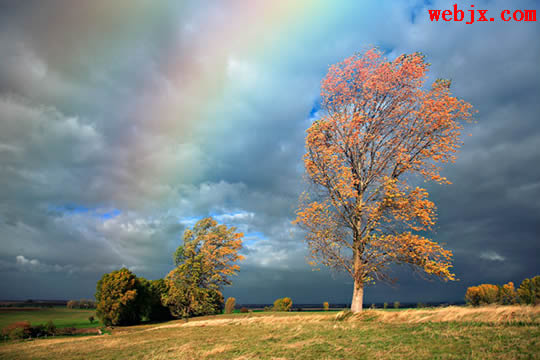
效果图。
本新闻共3
制作方法。
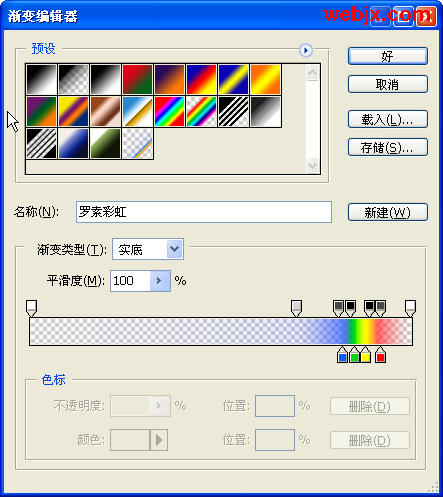
打开原图,新建立一个图层,然后使用渐变工具,颜色设置如下。
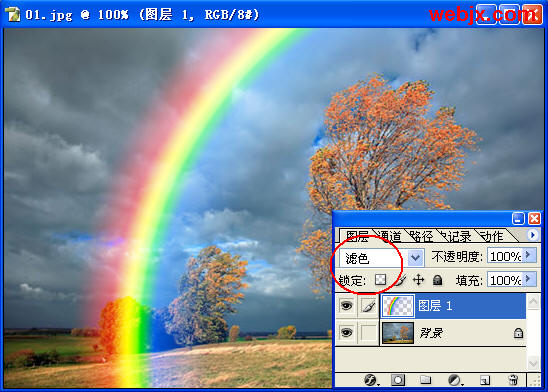
然后设置渐变方式为径向渐变,按下图所示的方向进行渐变填充,效果如下图。
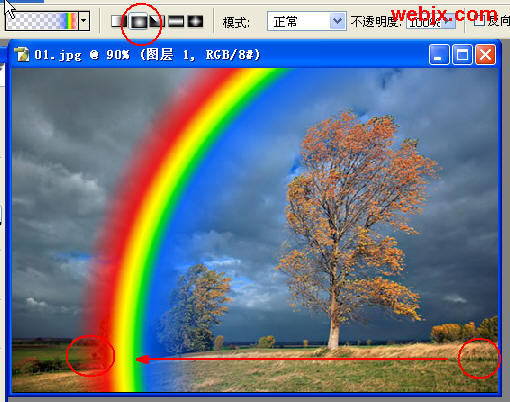
把图层模式改为滤色。
本新闻共3
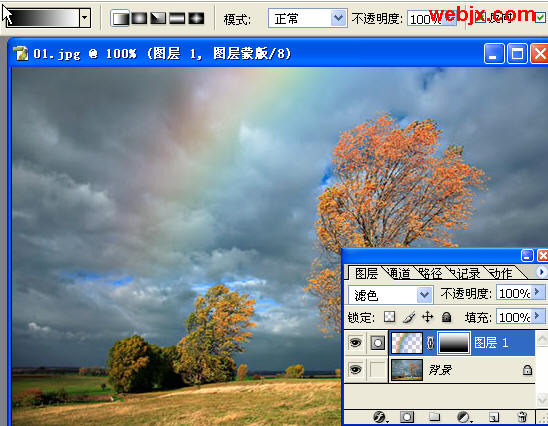
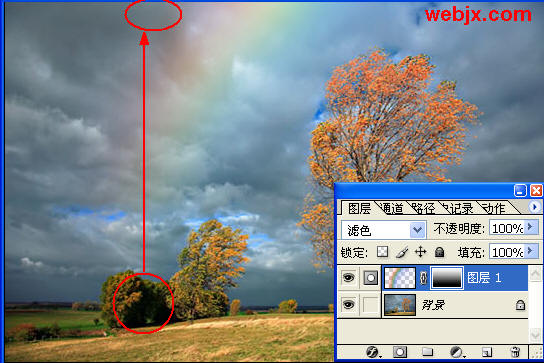
对彩虹的图层执行高斯模糊,模糊半径为25.2px。然后设置渐变颜色。按D键,之后为彩虹图层添加一个蒙板,然后由下向上进行渐变。
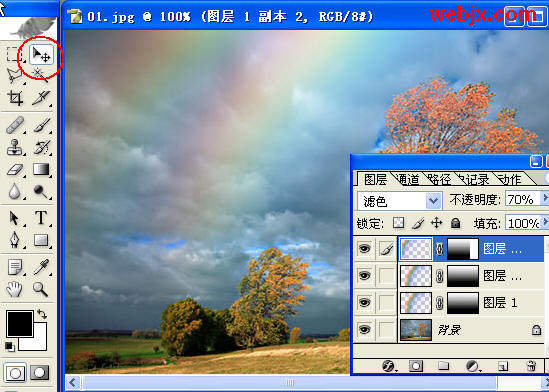
然后按Ctrl J复制图层,调整不透明度到70%。
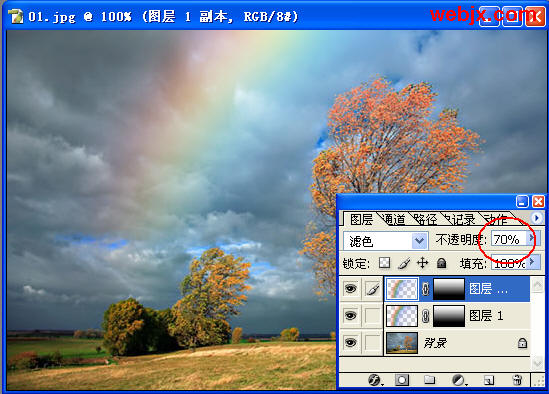
然后再复制图层,我们使用移动工具,可以制作双层的彩虹了!
最后再把第2道彩虹进行高斯模糊就可以了!效果看前面吧!简单的,我们教你,深奥的,你来分享,非主流照片|qqkongjian|feizhuliu|tupian|luntan|psjiaocheng|bishua|ruanjian|chajian|xiazai|psxiazai|qqkongjiandaima
Photoshop照片处理教程,用Photoshop为照片简单添加一道彩虹。
原图。
效果图。
本新闻共3
制作方法。
打开原图,新建立一个图层,然后使用渐变工具,颜色设置如下。
然后设置渐变方式为径向渐变,按下图所示的方向进行渐变填充,效果如下图。
把图层模式改为滤色。
本新闻共3
对彩虹的图层执行高斯模糊,模糊半径为25.2px。然后设置渐变颜色。按D键,之后为彩虹图层添加一个蒙板,然后由下向上进行渐变。
然后按Ctrl J复制图层,调整不透明度到70%。
然后再复制图层,我们使用移动工具,可以制作双层的彩虹了!
最后再把第2道彩虹进行高斯模糊就可以了!效果看前面吧!简单的,我们教你,深奥的,你来分享,非主流照片|qqkongjian|feizhuliu|tupian|luntan|psjiaocheng|bishua|ruanjian|chajian|xiazai|psxiazai|qqkongjiandaima


