
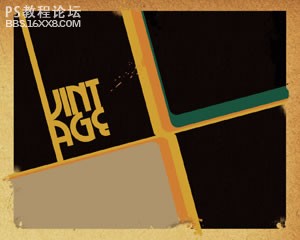
[b]步骤十三[/b]
现在来制作文字:
大写字母和字母的某部分延长也是常见的古典风格图片。你也可以根据你的喜好来添加文字,现在我们已经做到了如下的效果:
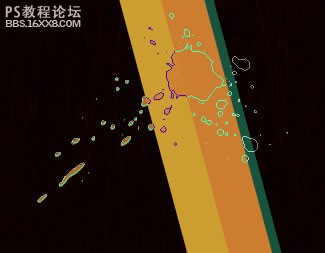
[b]步骤十四[/b]
增加一些亮点来加强图片的效果。
在泼溅效果上采用立方形的图层组中的条纹颜色是很关键的。

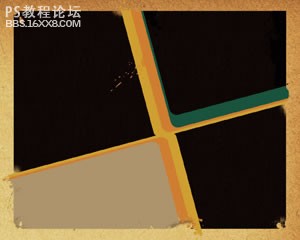
[b]步骤十五[/b]
确保你的图层在你想要泼溅条纹的下方。

[b]步骤十六[/b]
把你泼溅的效果超出附近条纹的范围。
现在你差不多完成了!
选择最初的纸图层进行复制。将它移到所有图层的最上方,这样它就覆盖了整幅画面。运行图像》调整》色相饱和度来降低饱和度,设置混合模式为正片叠底。
我在顶部额外增加亮度/对比度和色相/饱和度的图层,并运用了色阶进行了一些调整,这些并不是很重要。
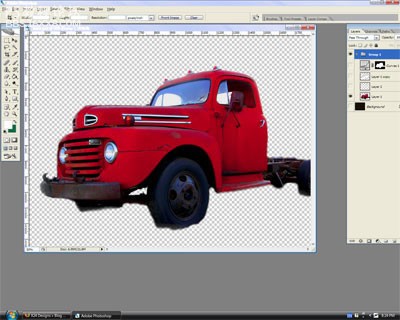
[b]步骤十七[/b]
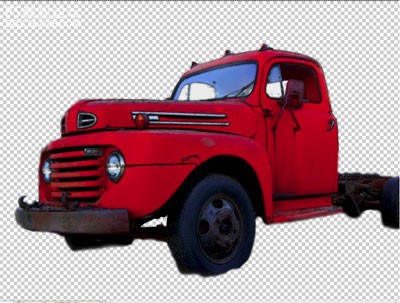
卡车的下载网站是:https://img.lvups.com/d/file/bigpic/2022/12/25/per3bvfxuje.com /> 首先就是要在背景中提取开车。在复杂的背景中提取卡车并不是件容易的事。幸亏我们不需要非常仔细的提取,因为在后面我们将会用到额外图片的效果。尽你可能得到你个准确的卡车。
记住使用蒙版!你可以通过蒙版来删掉你不需要的部分。
提取卡车后的图片如下所示:
[b]步骤十八[/b]:
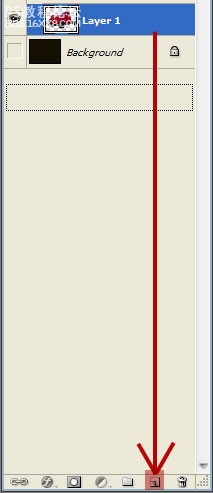
将此图层拖到新建图层的按钮上进行复制。
[b]步骤十九:[/b]
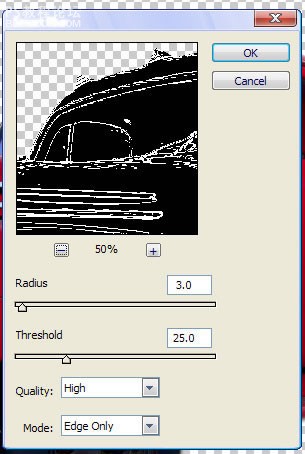
现在选择所复制的图层,运行滤镜》模糊》特殊模糊。
[b]步骤二十[/b]
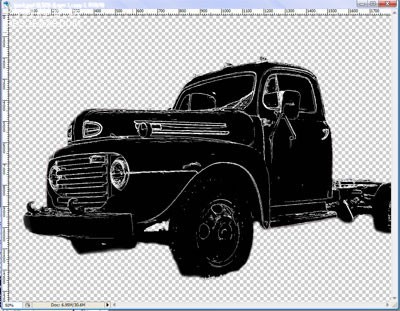
接着运行图像》调整》反相
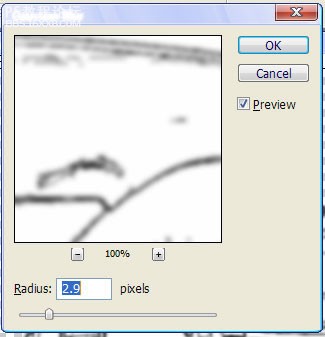
你现在应该是黑线在白色上,然后运行滤镜》模糊》高斯模糊。
[b]步骤二十一[/b]
设置混合模式为正片叠底.
[b]步骤二十二[/b]
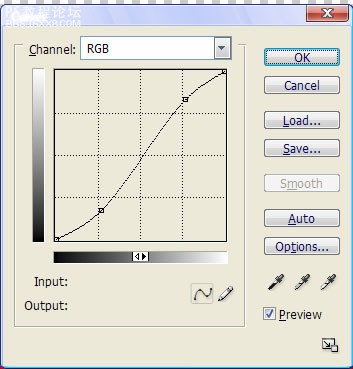
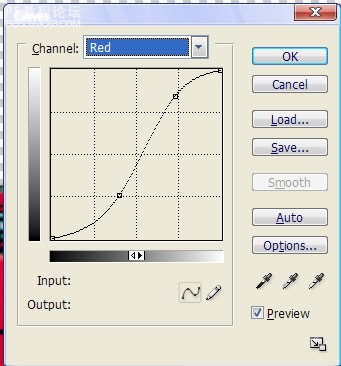
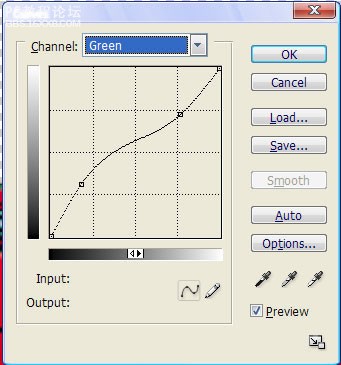
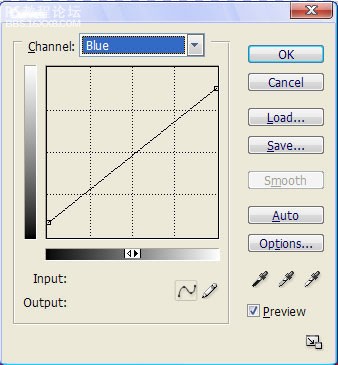
运行图层》新建调整图层》曲线来使卡车的色彩看上去更”古老”。
下图是设置值:
[b]步骤二十三[/b]
将这个卡车拖到最初的文件中。

[b]步骤二十四[/b]
给所有的卡车图层建一个图层组(ctrl+G)。
在卡车组的下方新建一个图层,根据你的喜欢增加一些泼溅的效果。
http://spazz24.deviantart.com/art/Spazz-Splatter-Brushes-20284595
http://vexingart.deviantart.com/art/Blood-Splatter-Brushes-11819573
在从背景提取卡车时不是很仔细的地方,现在就可以用笔刷进行覆盖。
现在你的效果应该如下所示:
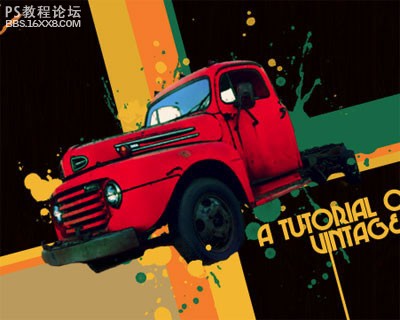
[b]步骤二十五[/b]
现在将它放在复制的纸纹理的下方。
这样就完成了。


