
PS不仅能够把丑变美,同样也可以把美变丑。如下面的教程作者仅用一些调色工具即可把美女变成恐怖的恶魔。只要我们能够熟练及灵活运用PS就可以做出更多创意的效果。
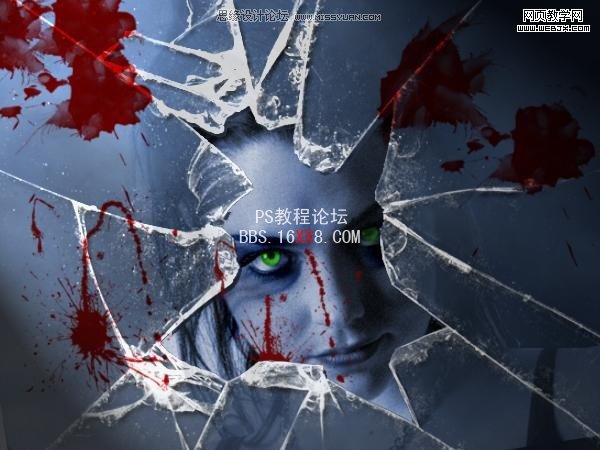
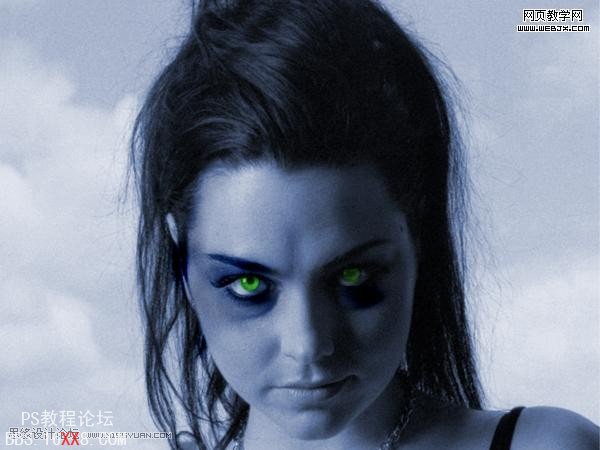
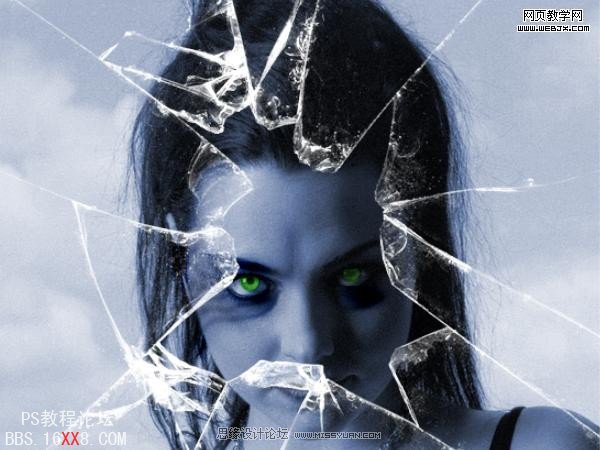
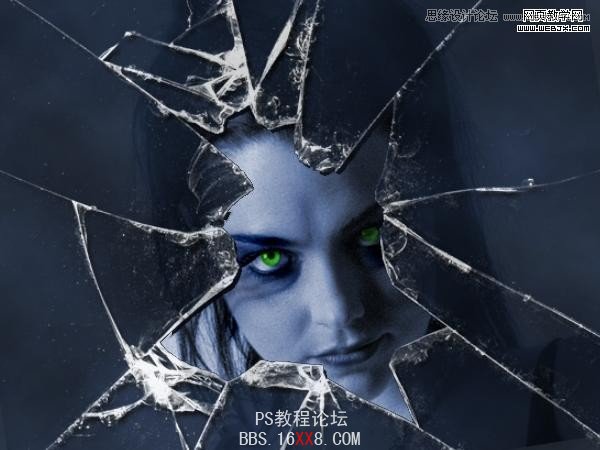
最终效果
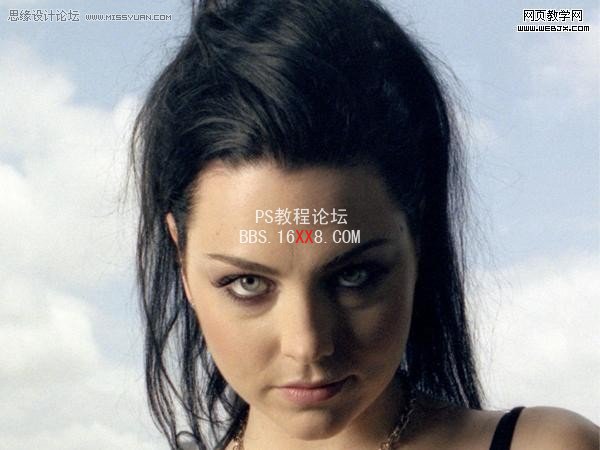
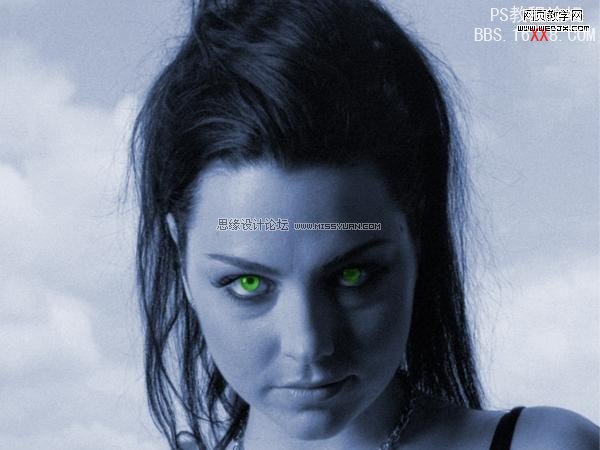
1、打开下图所示的人物素材。
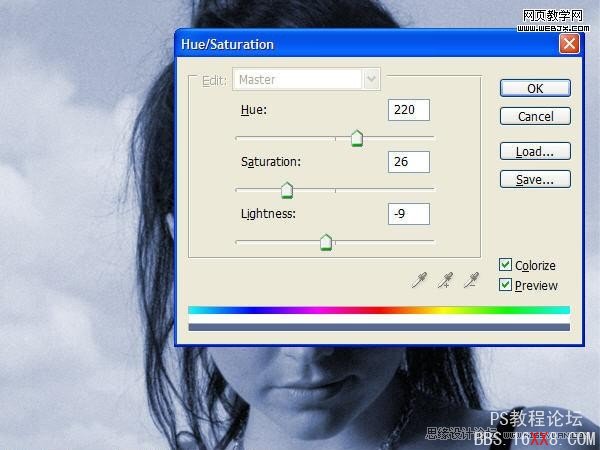
2、CTRL+U调整色相/饱和度,设置如下。
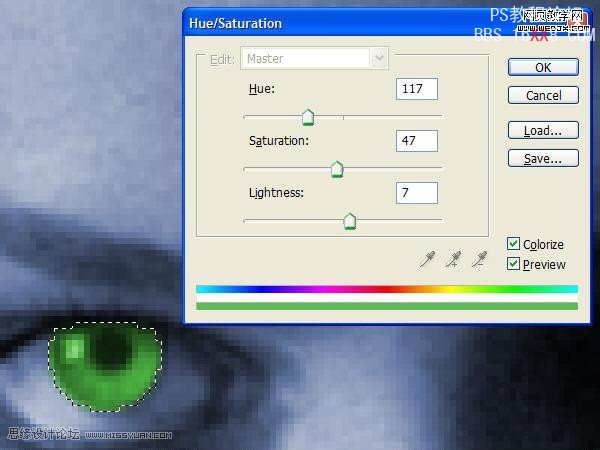
3、下面改变眼的颜色,我们使用椭圆工具选择眼睛。然后调整色相/饱和度。
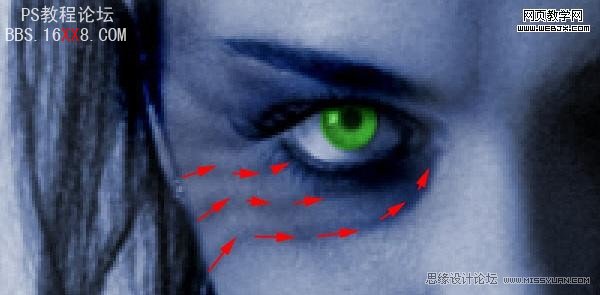
4、我们使用一个13px -15 px 暗调的笔刷在眼睛周围绘制,设置黑色,然后设置如下。

5、在眼睛周围绘制。
6、按下面箭头方向去绘制。
7、同样方法修改嘴唇。

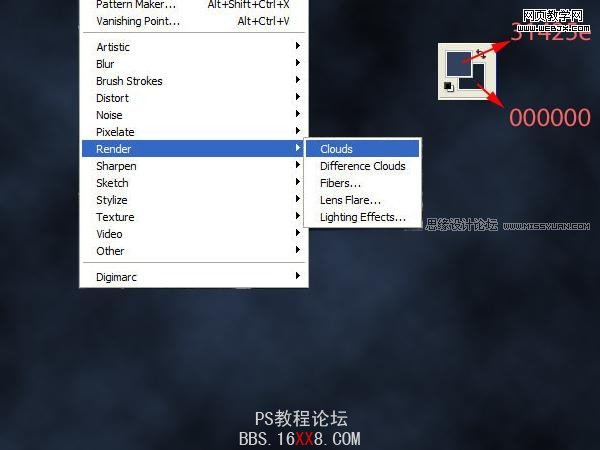
8、建立新图层,填充颜色为#31425e,效果如下。
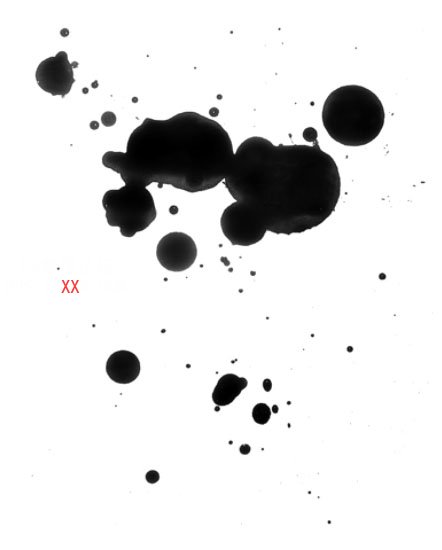
9、破碎玻璃画笔绘制(下半下图所示的碎玻璃素材定义为笔刷,然后把前景颜色设置为白色再使用)。
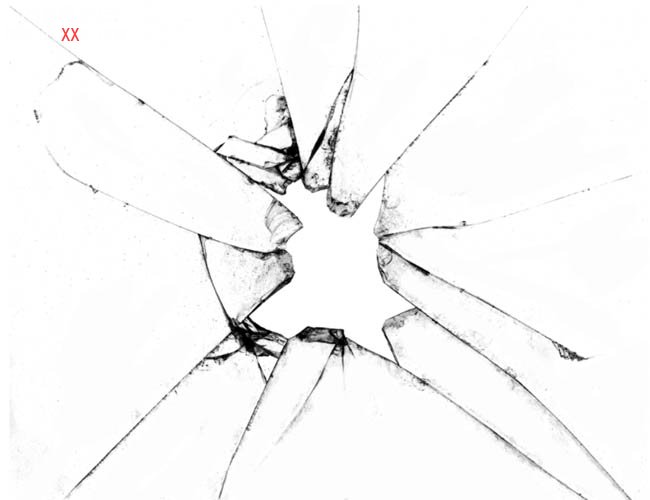
<点小图查看大图>
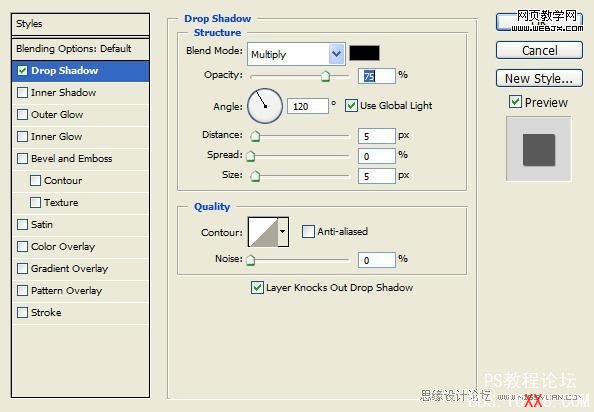
10、设置图层样式。
11、按CTRL+E拼合图层,用套索工具选择破碎区域。
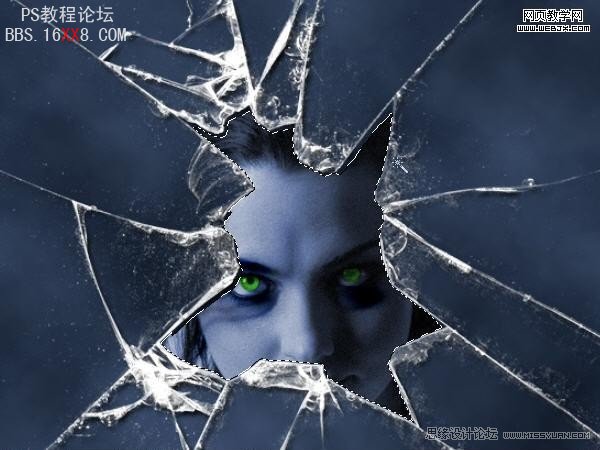
12、改变不透明度为80%,效果如下。

13、复制图层,调整模式为正片叠底,效果如下。
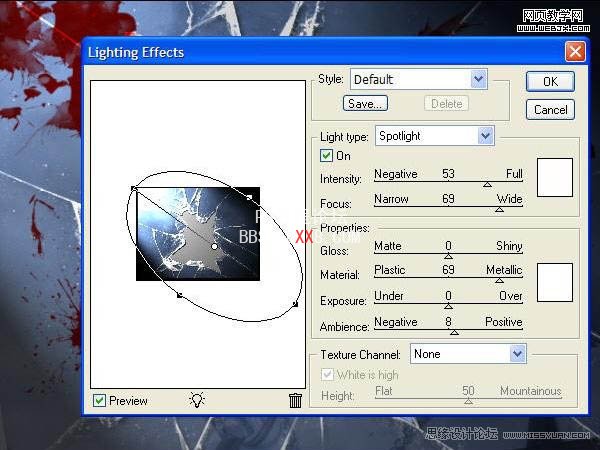
14、镜头光晕滤镜(滤镜 > 渲染 > 光照效果)设置如下。
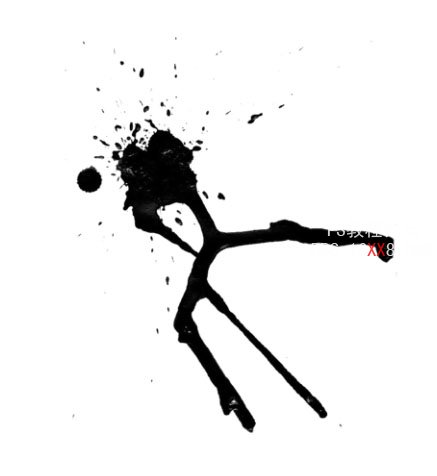
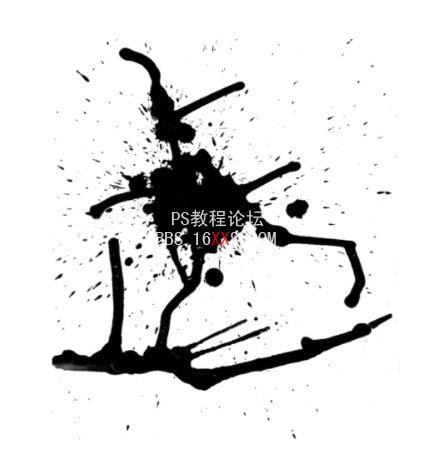
15、最后再用血液笔刷绘制一些血液(先把下图所示的素材定义笔刷,然后再使用),完成最终效果。

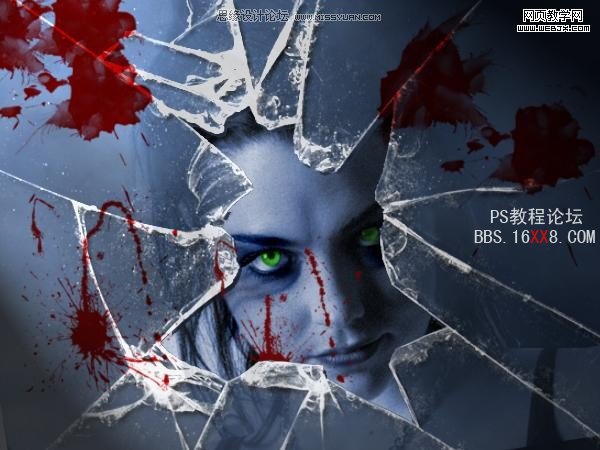
最终效果:


