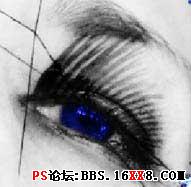
Change the layer's type on Overlay.
层类型改变为覆盖。
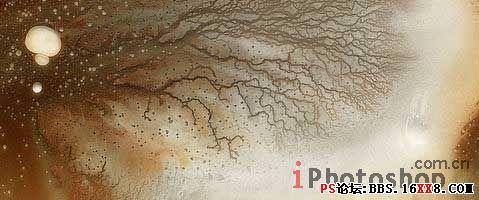
Insert above the background now such a texture.
新建层插入一个如下纹理的图片作为背景。
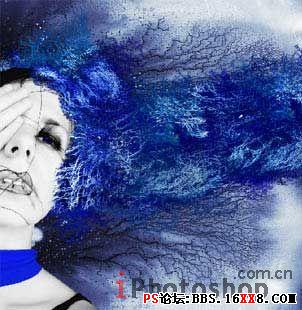
Copy this layer now and turn around the copy, applying Edit -Transform -Flip Vertical. Merge both these layers and change the color (Hue/Saturation)
将背景层复制,粘贴到新层,点击编辑-转换-垂直反转,将两个背景层对称拼接起来,合并,并调整色相/饱和度使得背景色与整体色调相符合。
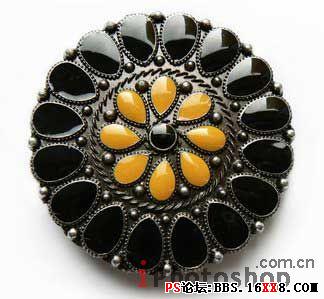
Open now a picture representing the brooch.
找一张胸针的图片。