
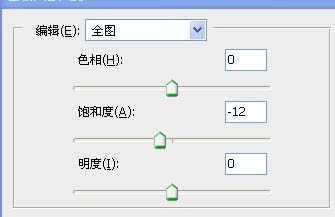
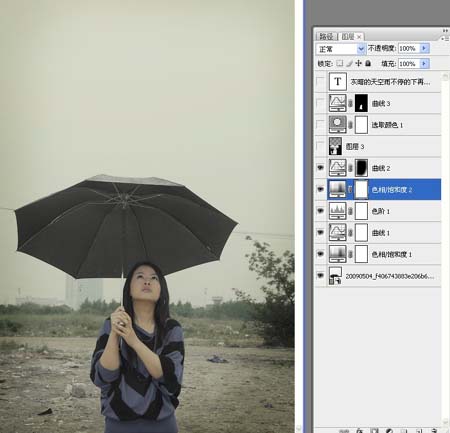
4、创建色相/饱和度调整图层,参数及效果如下图,确定后再创建曲线调整图层,适当调暗一点,然后把中间部分用黑色画笔擦出来。
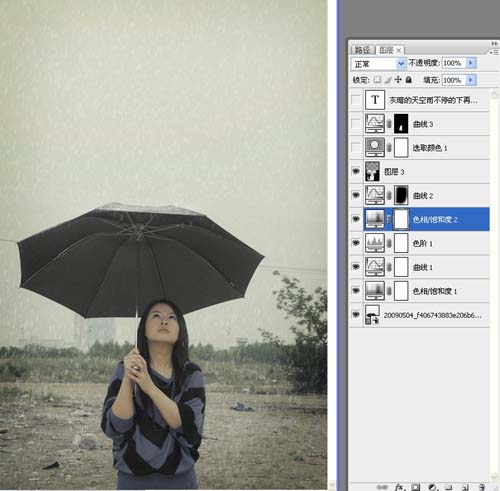
5、给照片装饰雨丝:雨制作教程请参考: ps利用感模糊制作下雨效果照片
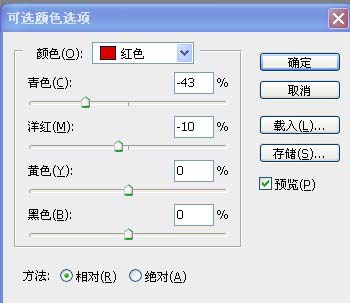
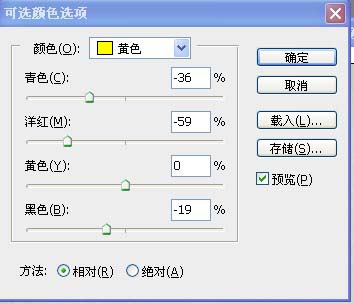
6、创建可选颜色调整图层,对红色及黄色进行调整,参数设置如下图。
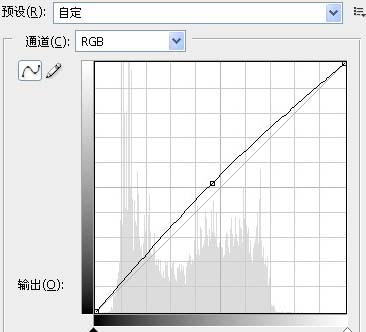
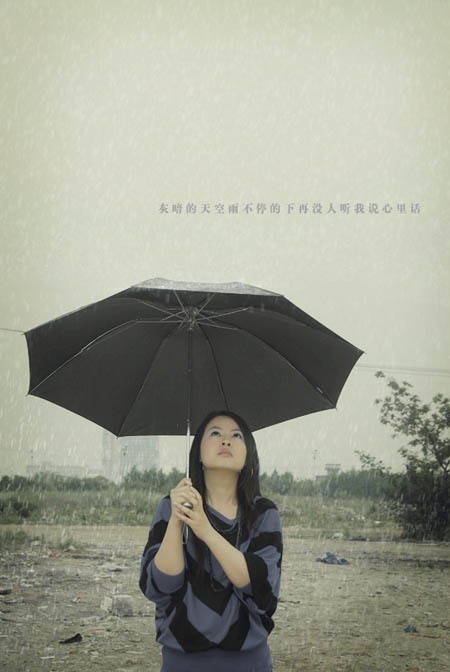
7、创建曲线调整图层,稍微调亮一点,然后把蒙版填充黑色,用白色画笔把人物脸部擦出来,完成最终效果。
4、创建色相/饱和度调整图层,参数及效果如下图,确定后再创建曲线调整图层,适当调暗一点,然后把中间部分用黑色画笔擦出来。
5、给照片装饰雨丝:雨制作教程请参考: ps利用感模糊制作下雨效果照片
6、创建可选颜色调整图层,对红色及黄色进行调整,参数设置如下图。
7、创建曲线调整图层,稍微调亮一点,然后把蒙版填充黑色,用白色画笔把人物脸部擦出来,完成最终效果。
上一篇:ps给可爱的女生美女和装饰


