如何把皮肤变的又白又亮,以及制造科幻灯光效果,如何把女人变得富有机械感,尽在我的未来的机器人。灵感来源于一个机器人的电影,
相信你也看到过类似的东西,我们一起来揭秘她。
制作软件:PS CS5 英文版
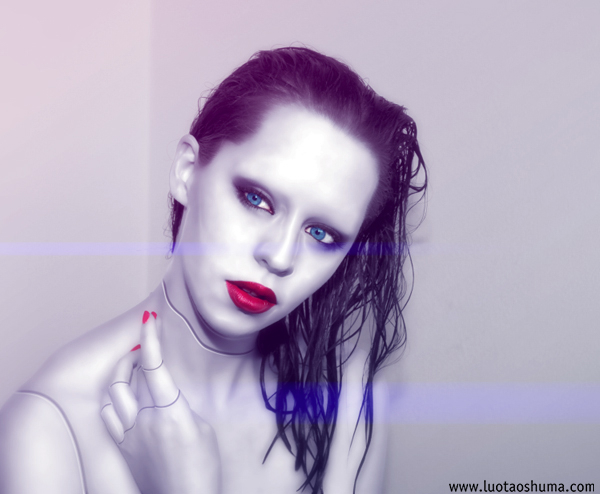
* 教程效果图:
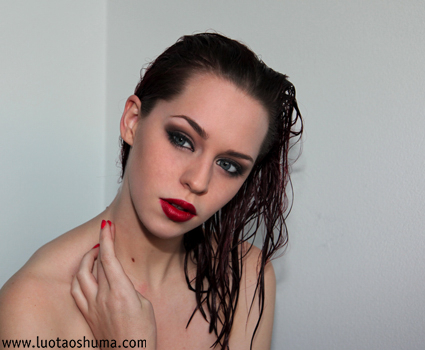
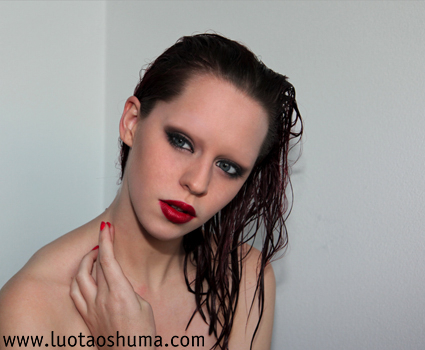
*原图
*制作步骤:
删除眉毛
1、在PHOTOSHOP中打开这张图片,,使用 多边形套索工具选择在左边的眉毛,你要适当的羽化选区,执行 编辑>填充 和选择 内容识别 作为填充内容。

2、这个命令将会智能择选附近的皮肤覆盖掉眉毛区域。
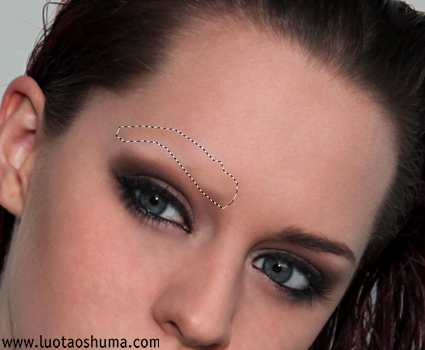
3、使用相同的方法清除另一边的眉毛,并使用修补工具修复其他区域的瑕疵。
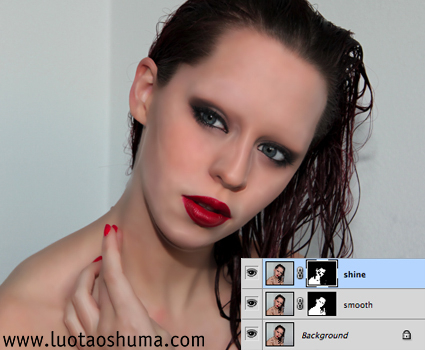
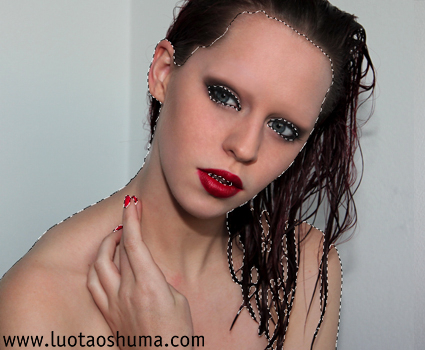
平滑的皮肤
4、首先使用 快速选择工具 选取出皮肤区域的选区, 要额外小心头发落在右肩的区域边缘。
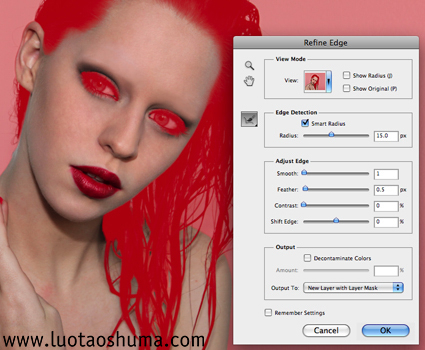
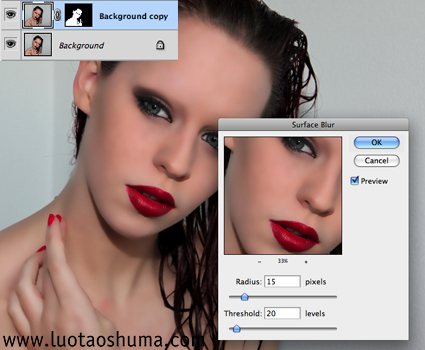
5、当得到你满意的选区后,执行 选择>调整边缘 参数设置如下,设置:输出到 新建带有图层蒙版的图层。
6、在的新得到的图层中,执行 滤镜>模糊>表面模糊。设定半径为15个像素,阈值20. 这个 表面模糊 将模糊皮肤的表面,同时保持边缘锋利感。
7、现在复制这个层,并在复制的图层中执行 滤镜 滤镜库>艺术效果>塑料包装 。设置高光强度为3,细节为1,平滑度为15。

8、制作了塑料的效果后,一些地方如发际线边缘、上唇等处会看起来不自然,你需要使用一个柔边的黑色画笔在图层蒙版中还原这些部分。