
Photoshop抠图:魔棒抠图为照片换背景
作者:佚名 出处:随花而居人物素材

背景素材

1、打开图片,添加蒙版
2、魔棒选中空白区域

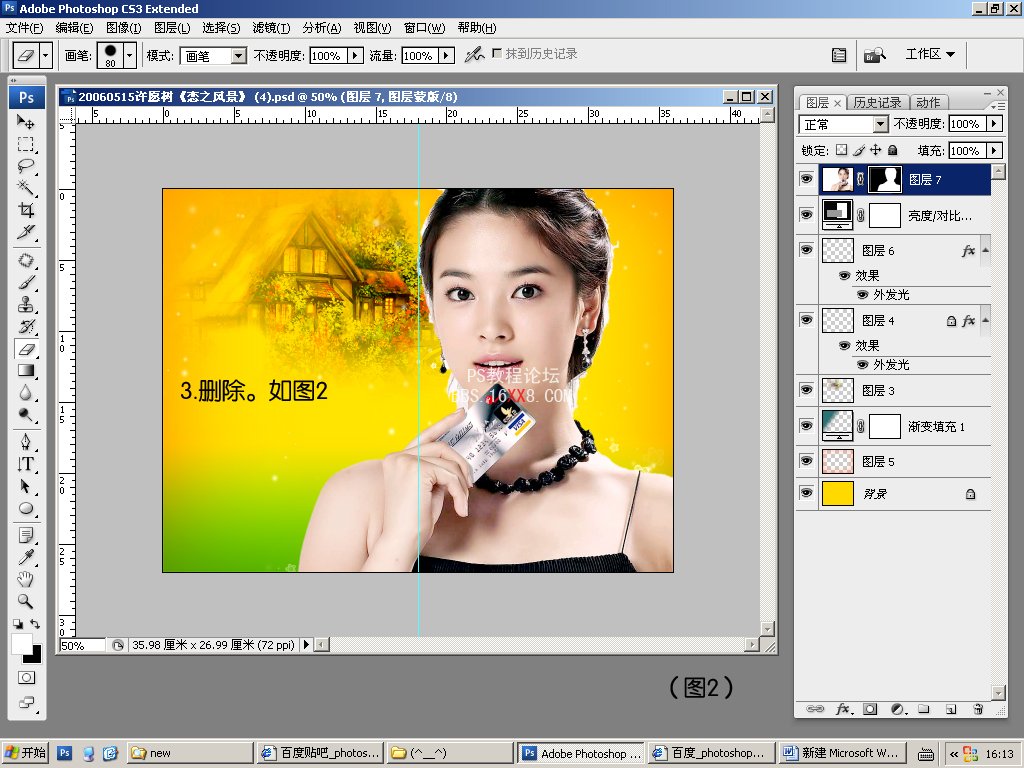
3、删除如图
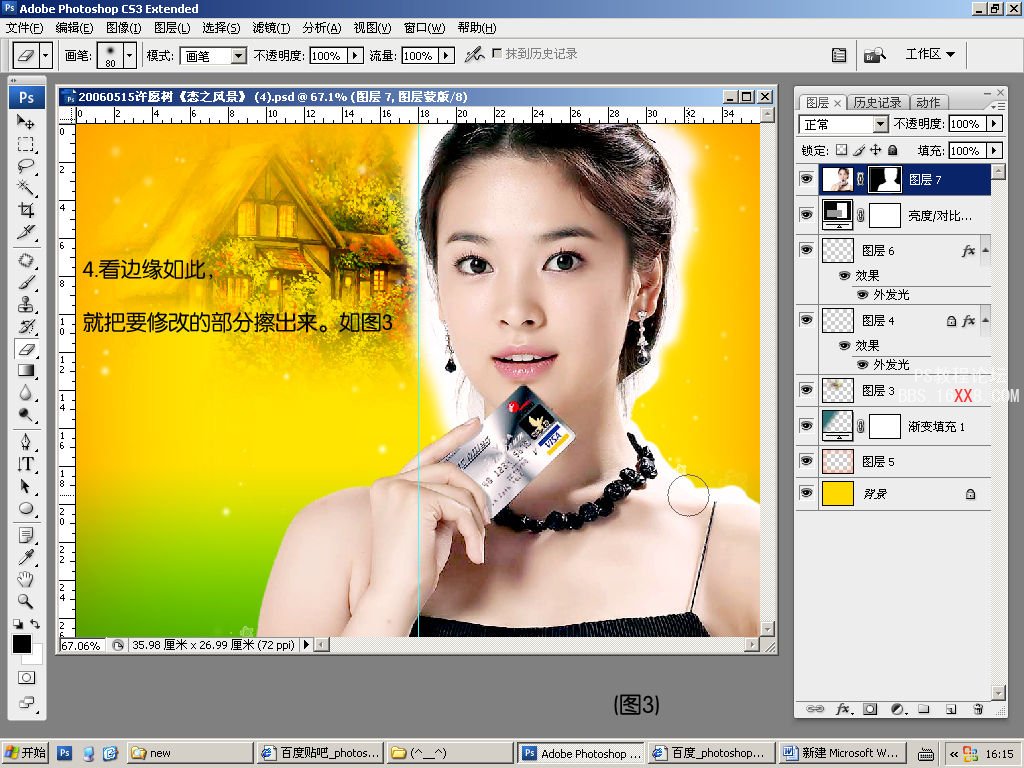
4、把要修改的边缘擦出来
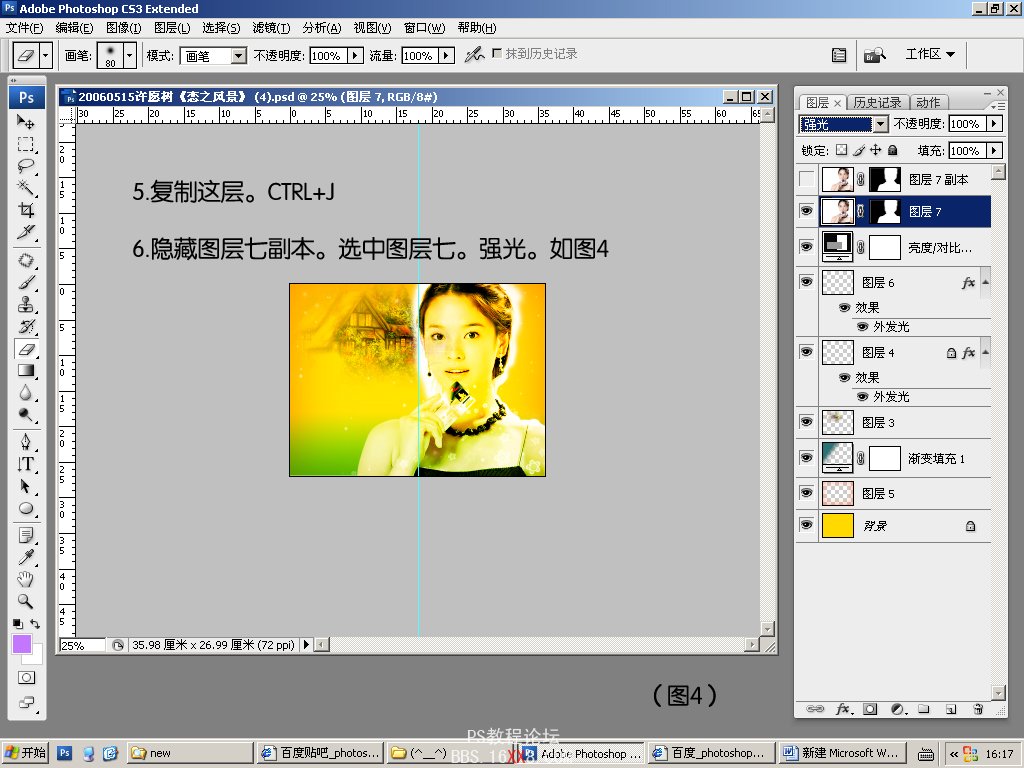
5、复制图层
6、隐藏图层副本
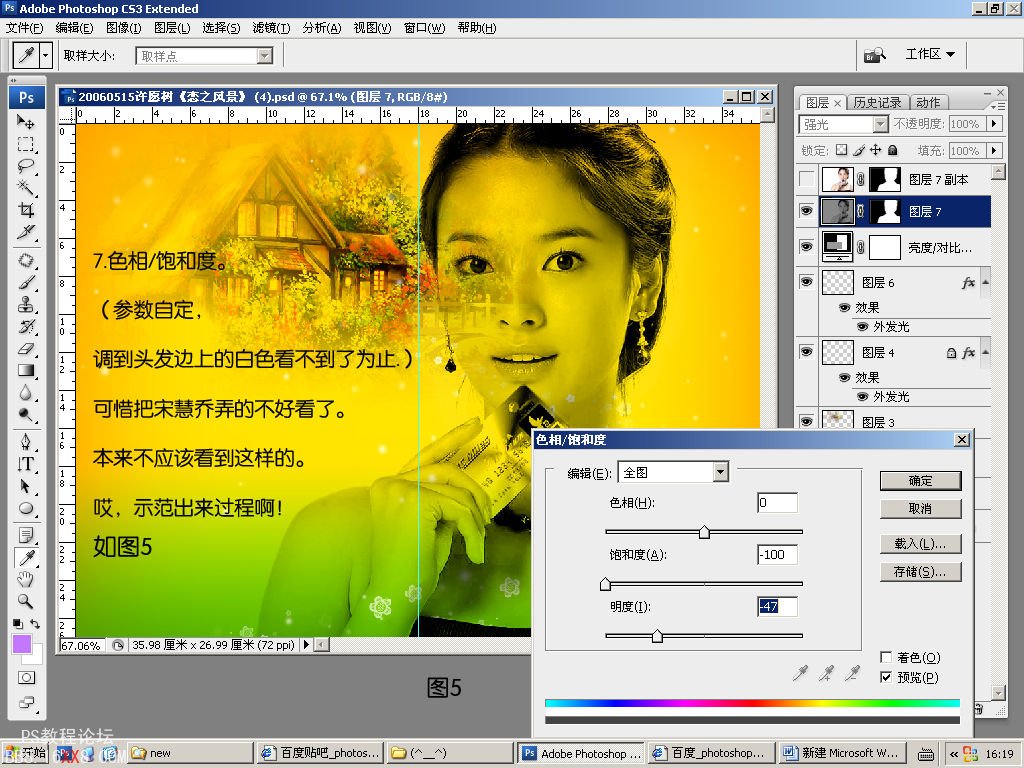
7、色相饱和度
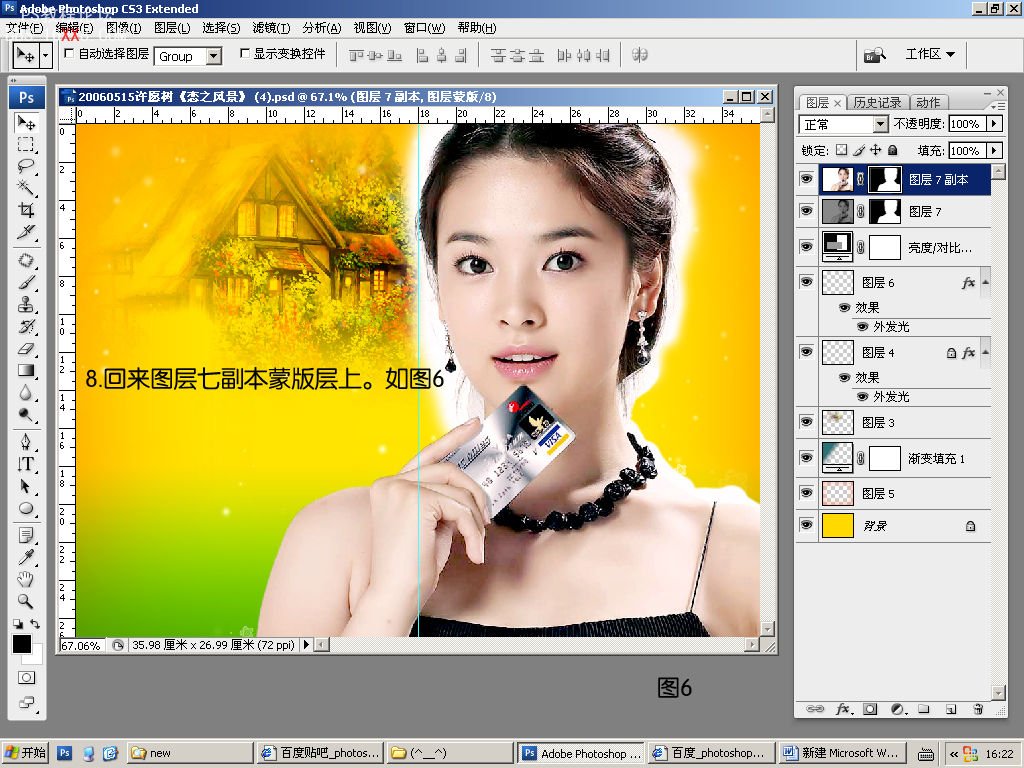
8、回到图层副本
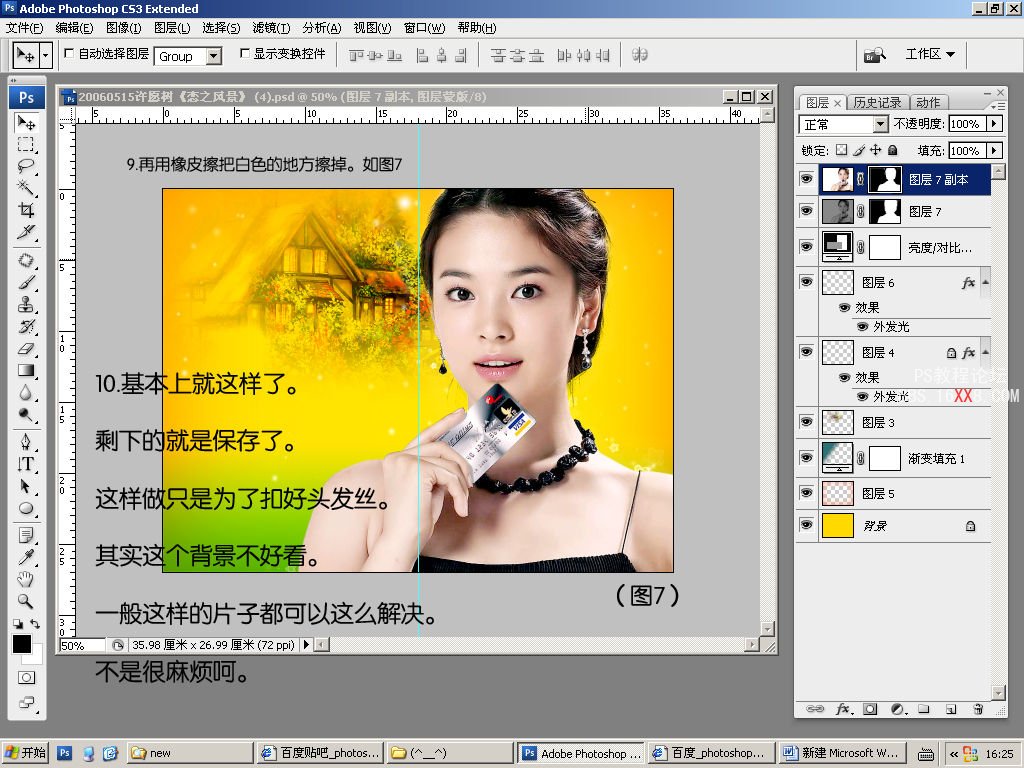
9、用橡皮擦把白色的地方擦掉
10、保存,得到最终结果
Photoshop抠图:魔棒抠图为照片换背景
作者:佚名 出处:随花而居人物素材
背景素材
1、打开图片,添加蒙版
2、魔棒选中空白区域
3、删除如图
4、把要修改的边缘擦出来
5、复制图层
6、隐藏图层副本
7、色相饱和度
8、回到图层副本
9、用橡皮擦把白色的地方擦掉
10、保存,得到最终结果
上一篇:抠人物,抠出清新的校园女神照片


