
抠黑头发的方法-较实用本文由中国教程网郭志明 原创
原图:

效果图:

让我们看看过程
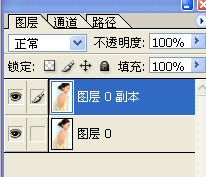
1、 先复制图层
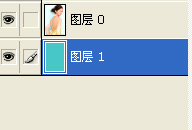
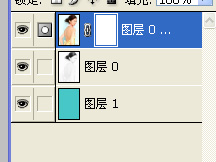
2、新建一层 填充一种容易分辨的颜色 这里我选择的是青色

4、 然后去色 这个就不用详细说了
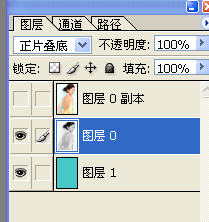
5、 将图层混合模式改成正片叠底
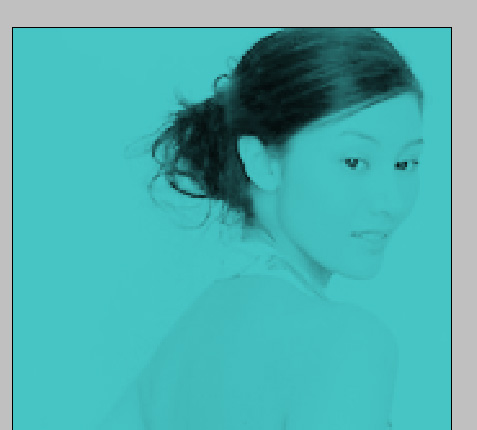
6、按CTRL M调整图象的亮度 将图象的背景调至看不到为止
7、将上面的图层点出来 添加图层蒙版
8、 然后用画笔工具把头发边缘的背景 擦去 完成了!

原图:
效果图:
让我们看看过程
1、 先复制图层
2、新建一层 填充一种容易分辨的颜色 这里我选择的是青色
4、 然后去色 这个就不用详细说了
5、 将图层混合模式改成正片叠底
6、按CTRL M调整图象的亮度 将图象的背景调至看不到为止
7、将上面的图层点出来 添加图层蒙版
8、 然后用画笔工具把头发边缘的背景 擦去 完成了!
搜索更多相关主题的帖子:头发 郭志明 中国 效果图 教程
简单的,我们教你,深奥的,你来分享


