
Photoshop教程:图层模式在抠图中的运用详细图解Photoshopjiao cheng :tu ceng mo shi zai kou tu zhong de yun yong xiang xi tu jie
作者:cfljg 教程来源:中国教程网论坛
友情提示:教程最后提供本文所需画笔
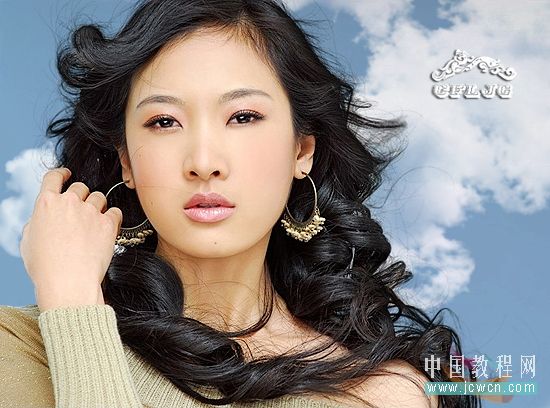
原图

效果图:
本新闻共4
方法步骤:
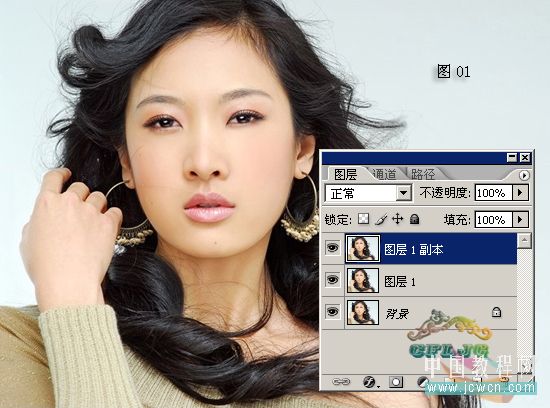
01、打开图片,ctrl j两次,分别得到图层1和图层1副本。见图01
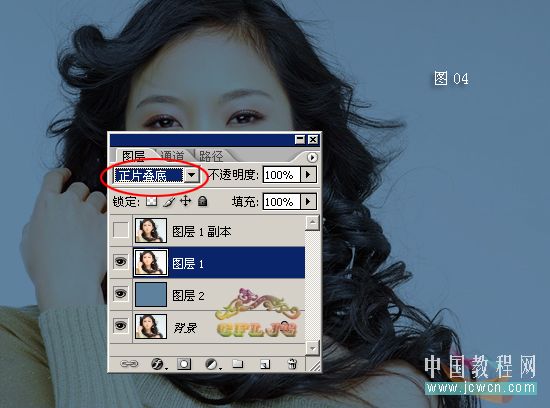
02、点击红圈处,新建图层2,放于图层1与背景层之间,并填充蓝色。作为检验效果和新的背景层。见图02

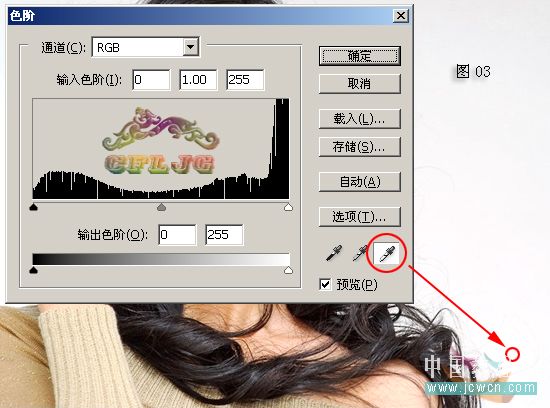
03、在图层1执行图像--调整--色阶命令,用白吸管在图中的红圈处点一下,这样原来的蓝灰色的背景就变成了白色的背景了。见图03
本新闻共4
04、图层的模式设置为正片叠底, 这时微细的发丝就得到了。见图04
05、ctrl j复制粘贴一层,得到图层1副本2,图层的模式仍为正片叠底,再看看发丝是不是更清晰了?见图05

06、点击红圈处,在图层1副本层加蒙版,用黑画笔仔细在人物主体外涂抹出新的背景及发丝。见图06

本新闻共4
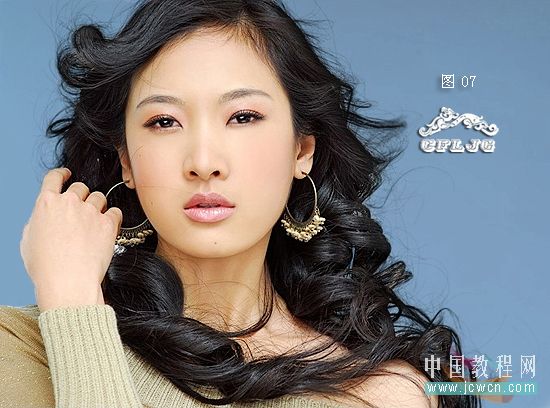
07、蒙版涂抹后的效果。见图07
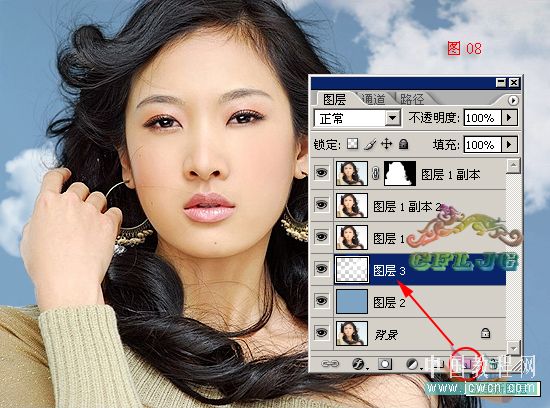
08、背景太单调了,加点效果,新建图层3放于图层1和图层2之间,用云彩画笔扫一下。见图08
云彩画笔下载:点击下载1 点击下载2 点击下载3 点击下载4 点击下载5 点击下载6附件: 您所在的用户组无法下载或查看附件简单的,我们教你,深奥的,你来分享,非主流照片|qqkongjian|feizhuliu|tupian|luntan|psjiaocheng|bishua|ruanjian|chajian|xiazai|psxiazai|qqkongjiandaima
作者:cfljg 教程来源:中国教程网论坛
友情提示:教程最后提供本文所需画笔
原图
效果图:
本新闻共4
方法步骤:
01、打开图片,ctrl j两次,分别得到图层1和图层1副本。见图01
02、点击红圈处,新建图层2,放于图层1与背景层之间,并填充蓝色。作为检验效果和新的背景层。见图02
03、在图层1执行图像--调整--色阶命令,用白吸管在图中的红圈处点一下,这样原来的蓝灰色的背景就变成了白色的背景了。见图03
本新闻共4
04、图层的模式设置为正片叠底, 这时微细的发丝就得到了。见图04
05、ctrl j复制粘贴一层,得到图层1副本2,图层的模式仍为正片叠底,再看看发丝是不是更清晰了?见图05
06、点击红圈处,在图层1副本层加蒙版,用黑画笔仔细在人物主体外涂抹出新的背景及发丝。见图06
本新闻共4
07、蒙版涂抹后的效果。见图07
08、背景太单调了,加点效果,新建图层3放于图层1和图层2之间,用云彩画笔扫一下。见图08
云彩画笔下载:点击下载1 点击下载2 点击下载3 点击下载4 点击下载5 点击下载6附件: 您所在的用户组无法下载或查看附件简单的,我们教你,深奥的,你来分享,非主流照片|qqkongjian|feizhuliu|tupian|luntan|psjiaocheng|bishua|ruanjian|chajian|xiazai|psxiazai|qqkongjiandaima


