
在我们制作界面的时候经常会看到网上有很多的绚丽的界面他们的图形都非常炫酷。如何才能快速的制作出这样效果呢?那么今天MICU教大家如何使用2部方法制作炫酷的APP界面。喜欢的缘友们一起来学习吧。
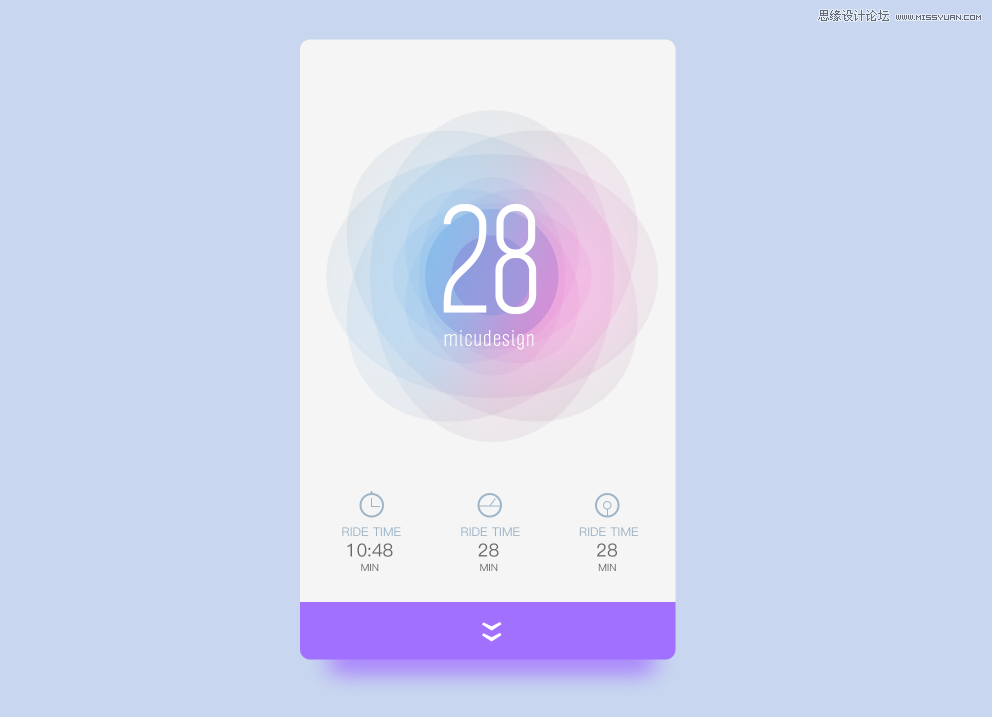
先看看效果图
第1步
绘制图形
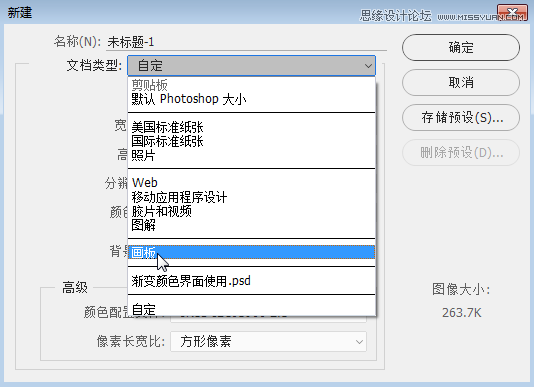
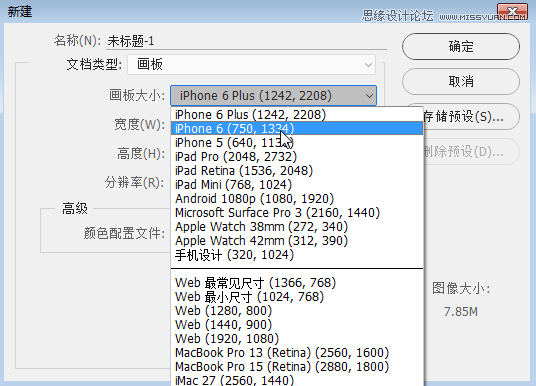
新建图层选择画板(ps cc 2015才有的功能),选这iPhone6的尺寸大小。
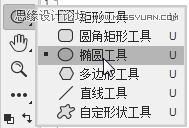
新建完图层后我们使用工具栏中的椭圆工具绘制一个椭圆形。双击形状图层将形状的颜色改为黑,
透明图设置为5%。

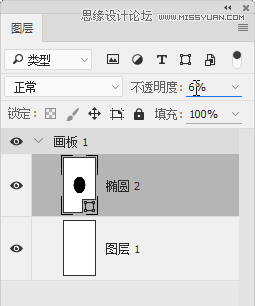
选择形状图层,Ctrl+J复制出同样的一个形状。
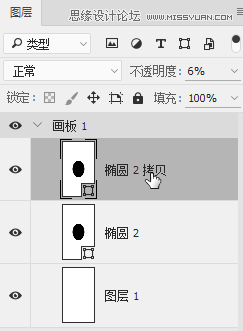
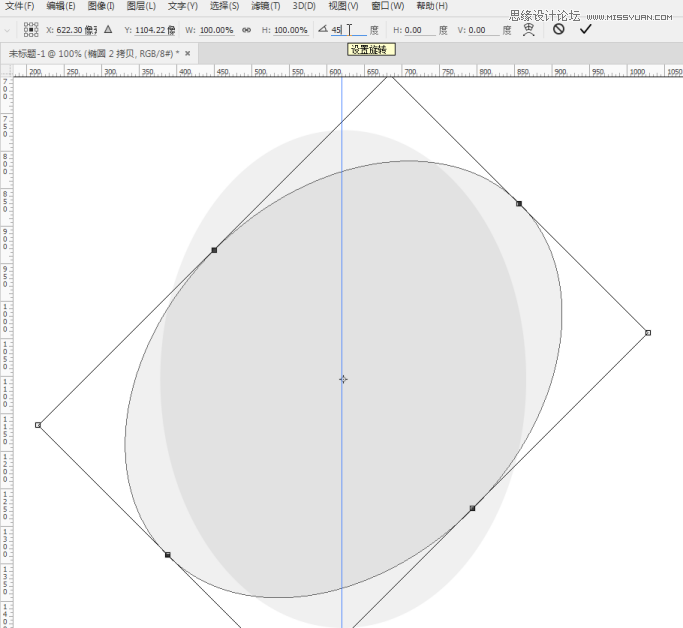
选择复制出来的图层,【Ctrl+T】将旋转的角度调整为45°。使用同样的方式Ctrl+J进行复制图层,
再Ctrl+T进行旋转,重复3次同样的操作后绘制以下的形状效果。
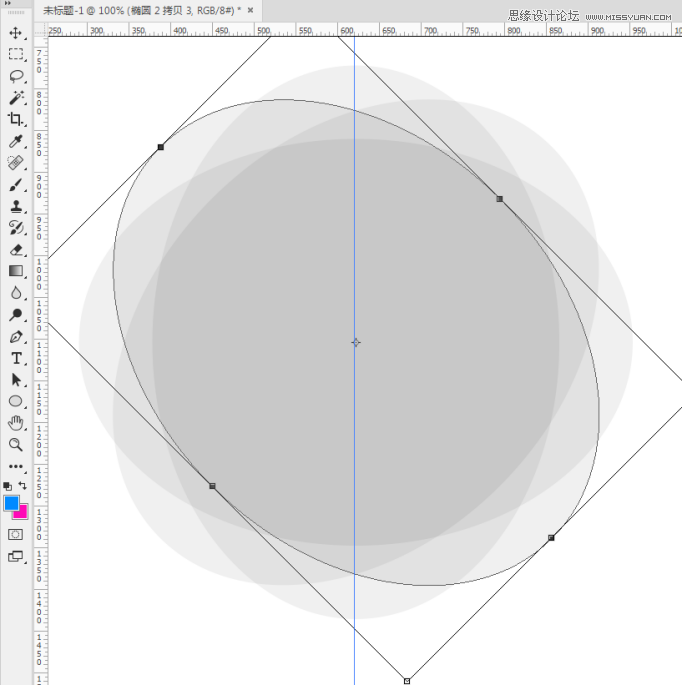
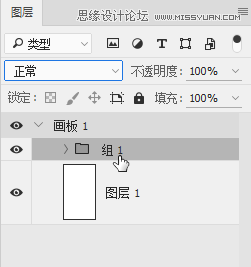
将绘制好的图层全部选中【Ctrl+G】对图层进行编组,方便后面的制作。
第2步
添加颜色,加强细节
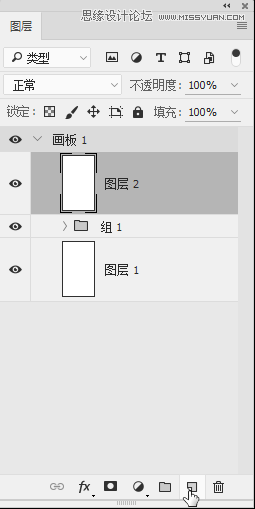
在图层面板中底部找到【新建图层】按钮点击,新建一个空白图层。
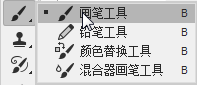
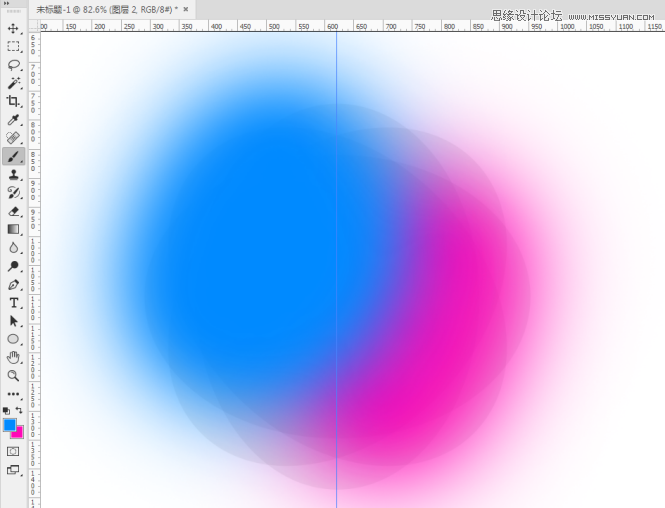
使用工具栏中的【画笔工具】绘制颜色。在绘制的前可以调整画笔的大小和颜色,双击工具栏中的颜色进行设定前景色和背景色。通过使用【画笔工具】将颜色绘制成从蓝色到桃红色的渐变效果。

渐变颜色图层绘制好后,在图层与编组之间按住【Alt】键进行图层与编制之间的嵌套,让渐变的颜色嵌套到下面的编组上。从而完成以下的效果。


