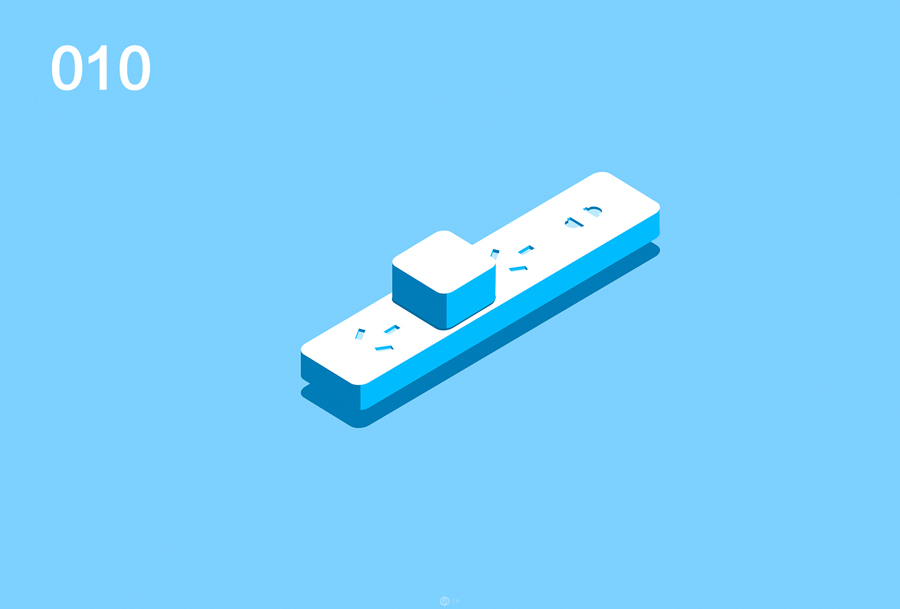
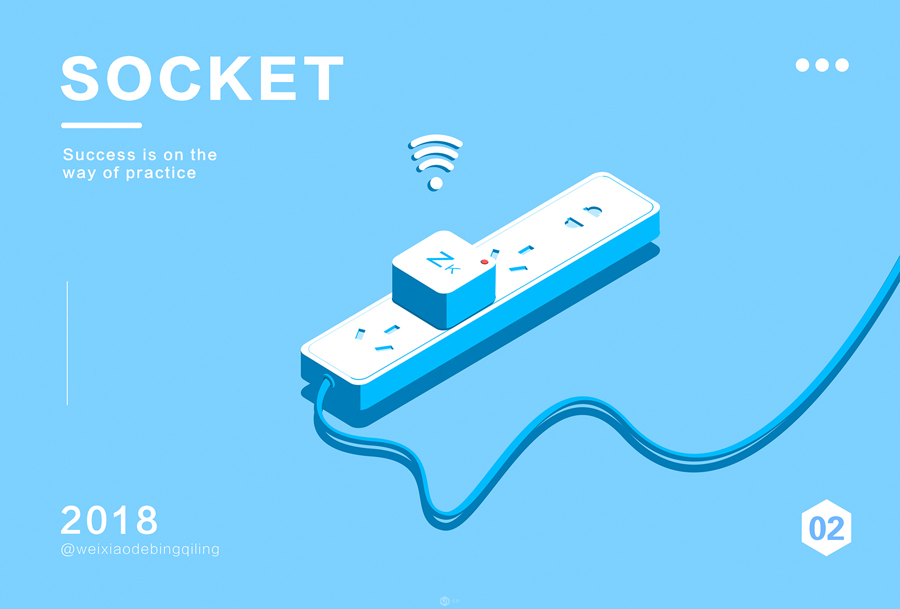
怎样几步完成一个简单的2.5D小插画,今天我们就一起来用PS完成,步骤不是很难大家可以一起来学习。
其实图文的方式学习是最高效的,文中我主要是把作图方法的过程描述了出来,而不是细化到参数大伙照着做一遍,那样相信下次就忘了。得动动小手去做才能记忆深刻嘛。
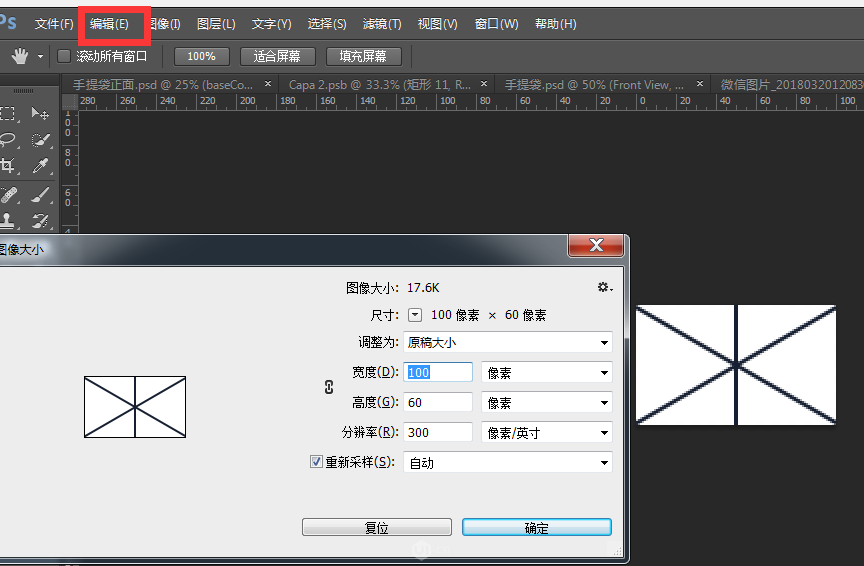
00.制作网格,建立一个100*60的画布,利用矩形工具,画3条线,矩形粗细为2Px,两条斜线离水平线为30度。画好后选择编辑——定义图案。
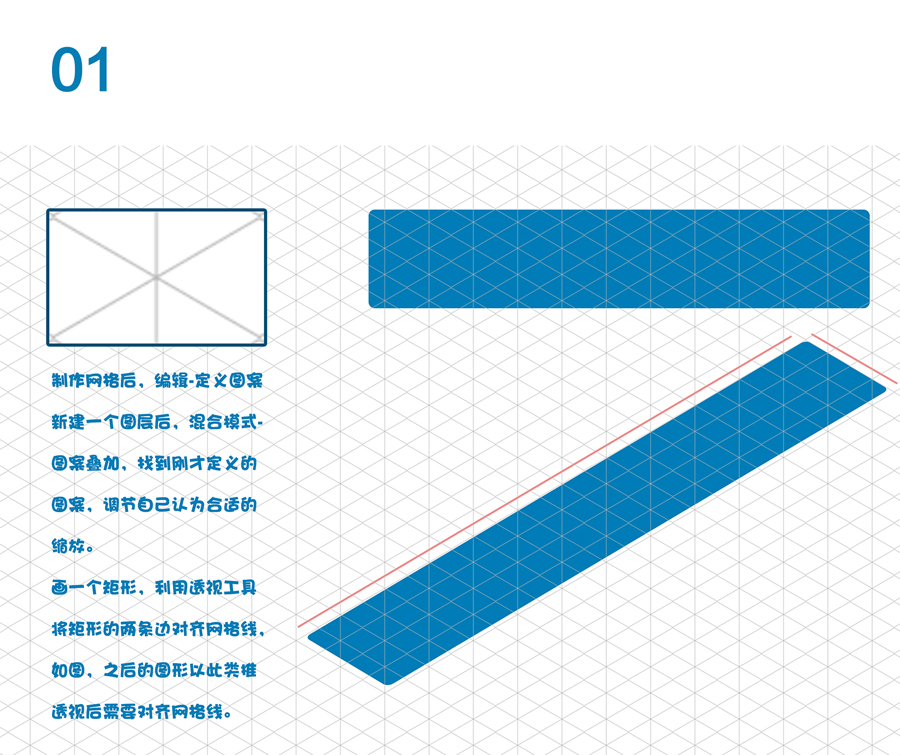
01.新建一个画板1800*1200,填充一个浅蓝色图层,点开混合模式——图案叠加——选择刚自己自定义的网格,然后调节缩放,自己看的舒服就行了。并将此图层
填充调节为0 。并置于所有图层的顶层。
然后就可以开始愉快的画图了。

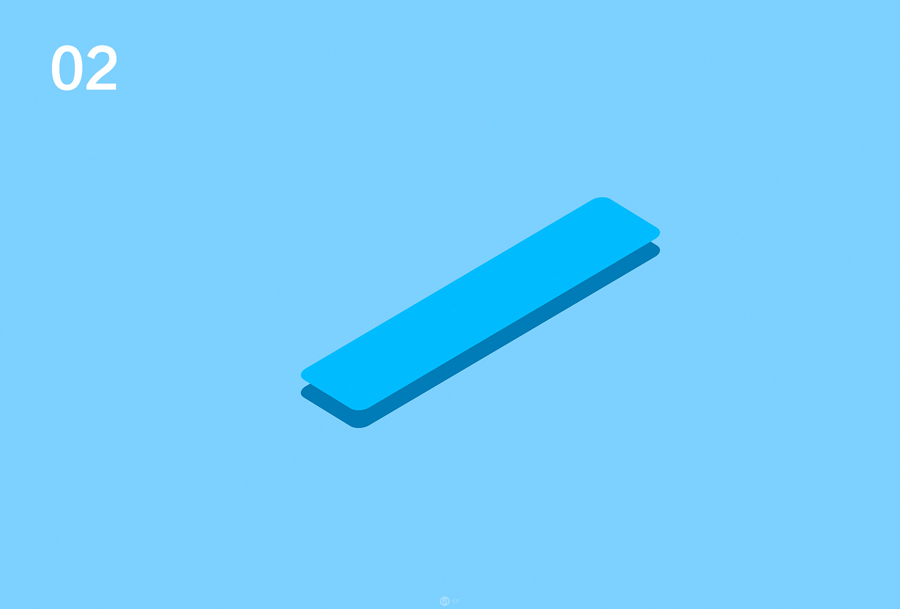
02.复制一层颜色改为浅蓝。
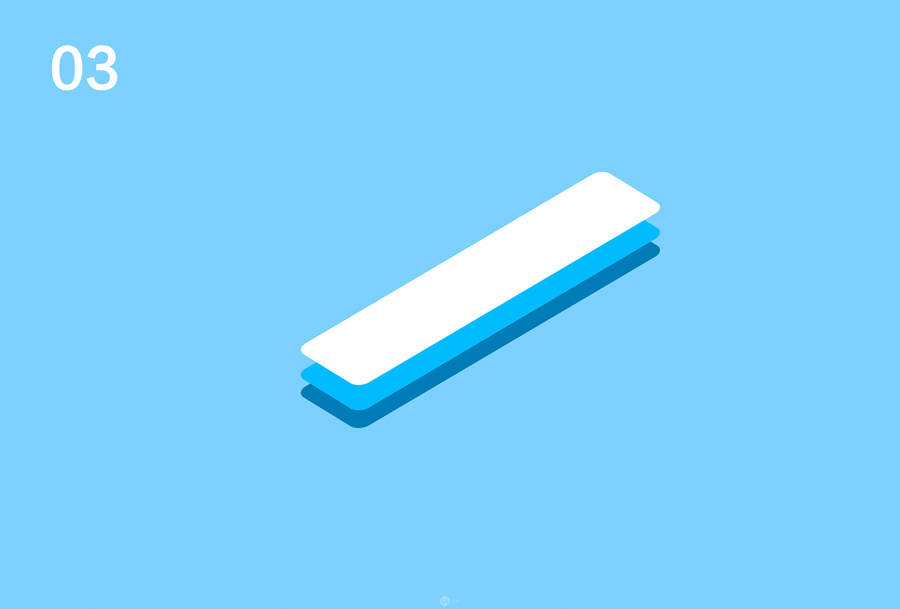
03.继续复制一层改变颜色为白色

04.用钢笔工具为插座两面,填补好明暗两面。以同样的方法画一个圆和一个矩形,合并形状,得到一个插孔。CTRL+T 后,右键透视将框对齐网格线后如图。

05.复制一层插孔,将颜色改为浅色。将此图层在第一层上剪切蒙版,并往下移动一段距离。使得插孔有凹凸感。
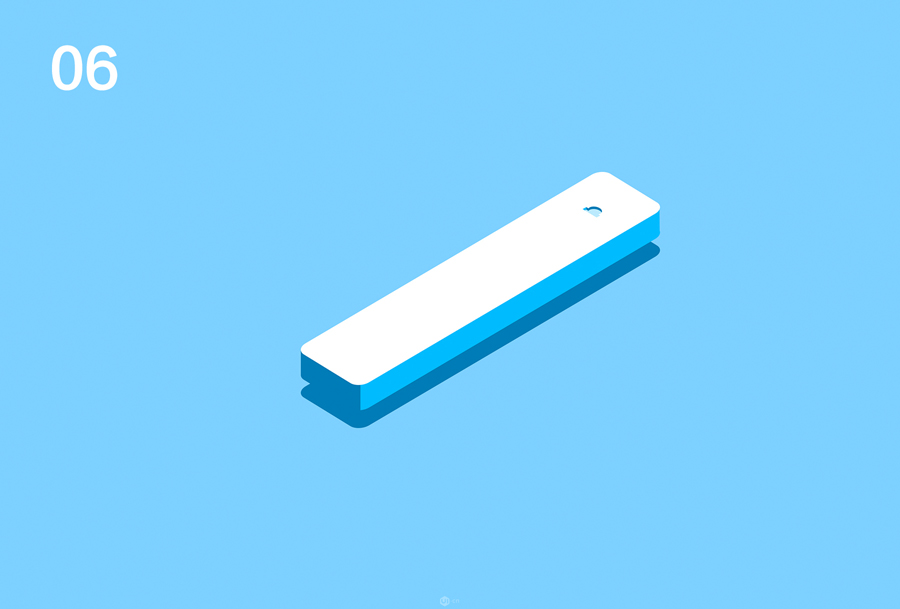
06.画一个矩形,颜色改为深蓝色,剪切蒙版在插孔图层上。使插孔有一个暗面。
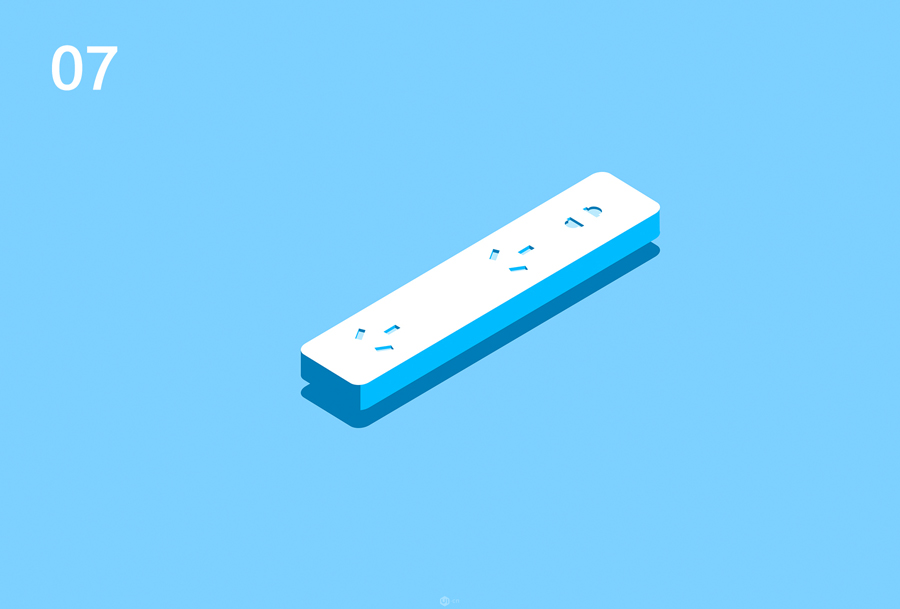
07.以同样的方法制作其余插孔。
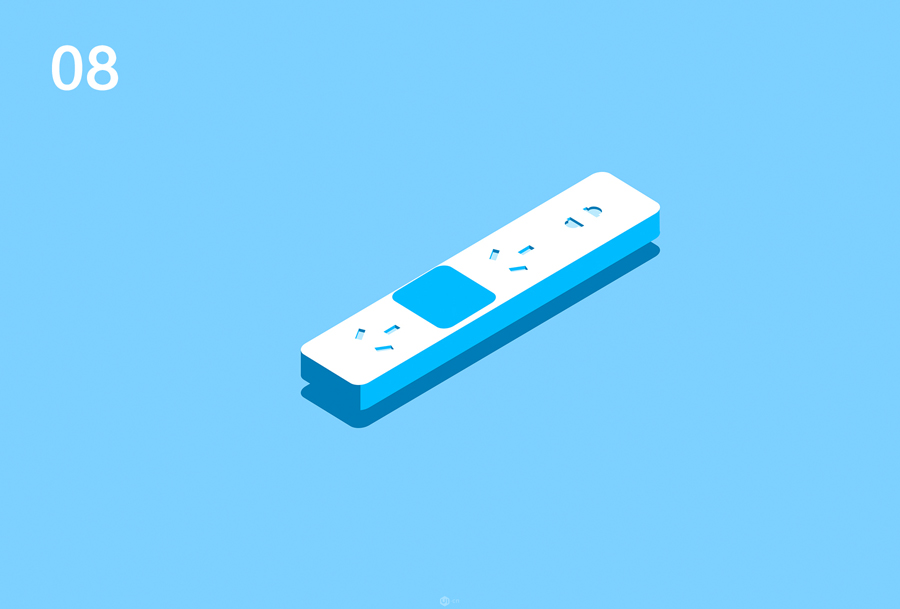
08.画一个矩形,并透视对齐网格。如图。
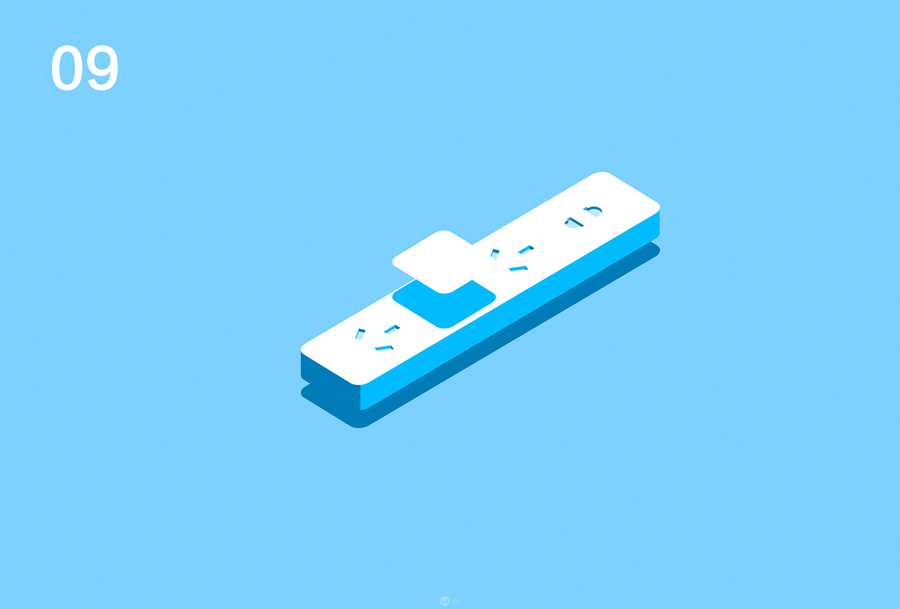
09.复制一层,颜色改为白色。