
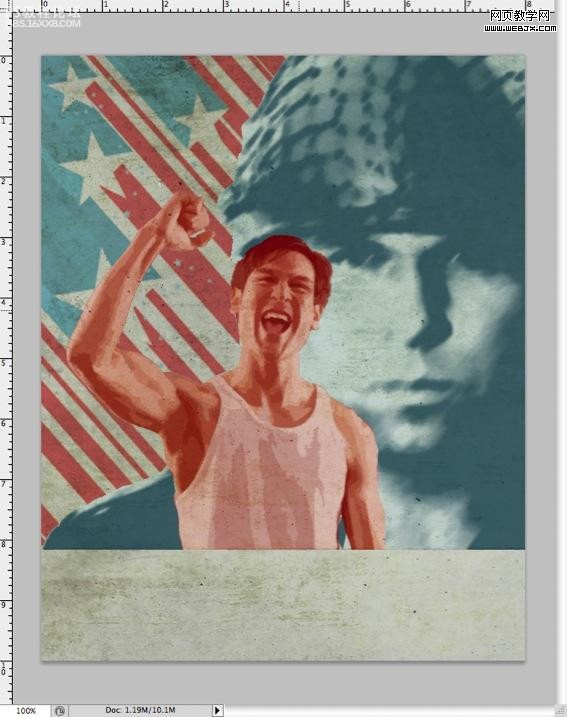
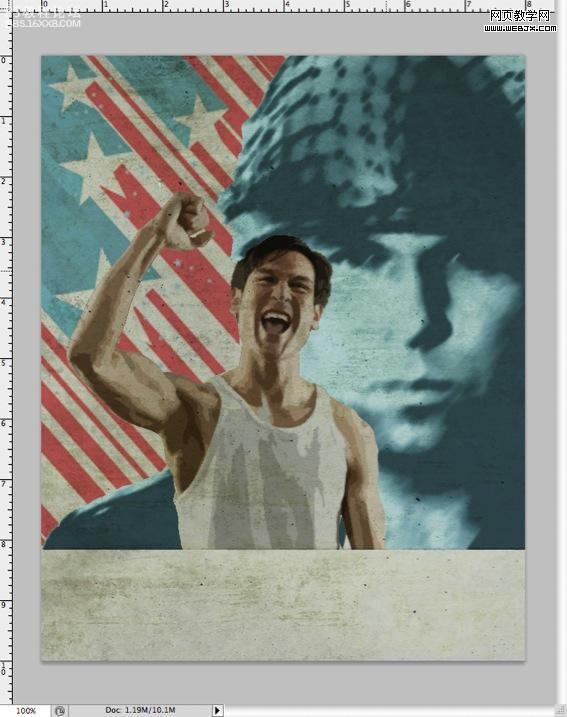
看最终效果。

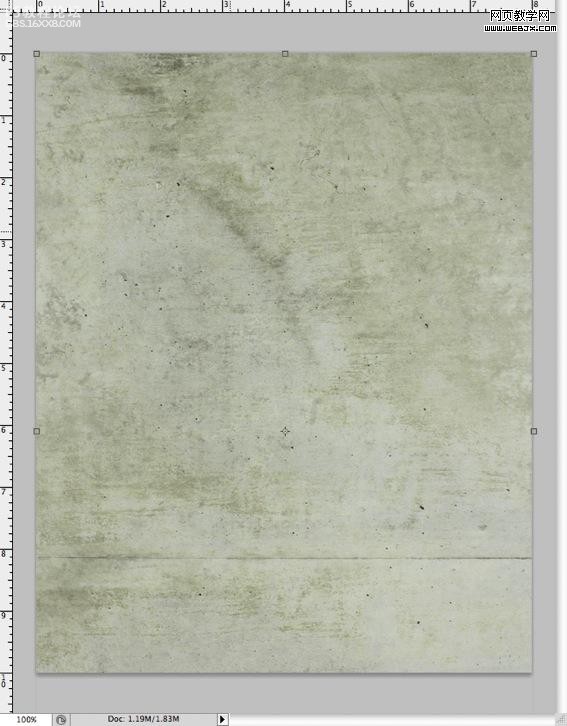
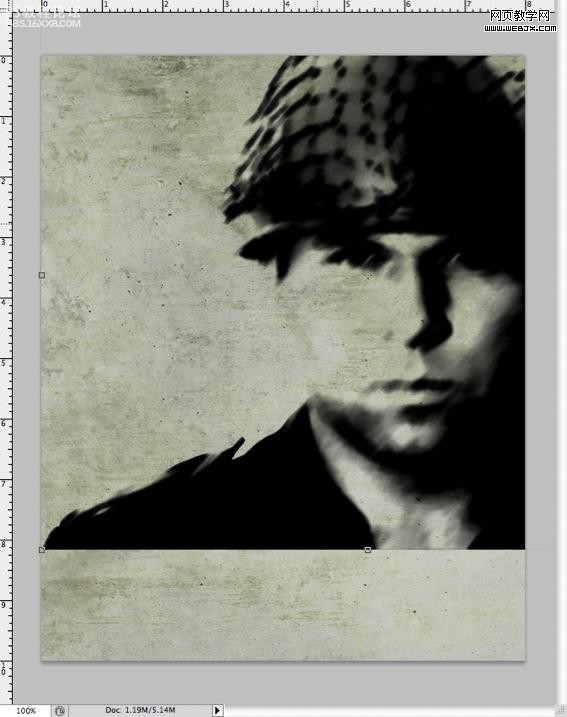
以下是详细的photoshop教程步骤:打开一张背景图片。
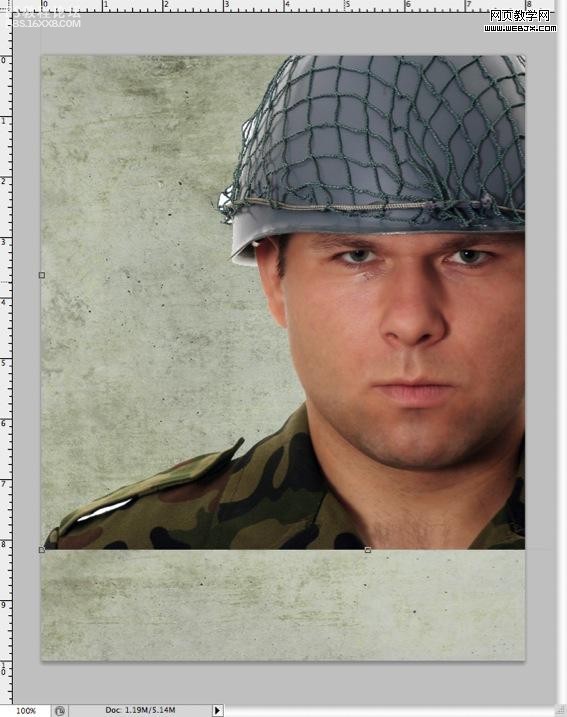
然后找到一个战士图片素材,调整大小,放到背景图片的上面。
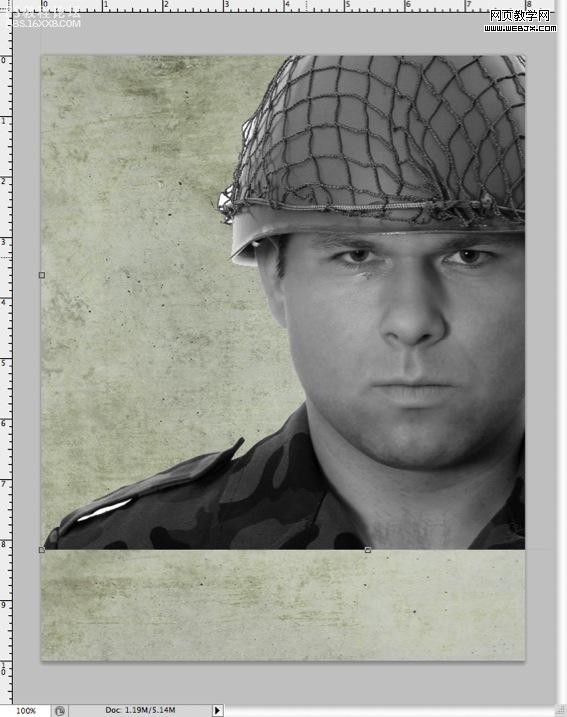
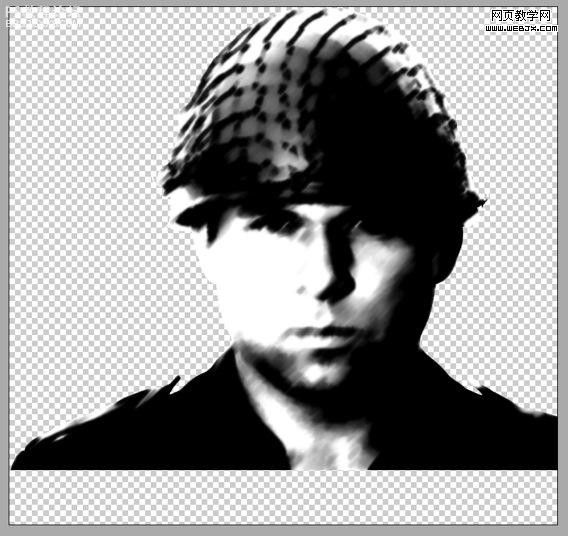
然后执行去色命令。
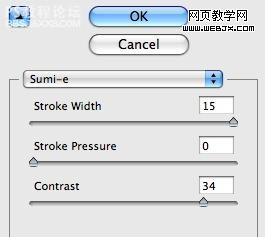
,滤镜-画笔描边-Sumi-e 【烟灰墨】,设置如下。
这时效果如下。
用我们的背景对人物进行模糊,把战士图层调整为正片叠底模式。
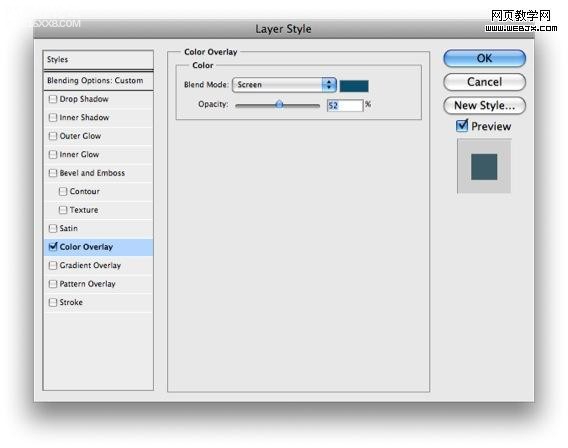
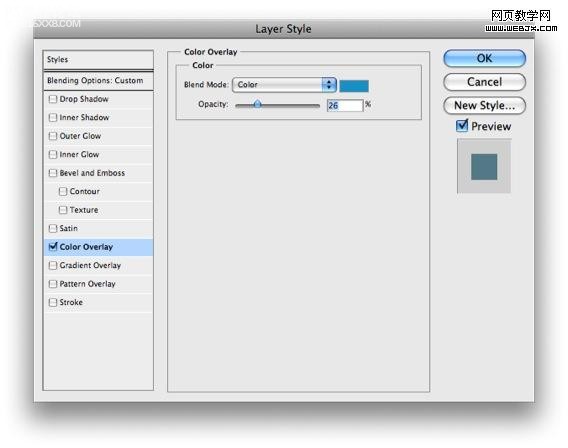
,我们设置图层样式中的颜色叠加,设置如下。
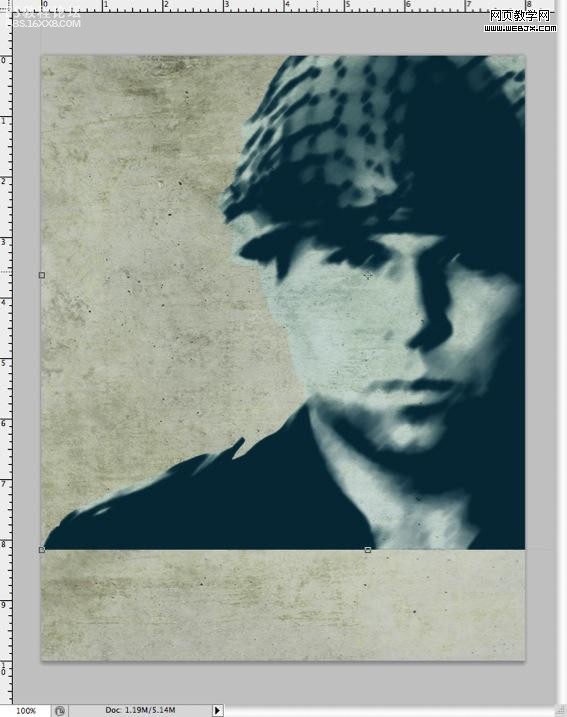
然后调整图层填充为62%左右。
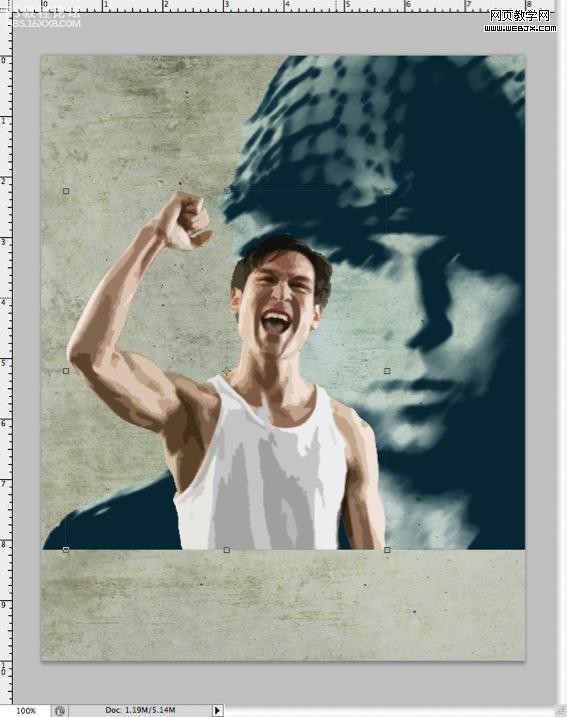
然后再找一个宣誓的照片素材。

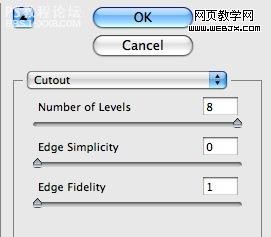
,然后为了达到旧的效果,我们设置木刻滤镜。
效果如下。
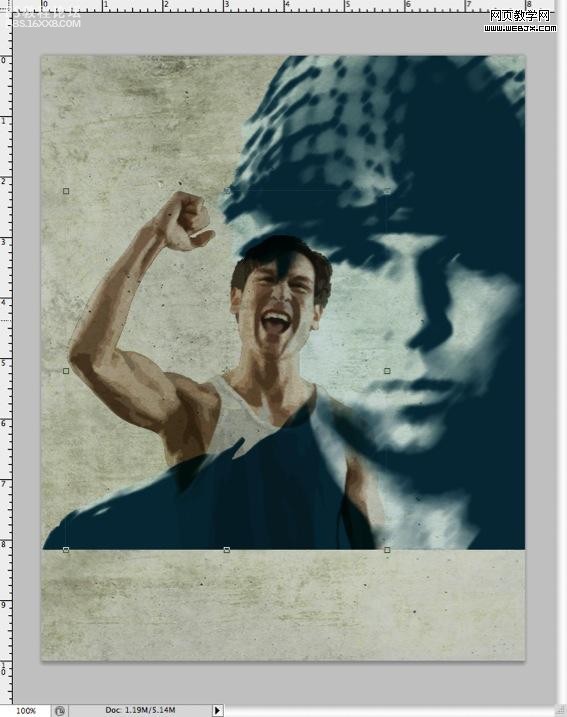
然后我们设置该图层模式为正片叠底模式。
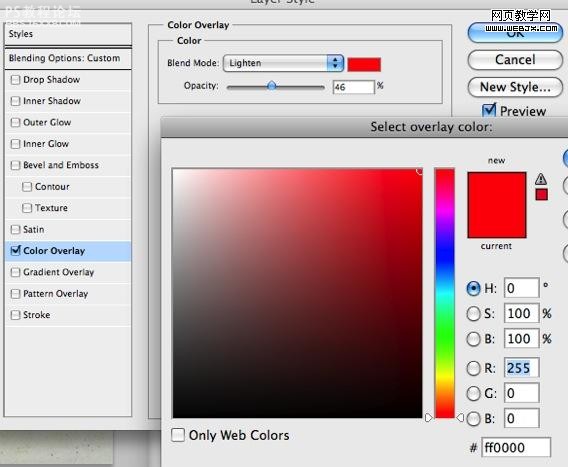
,我们为该图层添加图层样式,设置颜色叠加。
效果如下。
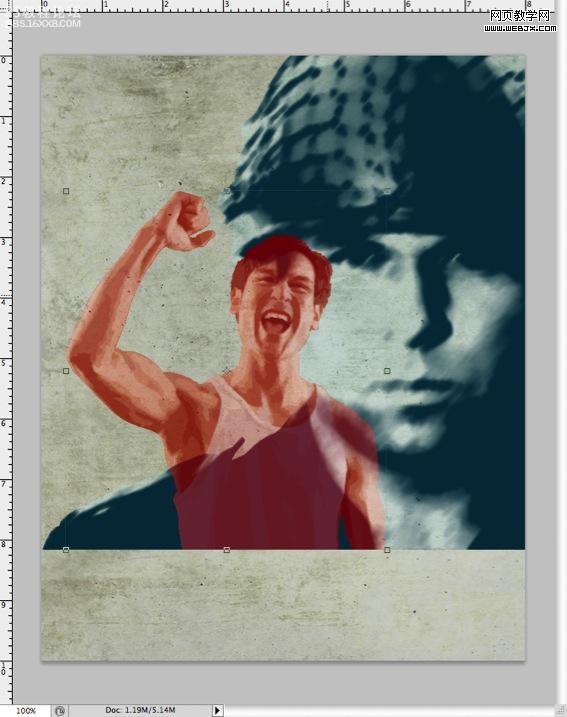
添加蒙板层,然后使用橡皮擦去掉挡住人物身体部分的色彩。
使战士的照片的色彩再浅一些,我们这里调整图层不透明降低。
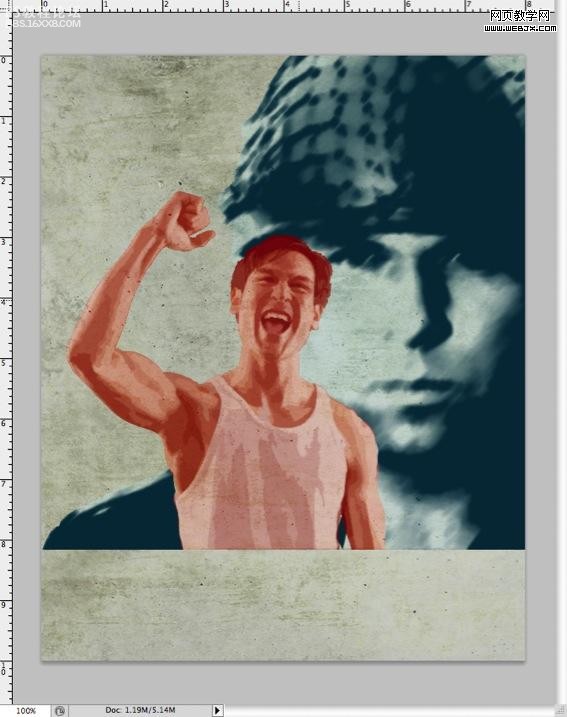
然后用外部画笔加星星标志可以做一些图案,然后调整图层模式为正片叠底模式,填充调整为56%。
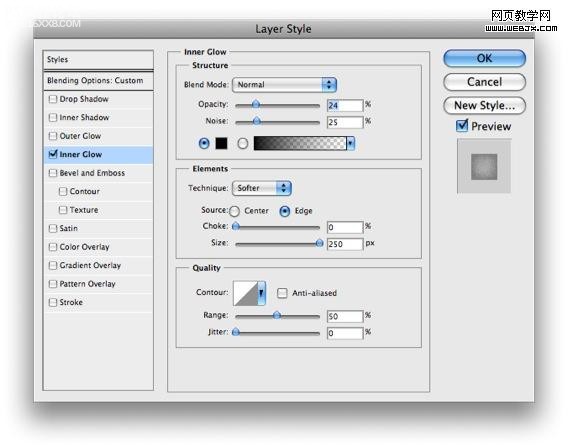
,添加图层样式如下。
效果如下。
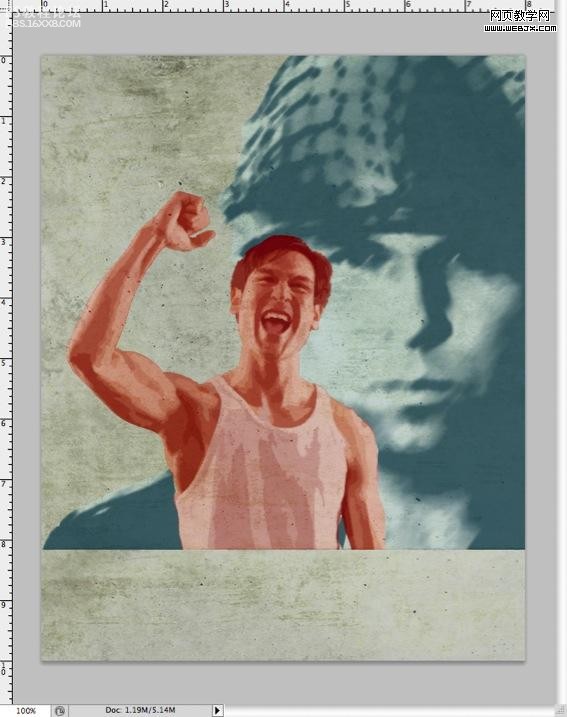
最后在下面输入文字,颜色设置为 #72acb9,填充调整到20%,模式改为正片叠底。设置图层样式如下。
最终效果。
以下是详细的photoshop教程步骤:打开一张背景图片。
然后找到一个战士图片素材,调整大小,放到背景图片的上面。
然后执行去色命令。
,滤镜-画笔描边-Sumi-e 【烟灰墨】,设置如下。
这时效果如下。
用我们的背景对人物进行模糊,把战士图层调整为正片叠底模式。
,我们设置图层样式中的颜色叠加,设置如下。
然后调整图层填充为62%左右。
然后再找一个宣誓的照片素材。
,然后为了达到旧的效果,我们设置木刻滤镜。
效果如下。
然后我们设置该图层模式为正片叠底模式。
,我们为该图层添加图层样式,设置颜色叠加。
效果如下。
添加蒙板层,然后使用橡皮擦去掉挡住人物身体部分的色彩。
使战士的照片的色彩再浅一些,我们这里调整图层不透明降低。
然后用外部画笔加星星标志可以做一些图案,然后调整图层模式为正片叠底模式,填充调整为56%。
,添加图层样式如下。
效果如下。
最后在下面输入文字,颜色设置为 #72acb9,填充调整到20%,模式改为正片叠底。设置图层样式如下。
最终效果。