![](https://www.16xx8.com/1linkpic/it.gif)
光斑壁纸比较常见,常给人非常梦幻的感觉。制作的时候如果应用得当,光斑布置合理,如再加上一些补助的光束和背景等,出来的效果会很精彩。
最终效果
![](https://img.lvups.com/d/file/bigpic/2022/12/26/b1prg1qf0u0.jpg)
![](https://img.lvups.com/d/file/bigpic/2022/12/26/a2fyzlxp345.jpg)
![](https://img.lvups.com/d/file/bigpic/2022/12/26/ikylpos2ipe.jpg)
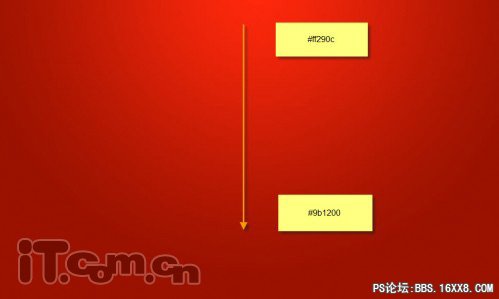
1、创建一个新文件,大小为1000px*600px,,当然你可以根据你的桌面的大小设定图片的尺寸。然后使用渐变工具填充一个径向渐变(#TT290C、#9B1200),如图所示。
![](https://img.lvups.com/d/file/bigpic/2022/12/26/2nt00iji244.jpg)
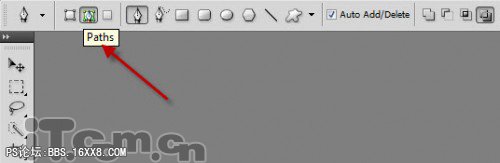
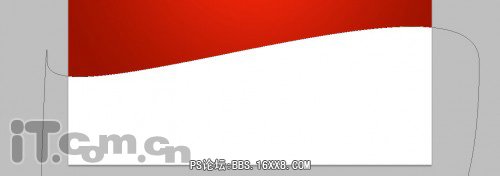
2、创建一个新图层命名为“曲线”,选择钢笔工具,在属性栏中选择“路径”按钮,然后在图片中制作下图所示的路径。
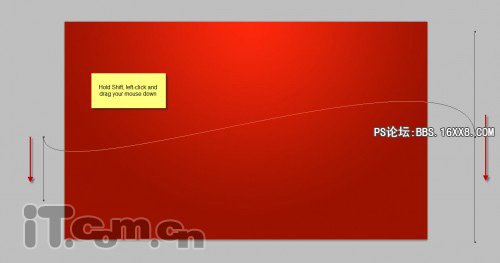
![](https://img.lvups.com/d/file/bigpic/2022/12/26/kjwiolazveu.jpg)
![](https://img.lvups.com/d/file/bigpic/2022/12/26/54ylqw5mnp3.jpg)
3、如下图所示,继续绘制路径。
![](https://img.lvups.com/d/file/bigpic/2022/12/26/a4n4ehfnxc0.jpg)
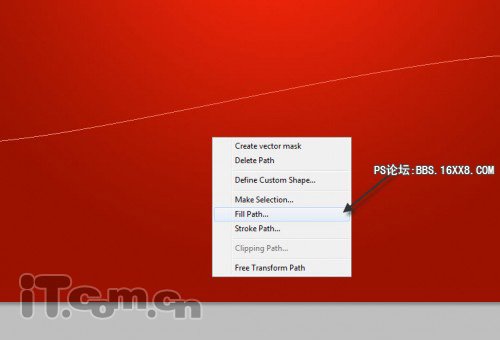
4、设置前景色为白色,使用钢笔工具在图片中单击右键,选择“填充路径”,如图所示。
![](https://img.lvups.com/d/file/bigpic/2022/12/26/hpvunla1ipv.jpg)
![](https://img.lvups.com/d/file/bigpic/2022/12/26/bzepfnvt5fw.jpg)
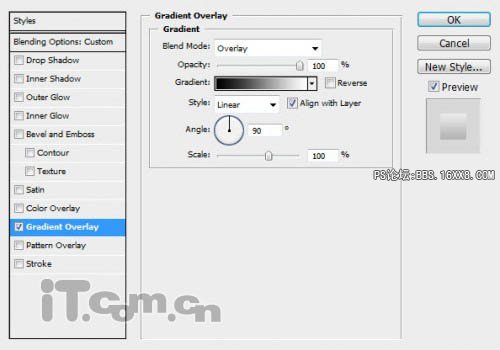
5、双击曲线图层,打开图层样式对话框,设置混合模式为“柔光”,如图所示。
![](https://img.lvups.com/d/file/bigpic/2022/12/26/mgh32ism0i4.jpg)
在左边的窗框中选择“渐变叠加”,设置参考下图所示。
![](https://img.lvups.com/d/file/bigpic/2022/12/26/dlo03f3z2uy.jpg)
![](https://img.lvups.com/d/file/bigpic/2022/12/26/2xh5q4vrcft.jpg)
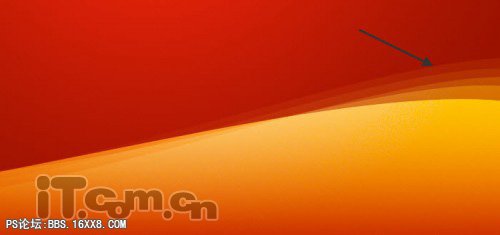
6、按下Ctrl+J复制曲线图层,然后按下Ctrl+T进行自由变换状态,调整副本图层的角度,并降低副本图层的不透明度。使用这个方法复制多次,使用这些图层组成一个淡入效果。(也可以使用钢笔工具重新创建一个路径并填充)
![](https://img.lvups.com/d/file/bigpic/2022/12/26/x030zqrerin.jpg)
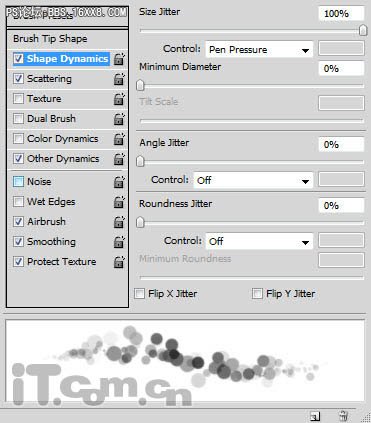
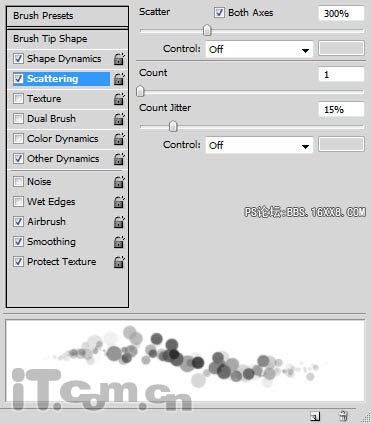
7、选择画笔工具,执行“窗口—画笔”打开画笔预设对话框,分别设置:形状动态、散布、其它动态,这几个参数。并勾选喷枪、平滑、保护纹理3个选项。
![](https://img.lvups.com/d/file/bigpic/2022/12/26/4y0stqlfv5f.jpg)
![](https://img.lvups.com/d/file/bigpic/2022/12/26/d1ucg025mgc.jpg)
![](https://img.lvups.com/d/file/bigpic/2022/12/26/s3vfsefvavp.jpg)
8、创建一个新图层,设置混合模式为柔光,使用设置好的画笔绘制一个光斑,如图所示。
![](https://img.lvups.com/d/file/bigpic/2022/12/26/b1prg1qf0u0.jpg)
你可以使用不同的颜色制作不同风格的效果。
![](https://img.lvups.com/d/file/bigpic/2022/12/26/a2fyzlxp345.jpg)
![](https://img.lvups.com/d/file/bigpic/2022/12/26/ikylpos2ipe.jpg)