示例软件:Photoshop CS,其他版本步骤类似。
制作过程:
1、打开两张素材图片,如图01和02所示。
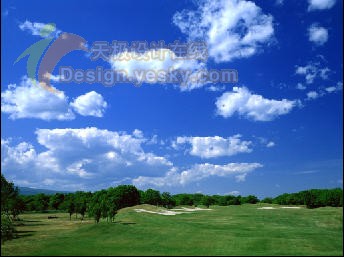 天空素材
天空素材
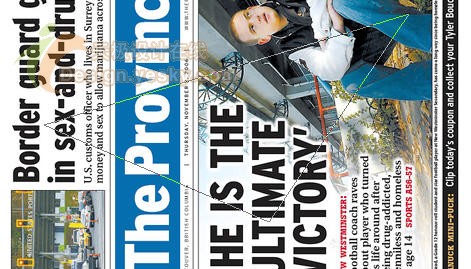
彩色海报素材
使用工具箱中的“移动工具”将图02拖入图01中,得到图层1,效果如图03所示。

2、选择工具箱中的“钢笔工具”,在图中绘制一条如图04所示的路径。切换至路径面板,双击“工作路径”,在弹出的对话框中单击“确定”按钮,将其保存为路径1。
3、按Ctrl Enter键将“路径1”转换为选区,复制“图层1”为“图层1副本”,单击“添加图层蒙版”按钮为“图层1副本”添加图层蒙版,隐藏“图层1”得到效果如图05所示。

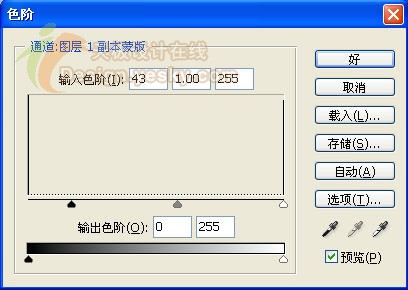
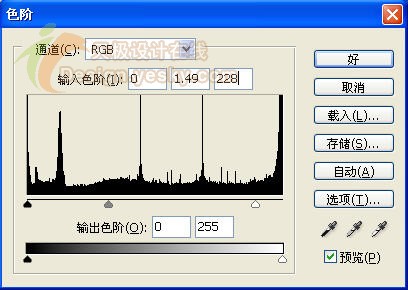
4、按Ctrl L键打开色阶对话框,设置参数如图06所示。
得到画面效果如图07所示。
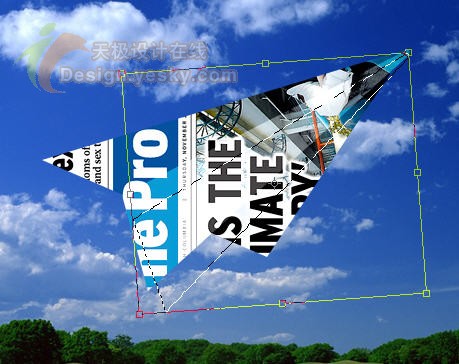
5、选择工具箱中的“钢笔工具”,在图像上绘制一条如图08所示的路径。切换至“路径”面板,双击但前的“工作路径”,在弹出的对话框中单击“确定”按钮即可,将其保存为“路径2”。

6、显示“图层1”并将其拖至所有图层的上方,按Ctrl Enter键将“路径2”转换为选区,单击“添加图层蒙版”按钮为其添加图层蒙版,得到如图09所示的效果。

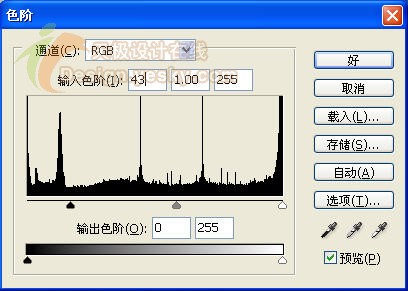
7、按Ctrl L键打开色阶对话框,设置参数如图10所示。

得到画面效果如图11所示。
8、按Ctrl键单击图层面板中的“图层1”图层蒙版缩览图调出选区,选择菜单栏中的“选择”“变换选区”命令,调出自由变换控制框,并将旋转中心点拖至选区右上角处,旋转-5°,效果如图12所示。
9、确认操作后,新建一个图层“图层2”,并将其拖至“图层1”的下方,设置前景色为黑色,按Alt Delete键填充选区。
10、按Ctrl键并单击“图层1副本”的图层缩览图调出其选区,选择“图层2”,单击“添加图层面板”按钮为其添加图层蒙版,并设置其不透明度为70%,得到画面效果如图13所示。

11、按Ctrl Shift键并连续单击“图层1副本”和“图层1”的图层蒙版,得到两者相加的选区,在背景层上新建一个图层“图层3”,设置前景色为黑色,按Alt Delete键填充选区,按Ctrl D键取消选区。
12、选择菜单栏中的“编辑”“变换”“垂直翻转”命令,按“Ctrl T”键添加自由变形框,按住Shift键将其缩放为合适的大小,确认变换操作。选择菜单栏中的的“滤镜”“模糊”“高斯模糊”命令,在弹出的对话框中设置“半径”为5,并设置“图层4”的“不透明度”为70%,得到如图14所示的效果。

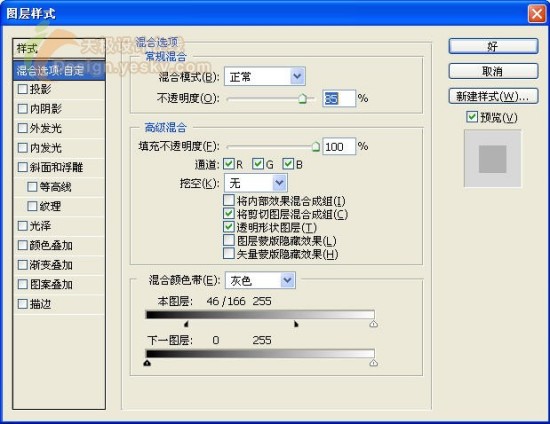
13、复制背景图层得到“背景副本”,并将其拖至所有的图层上方,双击该图层的缩览图,设置弹出的对话框如图15所示。
点击看大图
得到的画面最终效果如图16所示。