
Photoshop做简单立方体贴图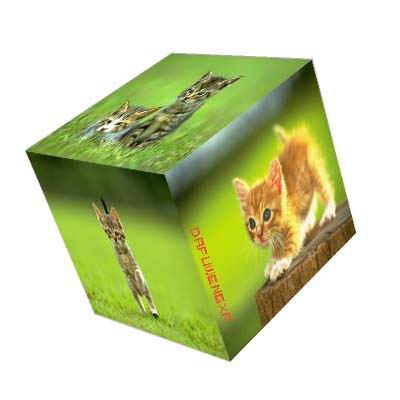
![]()
本文介绍用Photoshop做简单立方体贴图的方法和步骤,主要是先用Photoshop的3D工具制作立方体,再用自由变形工具将图片贴在不同的面上,调整效果即可。
完成效果如下:
1.新建一RGB文件,背景为白色。
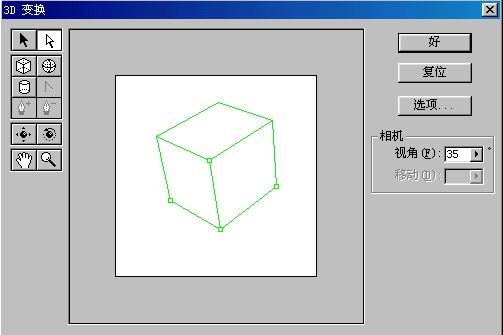
2.执行滤镜渲染3D变换,用立方体工具画出如图.
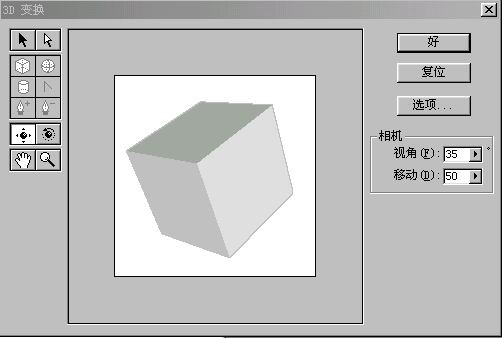
3.再用轨迹球工具如图所示立方体.
4.按好,这时就看见一个立方体出现了。打开图片吧
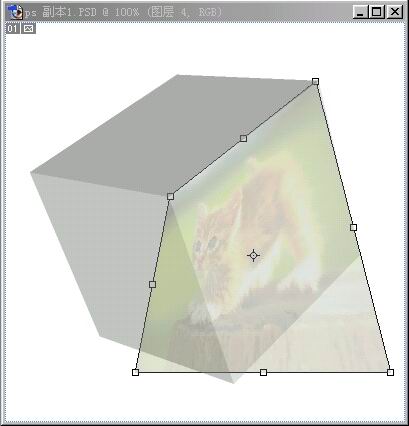
5.为了方便能调好位置,更改不透明度变小,
再用编辑变换扭曲,调整好贴图的位置。
6.按0键反回不透明度值。
如此类推,把其余的图片贴上去,合并图层,完成效果
