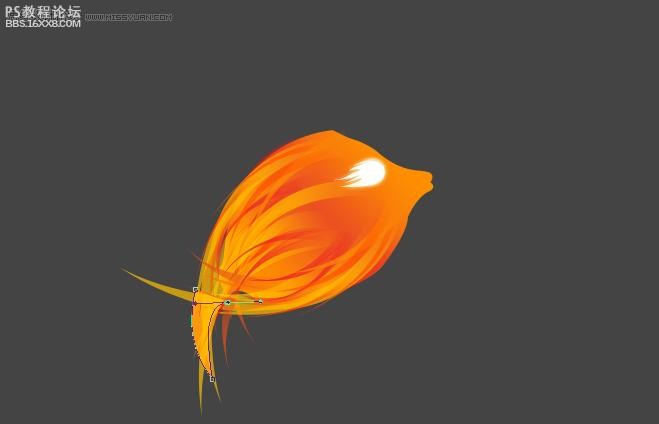
重覆执行步骤10,重命名这一层为“Fireshapes3”,把它放在“Fireshapes2”之上。现在让我们使用铅笔工具在底部添加黄色的形状,使它看起来更像鱼。

步骤12
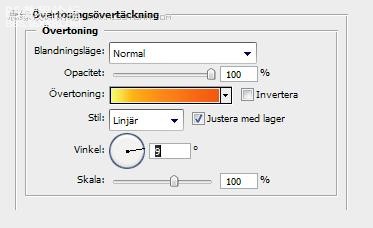
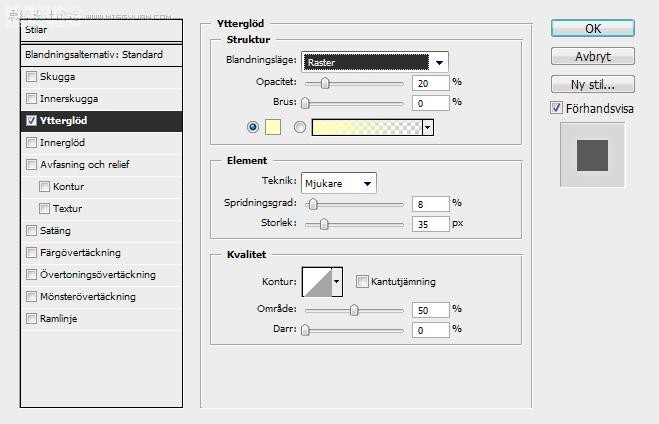
现在我们将使用图层风格选项完成下一步。

图片1
步骤13
现在你大致懂得了用钢笔工具来制作鱼形状的技术了。我将会在鱼的尾巴上增加一些渐变的形状(按照步骤12设置渐变),把它们放在文件夹里,并命名为”Tall”(尾巴)。

尾部是蓝色路径内的区域。
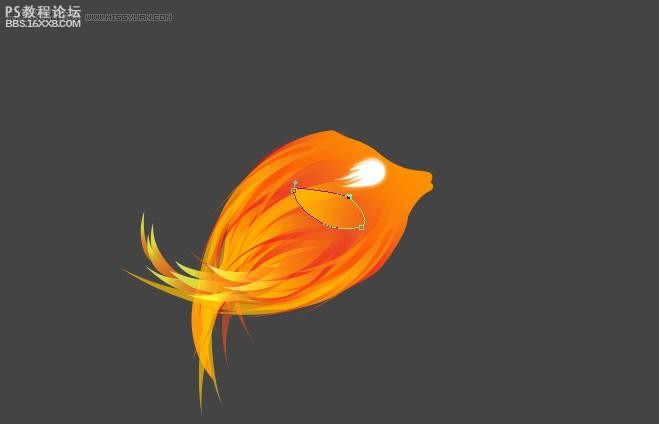
步骤14
现在在尾部文件夹添加图层蒙版,应用渐变使其褪色,这样就在蓝色路径内实现了这种效果。

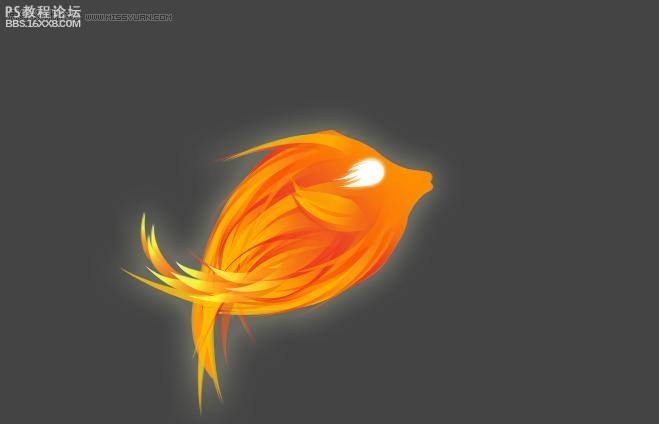
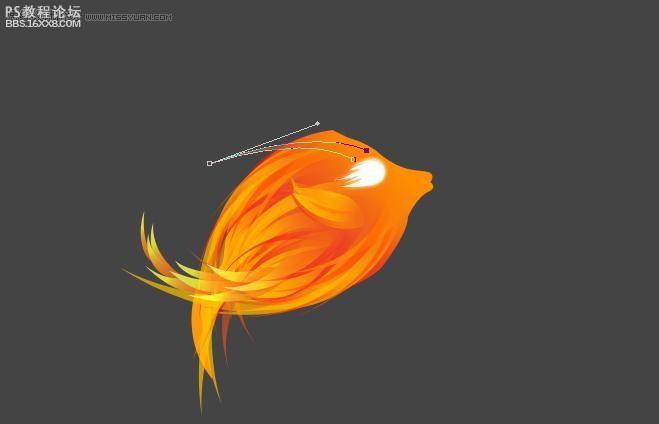
, 步骤15
这就是我们目前为止所作的成果。

步骤16
现在我们要制作鱼鳍。鱼游泳是不能没有鱼鳍的对吧~参照上图制作一个形状(我使用的颜色是#fcb100),使用图层蒙版和渐变工具使其褪色。
步骤17
现在让我们使用与步骤16相同的技术在鱼鳍上增加一些火焰的形状。


, 步骤18
在鱼头上制作一个形状,这将能增加一个感觉不错的火焰效果。
步骤19
重复步骤18,运用图层蒙版和渐变工具使其褪色(就是渐变效果)。
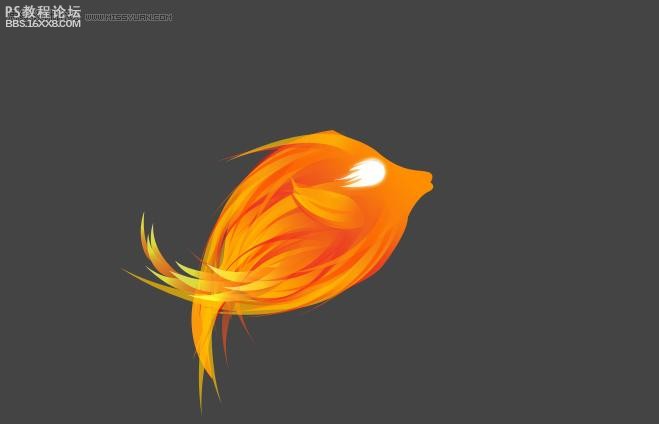
步骤20
现在把我们所做的一切都放在一个文件夹中,并命名为“鱼”。
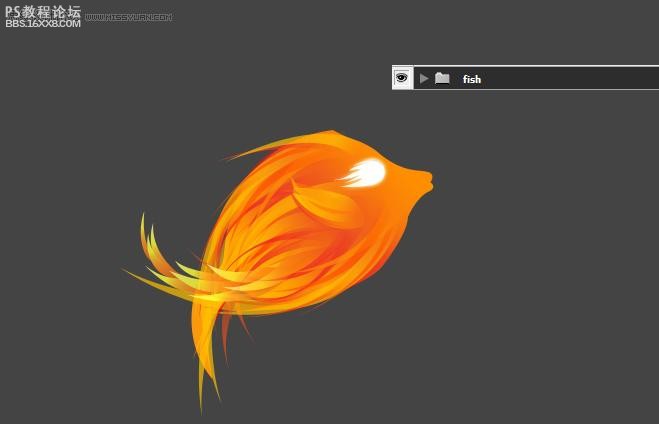
步骤21
设置鱼文件夹的不透明度为69%
步骤22
复制鱼文件夹,按CTRL / CMD + E,这将使复制层在鱼文件夹的上方。在上方添加样式。
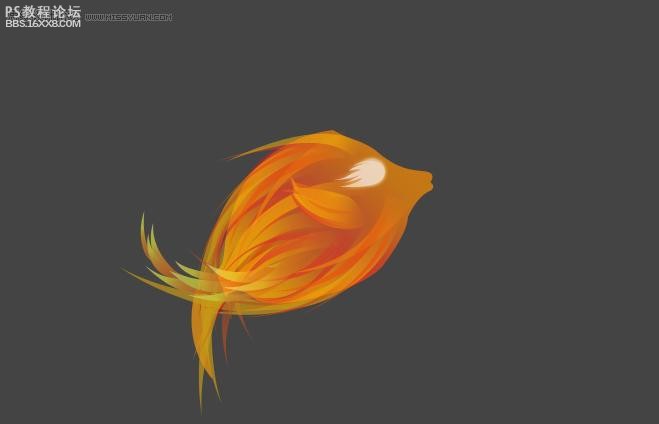
步骤23
这是目前为止的效果。