7、执行滤镜》液化。选择向前变形工具(默认就是这个)。键入下面设置。使用先前变形工具,在文字边缘制造波浪效果:
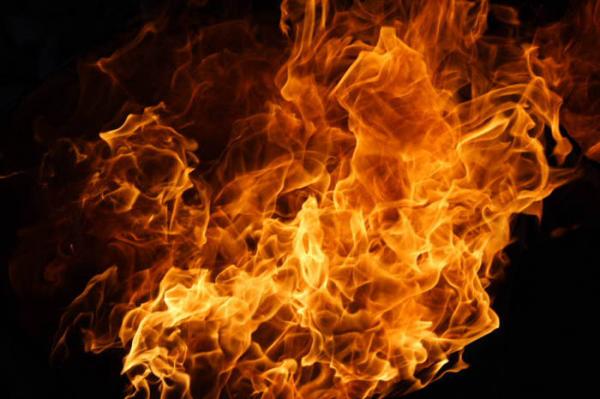
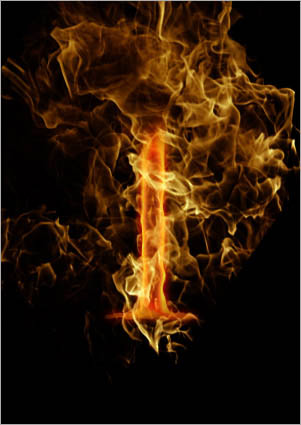
8、打开下图所示的火焰素材。进入通道面板,选择绿色层。CTRL+左键点击绿色层载入高光区。
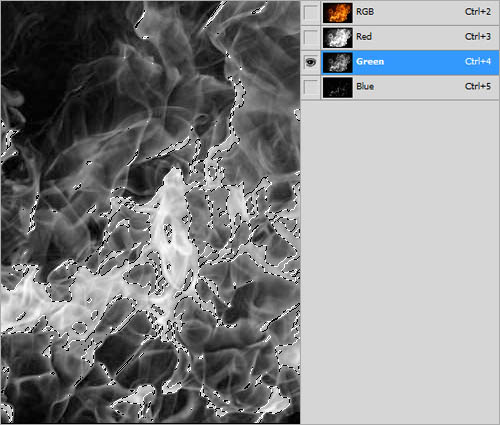
9、回到层面板,适用移动工具,将选中的区域移动到刚才的文字文件中,将火焰置于文字层上方。(注意:这里我们是利用通道来载入选区。在移动的时候请确保所有通道都是可见的。否则可能移过去的是黑白的)
10、适用15像素橡皮擦工具,擦掉所有多余的火焰,只留下在文字周围缭绕的火焰。
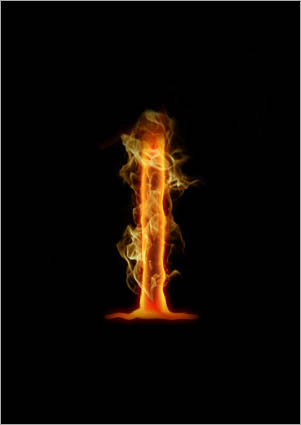
11、复制火焰层。将原火焰层的不透明度设置为30%。将复制得到的层的混合模式设置为叠加。

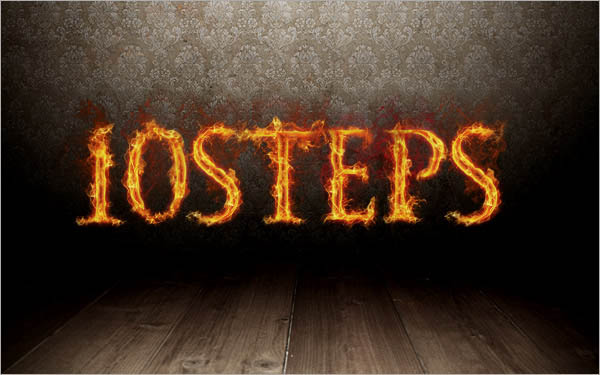
12、多重复几次该过程,添加更多火焰。现在你拥有了第一个火焰字体。
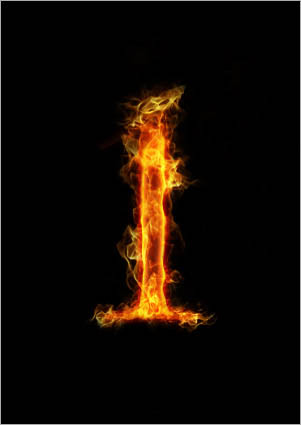
13、按你的喜好创建更多的火焰字。
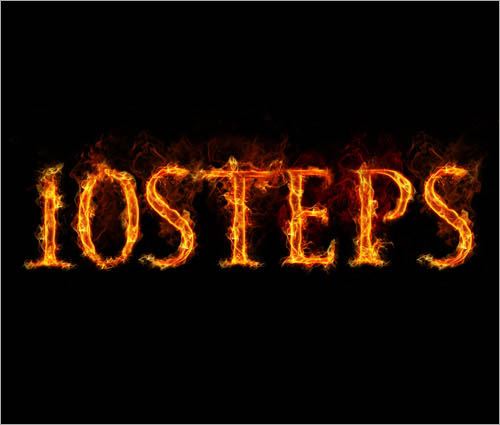
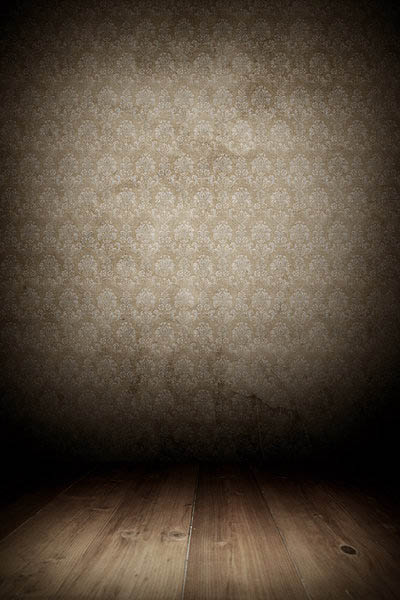
14、打开下面的背景素材,调整大小,将图片置于如下位置。